|
I'm thrilled to be joining in with a long list of fabulous designers as part of the 6th birthday celebration for Topflight Stamps. Since it's a celebration, each one of us has created a celebration-themed project using just a few of the many unique products available at Topflight Stamps.
Ready to be inspired and get into a celebratory mood? Hop along with us and see all the incredible projects. To make sure you see each of the projects shared today, there's a master list of Hop stops on the Topflight Stamps blog. I'm also joining in on my first ever Instagram hop! You can start at the Topflight Stamps account, @topflightstamps. |
Oh, and did I mention that there will be prizes? It wouldn't be a birthday celebration without prices, so before we get into the project, here are the details:
Topflight Stamps is giving four lucky winners a $50 Gift Certificate to the store. Two winners will be chosen from commenters on the blog hop and two will be chosen from commenters on the IG hop. For a chance to win, make sure to visit the stops on both of the hops and leave a comment by April 1st. Winners will be announced on the Topflight Stamps blog on Monday, April 3rd. (Due to shipping issues, you must be in the USA to be eligible.) Good luck!
Topflight Stamps is giving four lucky winners a $50 Gift Certificate to the store. Two winners will be chosen from commenters on the blog hop and two will be chosen from commenters on the IG hop. For a chance to win, make sure to visit the stops on both of the hops and leave a comment by April 1st. Winners will be announced on the Topflight Stamps blog on Monday, April 3rd. (Due to shipping issues, you must be in the USA to be eligible.) Good luck!
|
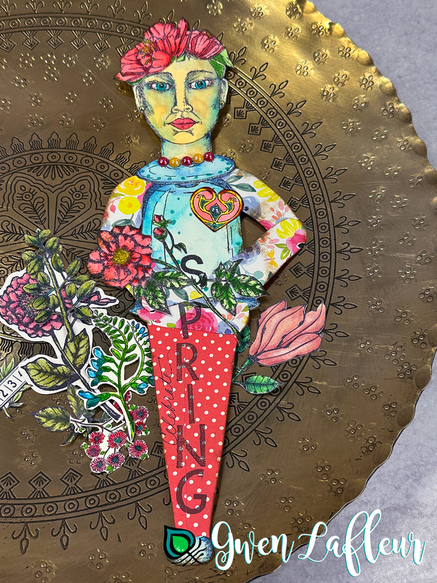
I'm sure I'm not alone in the longing for warmer days as we get through Winter and are anticipating a new season, so with the theme of Celebration I couldn't help but create a celebration of Spring! I've also been on a bit of a roll with creating stamped art dolls since my stamp release in February 2023 where I came out with a trio of stamp sets with faces and other elements, so I was excited to create a themed art doll.
For this project, the stamped face is paired with lots of flowers, patterned papers, watercolor markers, and a few other fun stamps from my ever-growing library of stamp designs with PaperArtsy. |
|
I've pulled together a bit of a tutorial to walk through the different elements and techniques for this project in case you'd like to try something like this at home. (For reference, a complete supply list and links to the Topflight Stamps online store are all listed at the end of the post.)
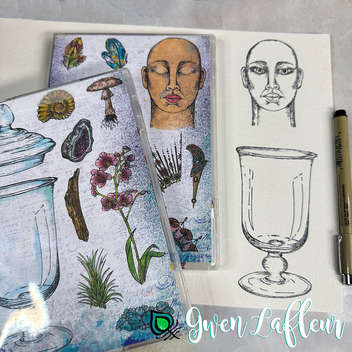
To start, I used a permanent black ink pad to stamp my images onto a piece of 140lb white watercolor paper. I designed the face stamp I chose for this project with its eyes closed, but with just a few tweaks, you can easily make them open. I did this with a permanent black pen (because I knew I was going to use watercolor and didn't want any smearing.) |
|
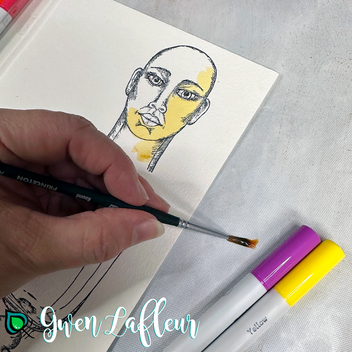
Next, I colored all of my images. For this I used a set of Spectrum Noir watercolor markers. You can color directly on the paper, but I wanted a more translucent effect so I colored with the markers directly on my Teflon craft mat and then used a wet paintbrush to add water and mix colors and then apply to my stamped images, just like regular watercolor.
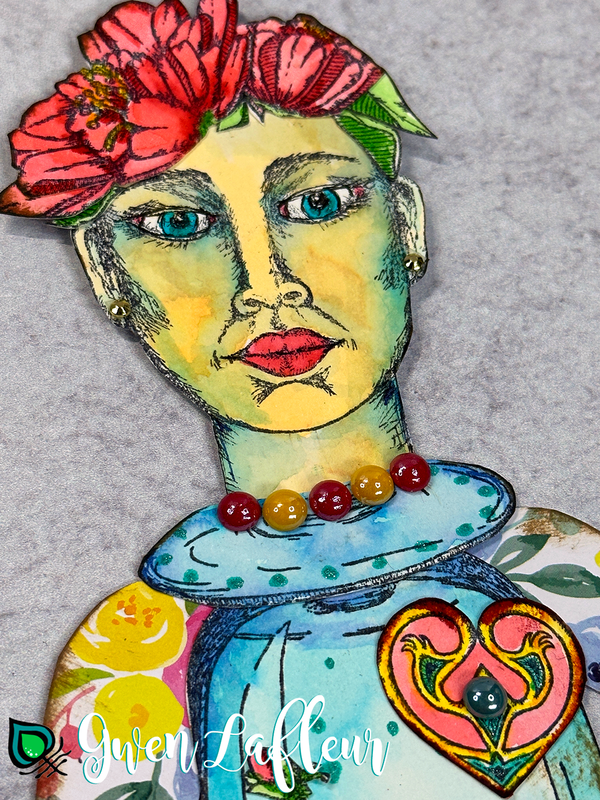
For the face, I didn't have any flesh tone colors in this set, but I mixed the purplish-pink and yellow with my brush on the mat to get kind of a fun orange tint and embraced a less realistic color palette, following that up by adding shadows and tints with blue. I continued adding color to all of my stamped images... I especially love using watercolors to color my stamps of glass items like the apothecary jar in my "Terrarium" stamp set that I used here since it's easier to get glass effects. For this, I made it a bit more opaque since I was going to use it to create the torso of my art doll. |
|
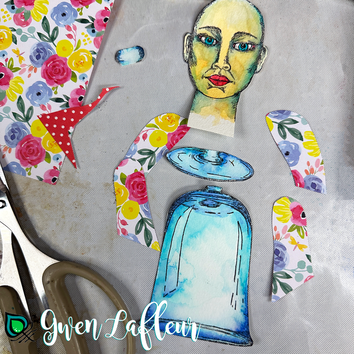
With all of my stamped elements colored, I cut them out. For the vase, I snipped off the base and the little rounded connecting piece to make three pieces so that I could use the base as a collar and then flip the main part of the base upside down to create the torso. I set the 3rd piece aside to use later.
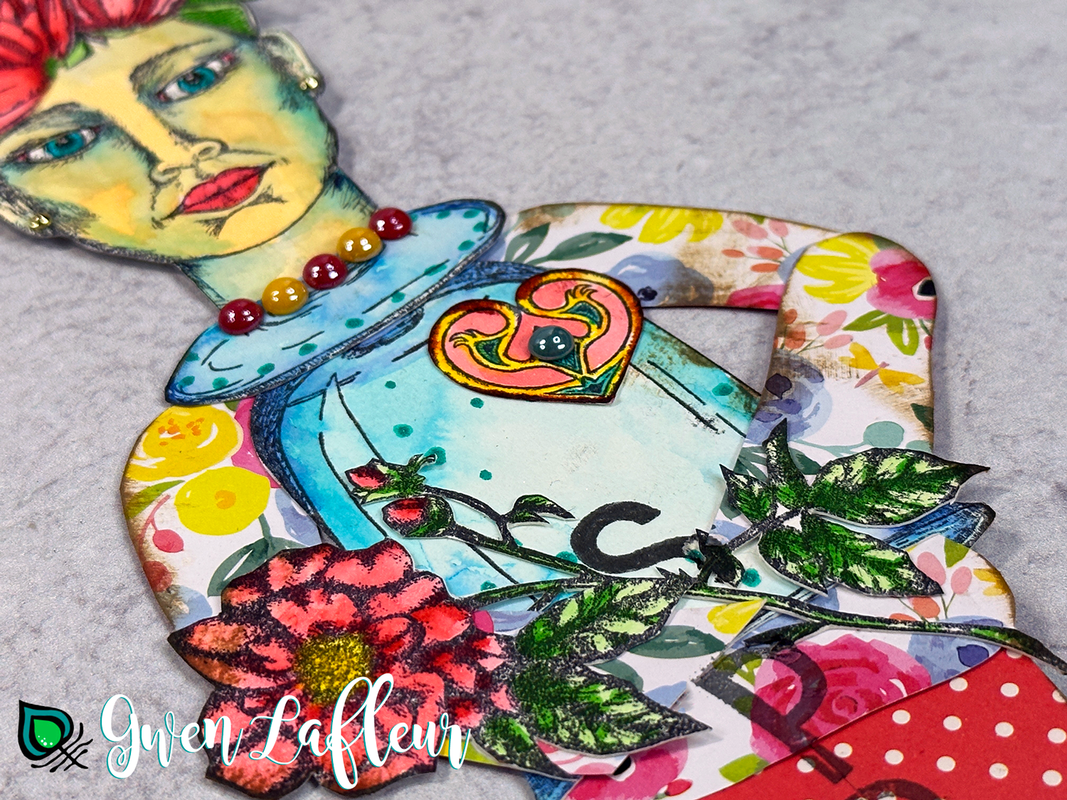
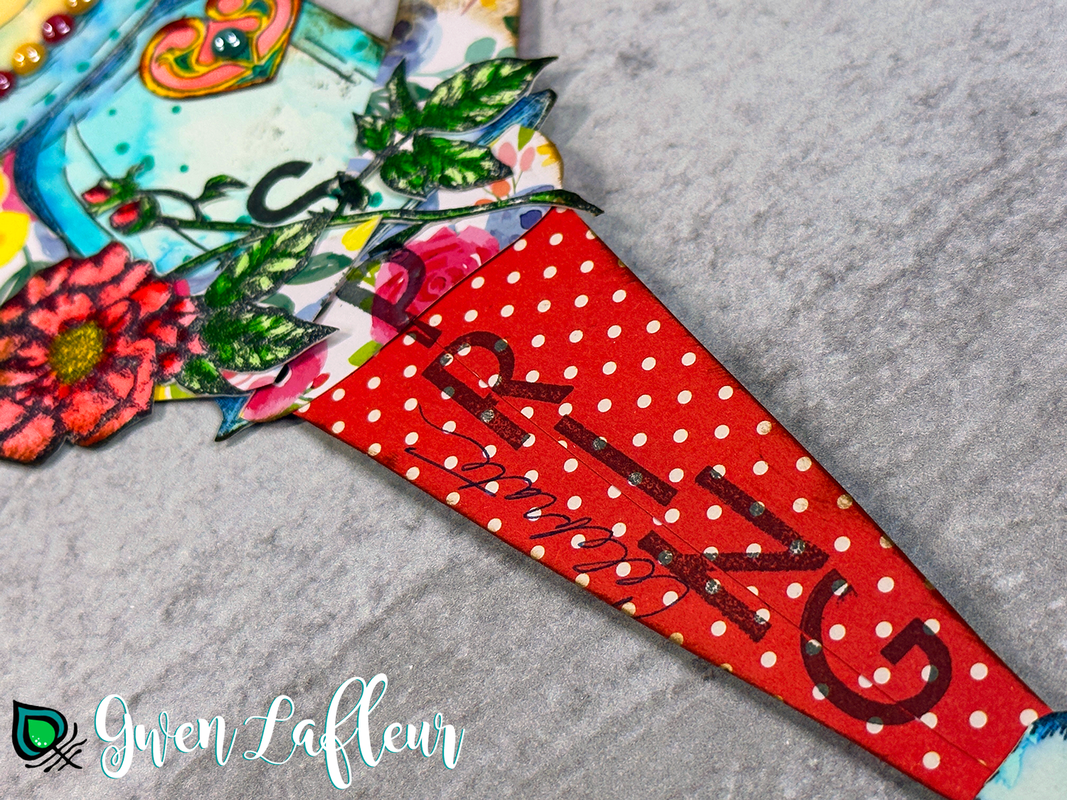
For the arms, I cut some general arm shapes out of patterned paper, keeping my eye on scale and doing each arm in two pieces so that I could make them look bent in order to hold something. I didn't use a pattern, just eyeballed it. I did one arm and when it was good, I flipped it over and traced it so the second arm would match. From here I went ahead and adhered the parts together with a clear liquid glue. I also cut a long, tapering strip out of a coordinating piece of patterned paper to make the legs. I found that with the proportions of this doll (specifically the larger head,) it worked better to use a single strip to elongate the figure and make the proportions look purposeful. |
|
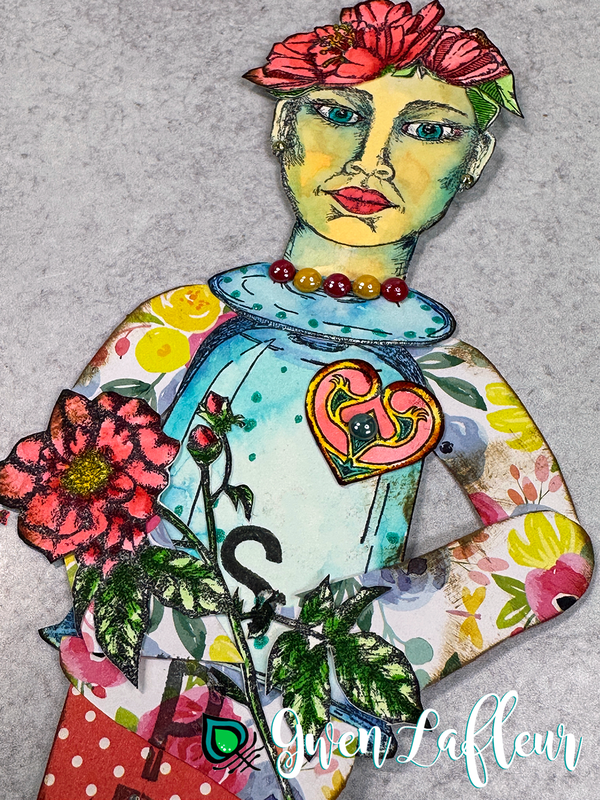
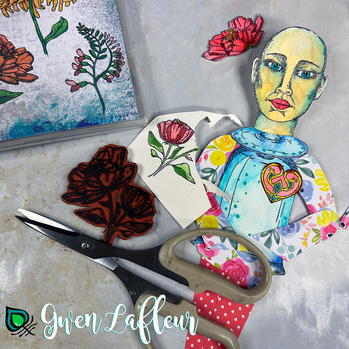
With my base figure complete, I moved onto adding accessories. I pulled the heart from the same stamp set as the face and then used one of my floral stamp sets to stamp, color, and cut out flowers and leaves to use for a Spring headdress on my art doll.
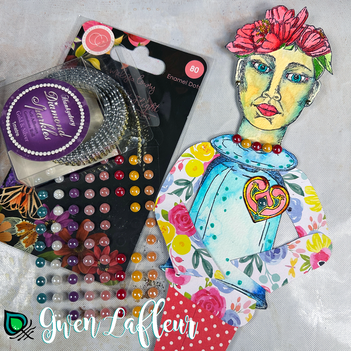
To complete the accessories, I used some jewels and enamel dots to create a necklace and add some tiny little blingy earrings to the figure's ears. I also used a glitter marker to highlight the eyes and add some dots to the torso. |
|
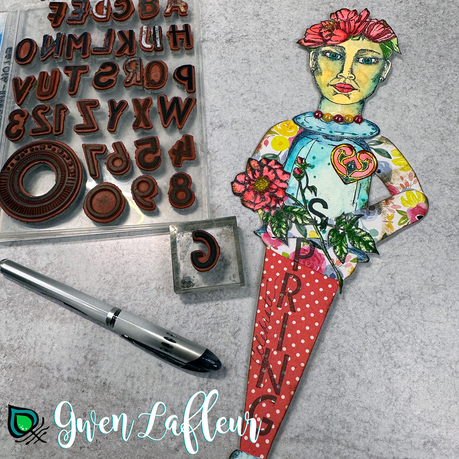
Since my art doll is celebrating Spring, I wanted the figure to be holding a flower (which also conveniently hides the hands so that I didn't need to make any!) I stamped, colored, and cut out another flower from a different stamp set and inserted it to make it look as if it's being held. I also pulled out the little rounded connector piece from my stamped apothecary jar and put that at the very bottom of the doll to suggest feet.
Finally, I used my alphabet stamps to stamp the word "Spring" vertically down the figure, masking off the flower in her hands so that it made the "S" look like it's tucked behind. Then I used a black pen to write "Celebrate" along the side. Now all that's left is to start seeing that beautiful Spring weather full time! Below are a few closeups so that you can see some of the details: |
There you go! My completed "Celebrate Spring" stamped art doll. I hope you enjoyed the project... I definitely had a blast making it. And don't forget to leave comments and check out the Instagram Hop as well since there will be 4 winners - 2 pulled from the blog comments and 2 from the IG hop. Enjoy all of the inspiration, and Happy Birthday to Topflight Stamps!
Products used in this project: (all links go to the Topflight Stamps online store)
- Several of my stamp sets with PaperArtsy
- Spectrum Noir - Colorista Watercolor Markers - Vibrant Essentials
- Spectrum Noir - Colorista Glitter Markers - Sparkling Brights (used in the irises of the eyes and for sparkle on the torso.)
- Craft Consortium - Adhesive Enamel Dots - Midnight Flight (for her necklace)
- Craft Consortium - 6x6 Paper Pad - Bright Blooms
- Hunkydory - Diamond Sparkles Gemstone Roll - Gold & Silver (for her earrings.)
- Size 2 round paintbrush
- Permanent black pen
- Permanent black ink pad
- 140lb watercolor paper
- Scissors
- Teflon craft mat
- Glue (white or clear - whatever adhesive you prefer)
Comments:


