|
I love to make my own art journals - for me there's something satisfying about working in a book that I've made from scratch. My main art journals are large, case-bound books with multiple signatures, but sometimes I like to have smaller journals that I can take with me when I'm traveling, use for a themed journal, or just to have something in a less intimidating size and structure.
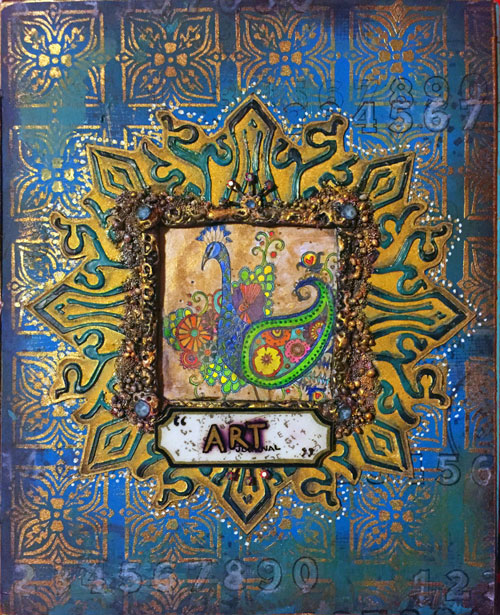
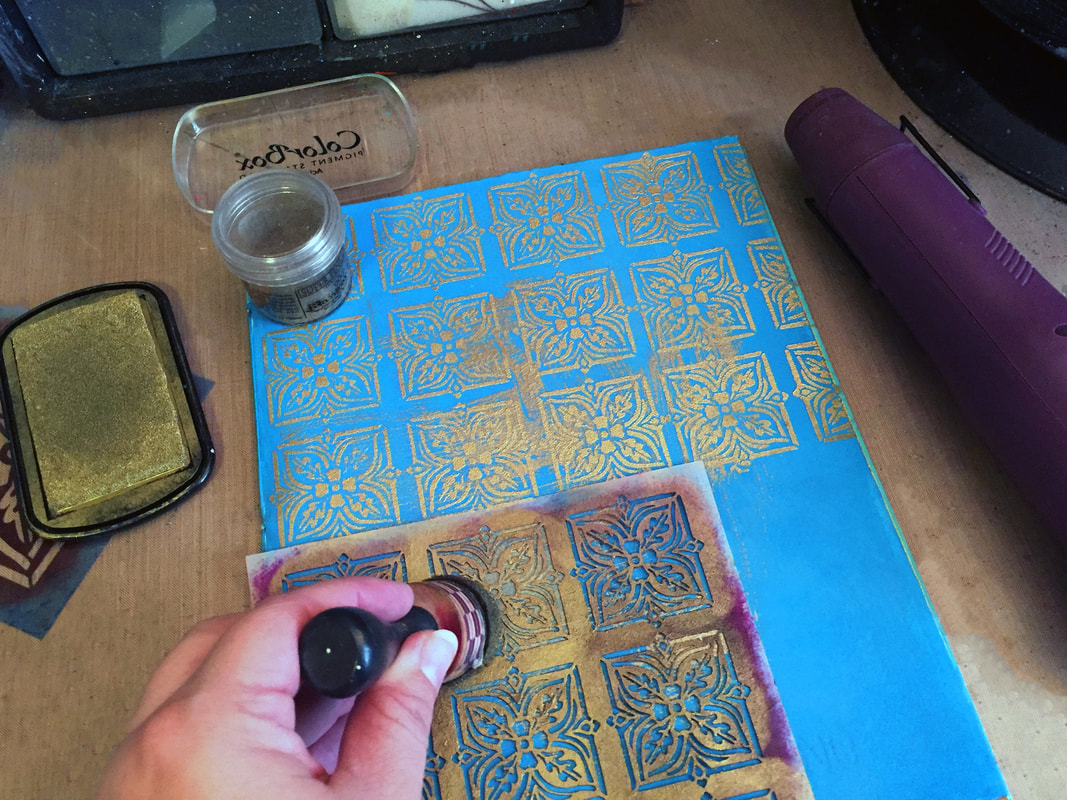
Of course, part of the fun of making your own journals is decorating the covers. For this book I've used stencils and stamps in a variety of ways to add a custom design on the front. I took photos of the process as I went, and of course you could also use these same techniques for a journal page or even a handmade card. The cover of my journal was already painted, so to start I used gold pigment ink and gold embossing powder and stenciled with my Decorative Folk Flower Screen stencil until I had covered the whole background. (I inked through the stencil, applied the powder, and then heat embossed before moving onto the next section and repeating the process. )
|
|
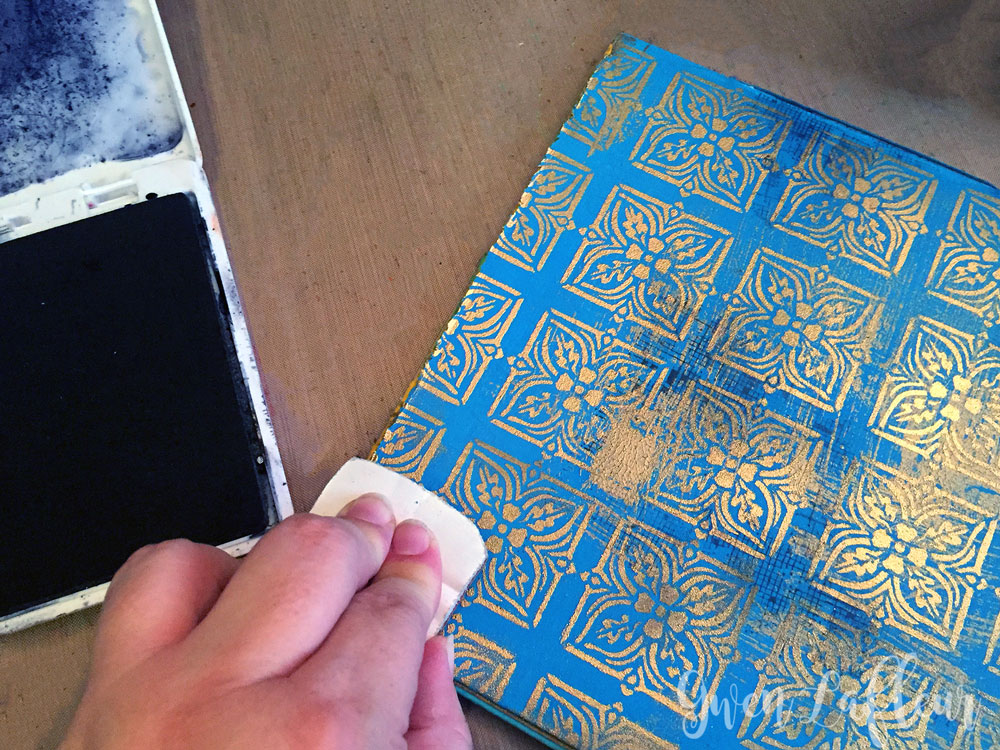
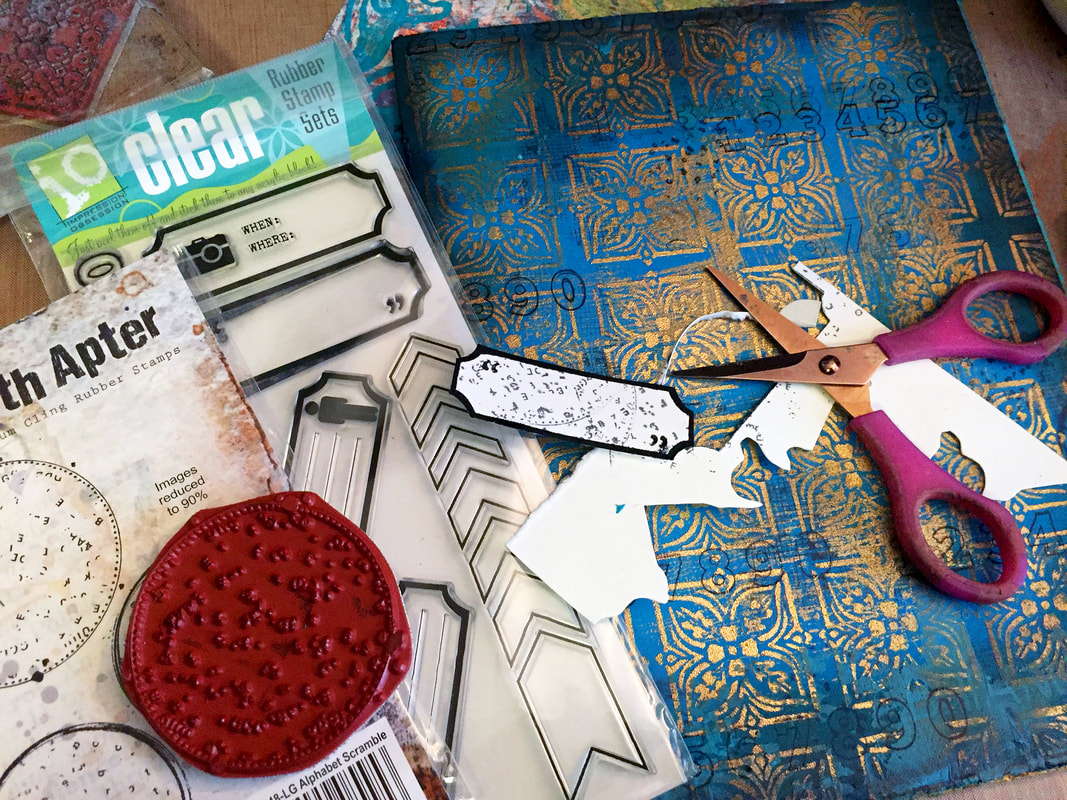
Next I took stamps from the Alphabet Scramble and Faded Fragments stamp sets, both by Seth Apter, and stamped them with permanent black ink to add in a little texture. I randomly stamped over the cover without using a mount since I didn't want the entire image to print. I rubbed the ink off over the embossed areas so that the stamping just showed up on the background.
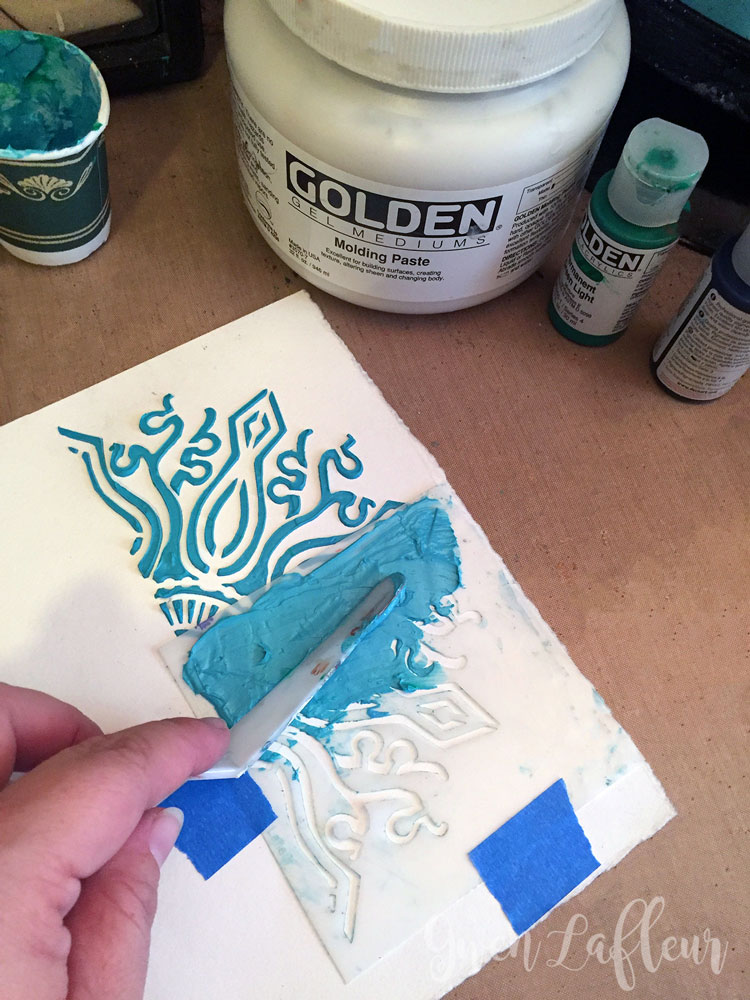
I knew that I wanted to make a frame for a focal image, so with the background done I moved on to work on that part. For the base of the frame I used a good piece of thick paper (I used a scrap of Rieves BFK) and then I tinted some molding paste with fluid acrylic paints. I put a nice, thick coat of molding paste through my Decorative Medallion Repeating Corner stencil - probably about 2mm thick.
I used a heat gun to form enough of a skin that I could move on to the next section without smudging the paste. (Make sure to either use your heat gun on low heat if you have multiple settings, or oscillate a lot from a bit of a distance so that it doesn't bubble the wet molding paste.)
I used a heat gun to form enough of a skin that I could move on to the next section without smudging the paste. (Make sure to either use your heat gun on low heat if you have multiple settings, or oscillate a lot from a bit of a distance so that it doesn't bubble the wet molding paste.)
|
|
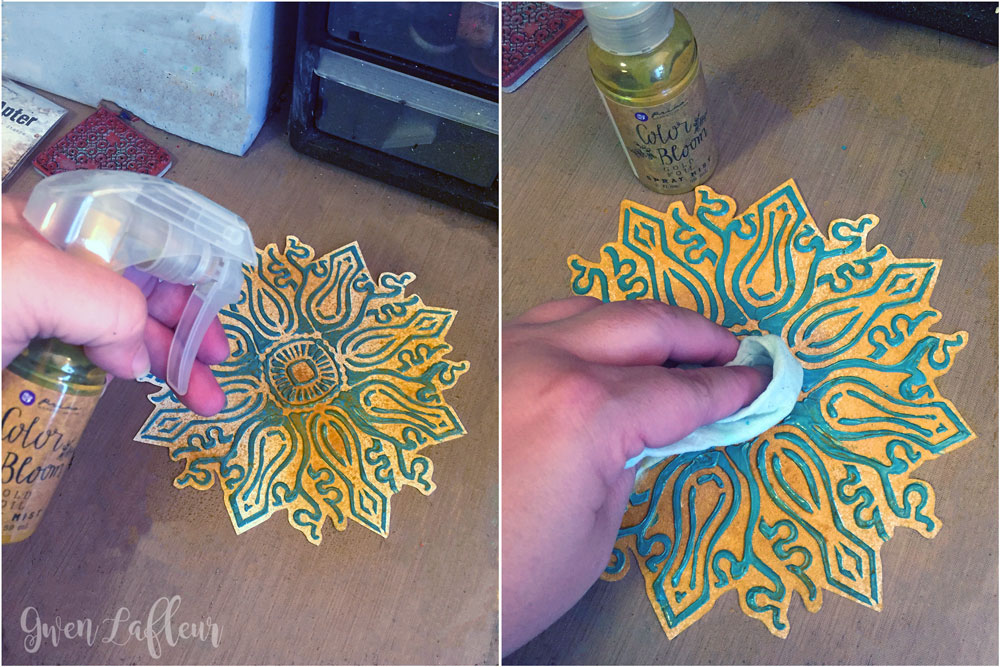
Once I had repeated the stenciled image four times to complete my medallion, I let it dry long enough to handle and then cut around the design and applied some gold spray ink. I used a baby wipe to clean the ink off of the molding paste surface so that it only stained the paper.
|
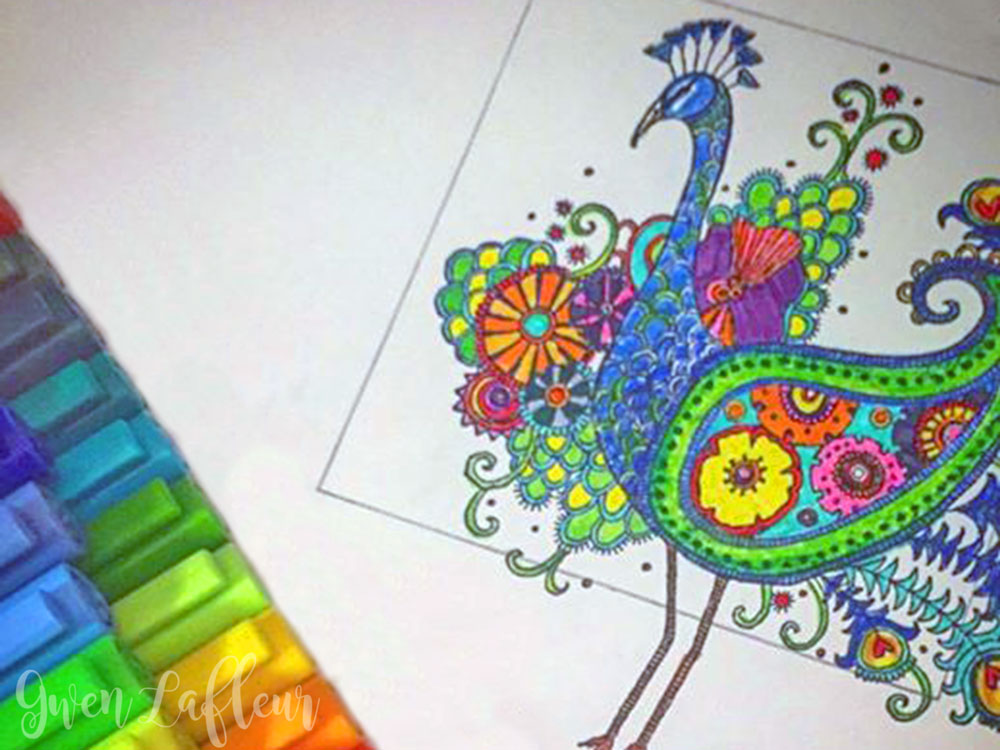
I set the molding paste medallion aside and moved on to create the stamped focal point that would go inside my frame - I knew that I wanted to use this fabulous Peacock stamp from Hannah Davies Designs. I stamped it with permanent black ink on 28 lb copy paper and colored the design with Inktense pencils and Staedtler Triplus Fine-liner pens. (I later added more color to the background with a gold acrylic glaze.)
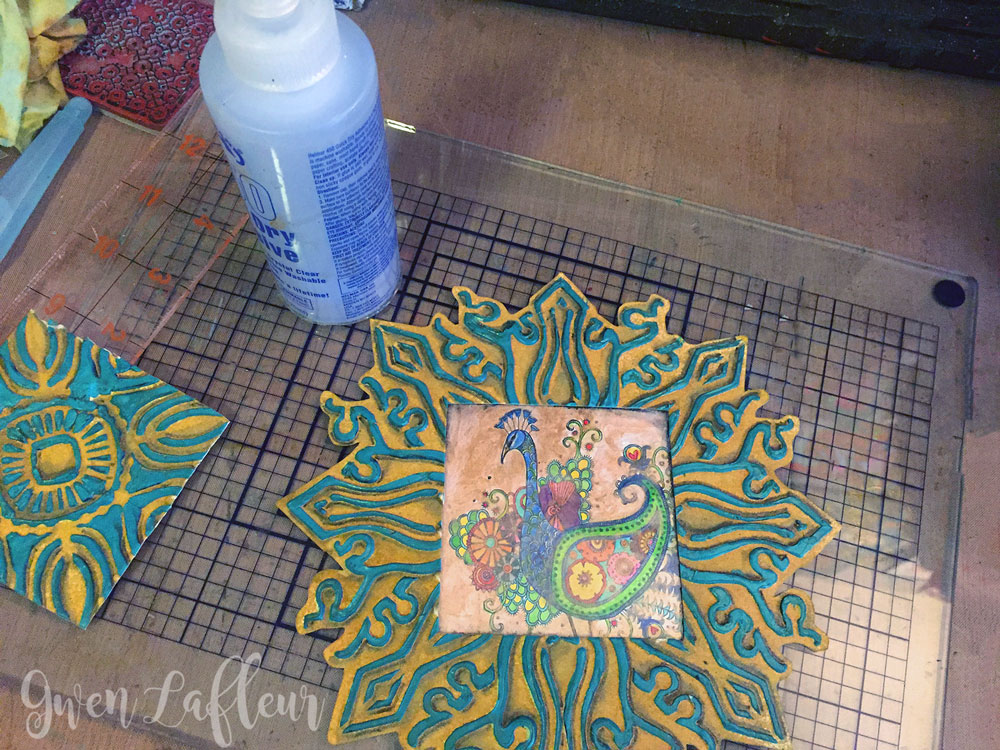
After I colored the image, I used the Simple Geo Squares stencil by Kae Pea to determine what was going to be shown through the frame I was making with my stenciled molding paste medallion. |
|
With the focal point ready to go, I took my medallion and flipped it over, then drew diagonal lines to find the center and used the Simple Geo Squares stencil again to draw a matching square that I would cut out to create the opening. I used an X-Acto knife to cut out the opening and then glued my focal image to the back of the frame.

|
|
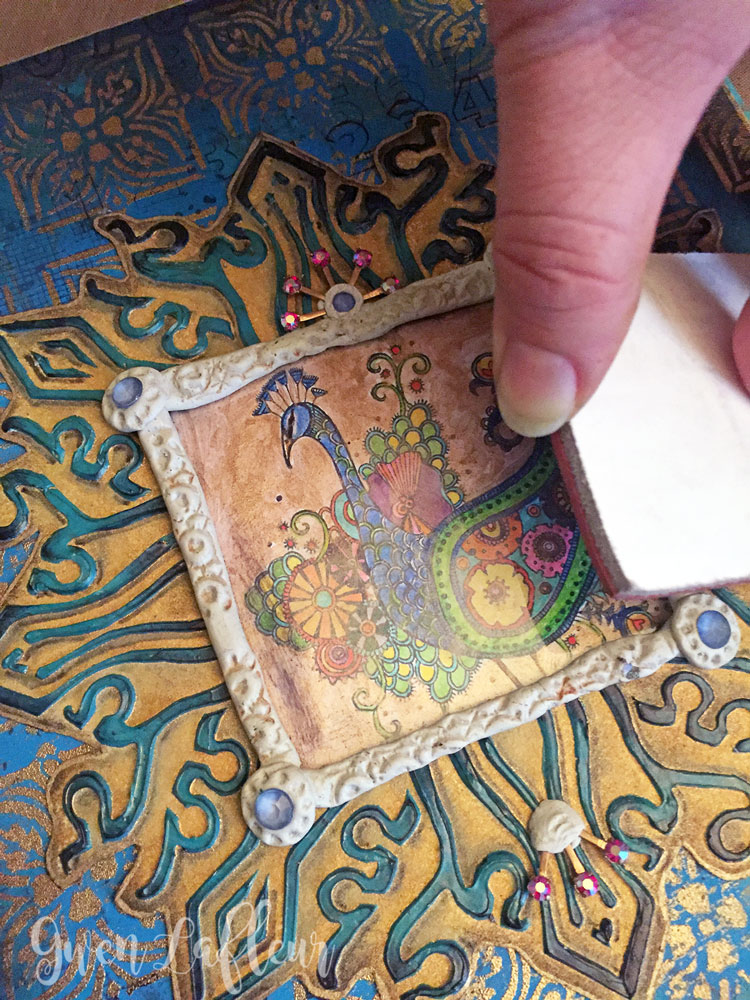
At this point I went ahead and glued the frame onto the journal cover then used some Aves Apoxie Clay to add a clay border around the opening to give it a more finished look. I embedded some metal findings and rhinestones then I used an another image from Seth's Faded Fragments stamp set to add some texture. I spritzed the stamp with a mold release spray and then pressed it into the soft clay. The mold release made it so that the stamp didn't stick to the clay or get any clay into the design and I got some really fabulous texture as a result.
|
|
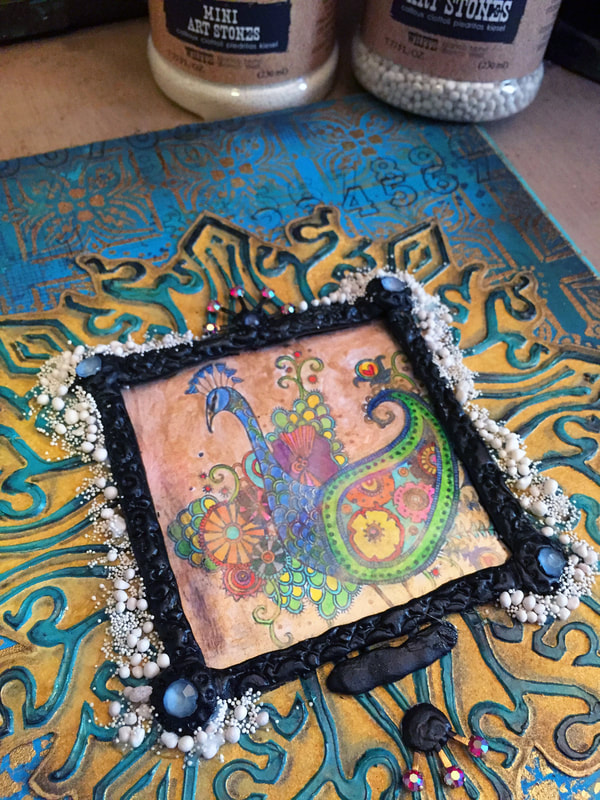
When the clay was cured, I painted it with black gesso and then added some Art Stones by Finnabair for Prima Marketing around the edge of the frame for some additional texture.
While waiting for clay to cure and paint to dry I also made a little label to use as a title for the front of the book. I stamped a ticket image from the Balzer Designs Tickets stamp set, then used another image from Seth Apter's Alphabet Scramble set with gray ink to add some pattern to the background.
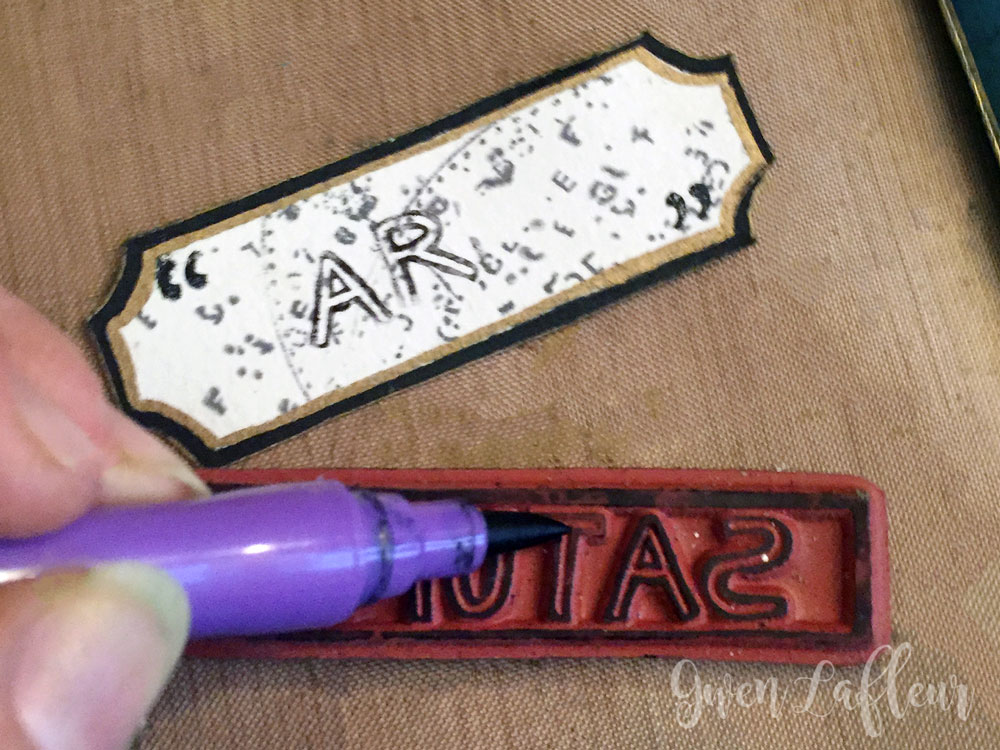
Once that was done, I took the "Saturday" stamp from the Balzer Designs Days of the Week set and used a black brush marker to ink just one letter at a time so I could spell "ART" on my ticket / title card. (On the back of the stamp I placed my finger over top of the letter so that I would know where the letter was when I went to stamp it - it worked perfectly.)
Once that was done, I took the "Saturday" stamp from the Balzer Designs Days of the Week set and used a black brush marker to ink just one letter at a time so I could spell "ART" on my ticket / title card. (On the back of the stamp I placed my finger over top of the letter so that I would know where the letter was when I went to stamp it - it worked perfectly.)
|
|
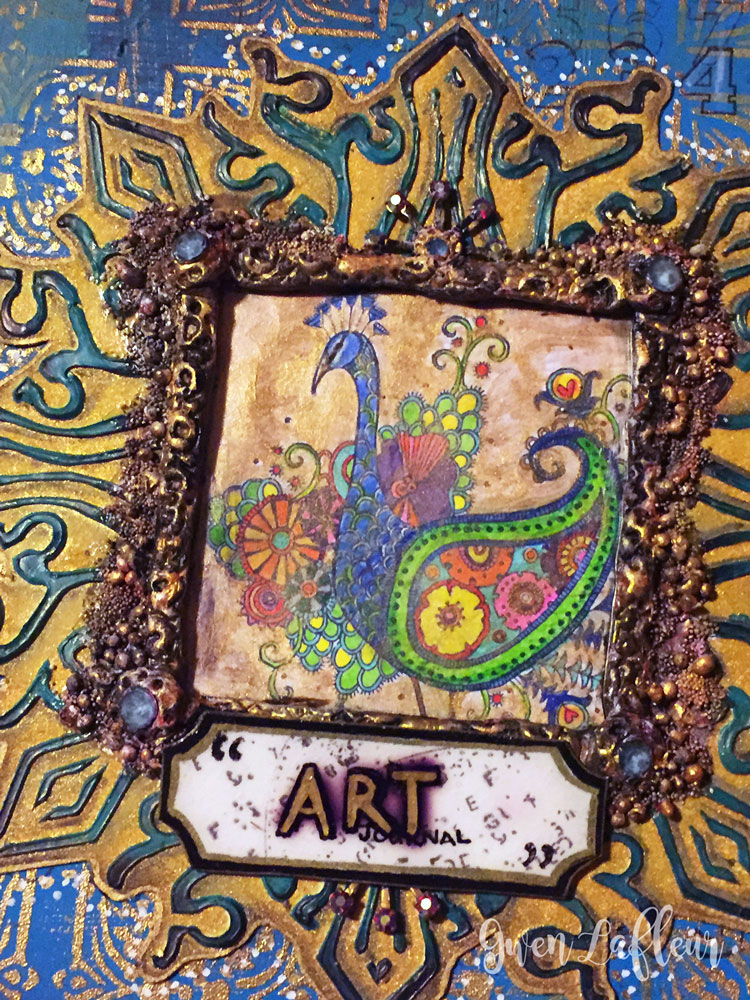
I finished up by adding a few layers of paint on top of my clay frame, then I glued my title tag onto the cover.
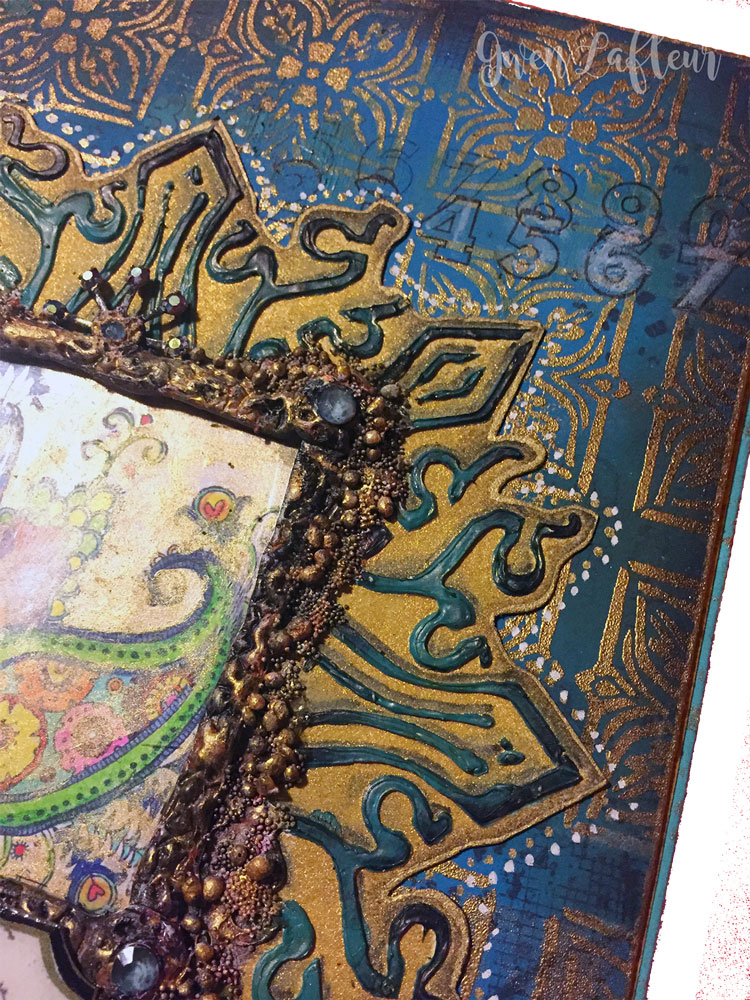
You can also see above that I decided I wanted to create more layers on the background, so I used the numbers stamp from the Balzer Designs Tickets stamp set and put the lightest wash of white paint inside some of the numbers.
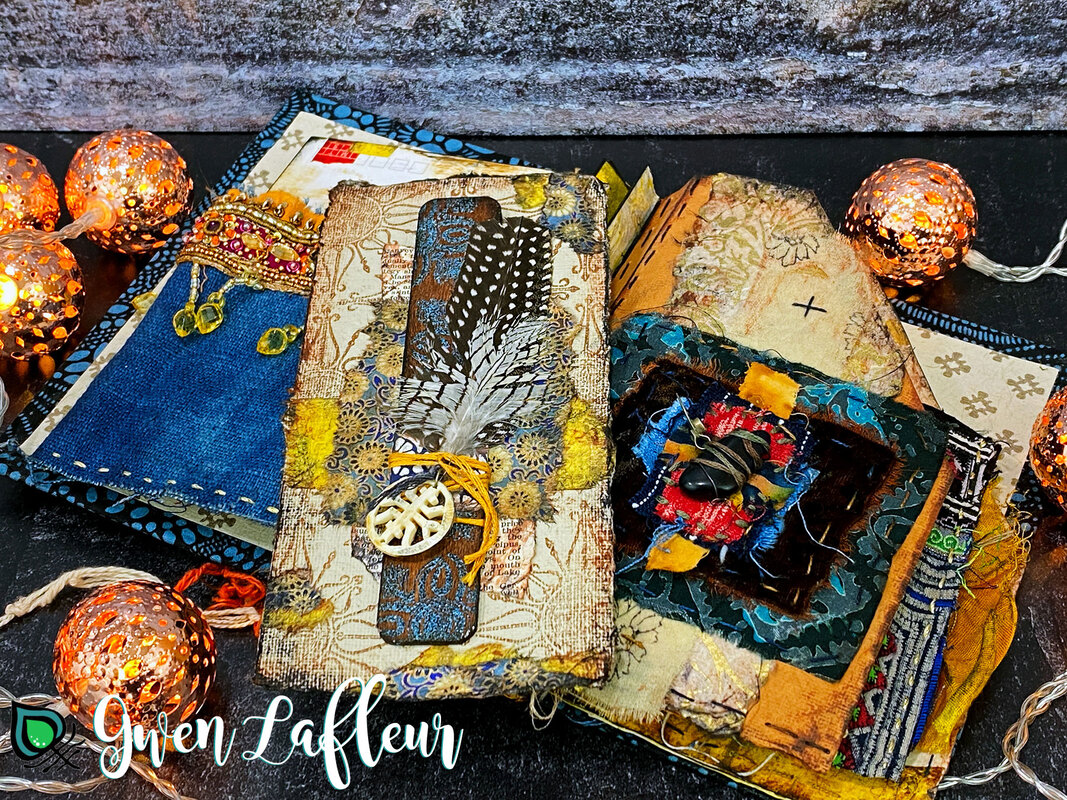
Below you can see closeups of the finished art journal cover (click on the images to see the full photos):
You can also see above that I decided I wanted to create more layers on the background, so I used the numbers stamp from the Balzer Designs Tickets stamp set and put the lightest wash of white paint inside some of the numbers.
Below you can see closeups of the finished art journal cover (click on the images to see the full photos):

You might also like...