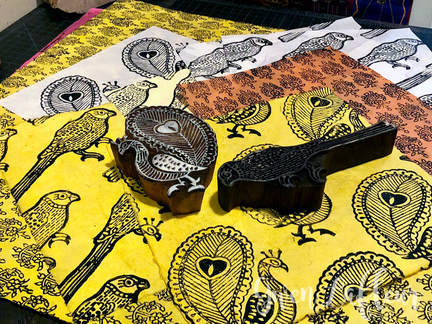
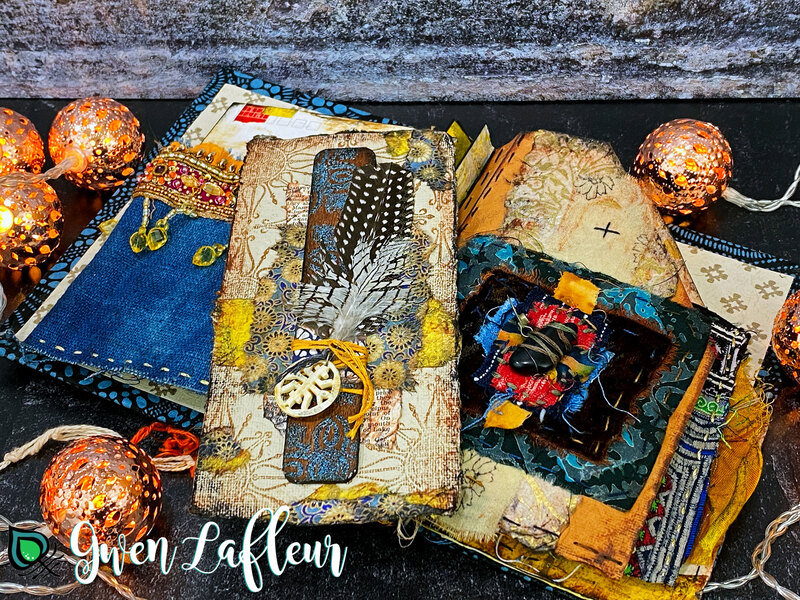
Whenever I post any work that uses woodblocks, I receive lots of questions about how to use them for printing, especially on paper. I love to use block-printed images in my work... they make beautiful focal points for collage, and there are also a lot of stunning patterns that are great for backgrounds and patterned papers. One of my favorite things about them is that they give you the ability to create your own unique collage fodder as you can change the colors of your paints and colors and types of papers, the arrangement and combination of the blocks when printing, etc... so that you can create something that brings your personal flair into your work.
|
While I'm definitely not a pro at printmaking, I've been fortunate enough to get some good instruction that's helped me find what works for me. First, I was at Artistic Artifacts in Alexandria Virginia a few years ago and had a great demo from the owner, Judy Gula. (She has a video out there too that's also helpful!) They carry lots of blocks, and they work with families in India to have them made, so they're Fair Trade and support the artisans directly.
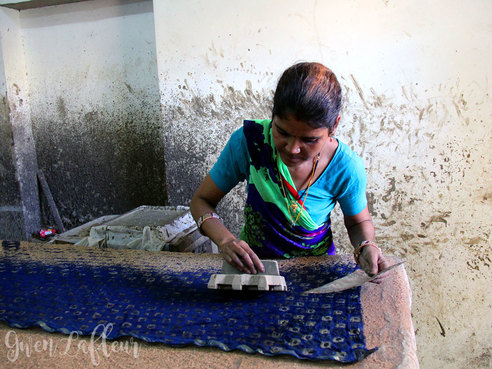
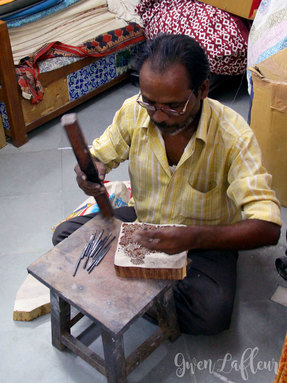
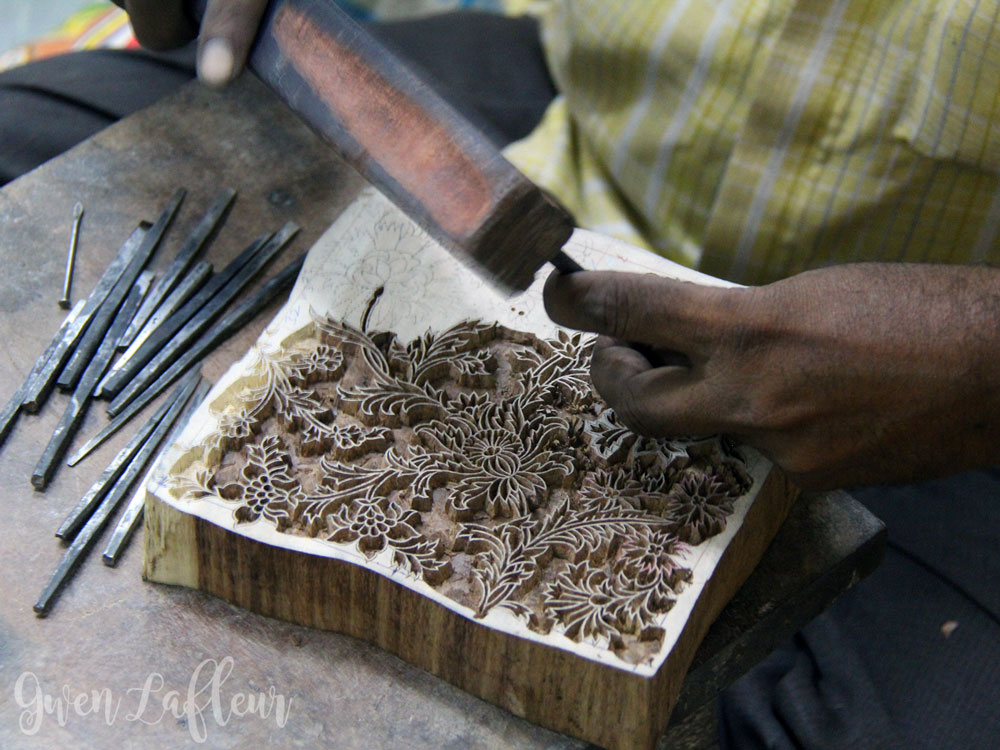
I was also very lucky to be able to attend several demos and workshops while I was in Jaipur, India in September of 2017. I got some hands-on experience, observed masters at work, and was able to talk to one of the workshop owners about some of the details of the printing process, especially how they set up their printing tables. |
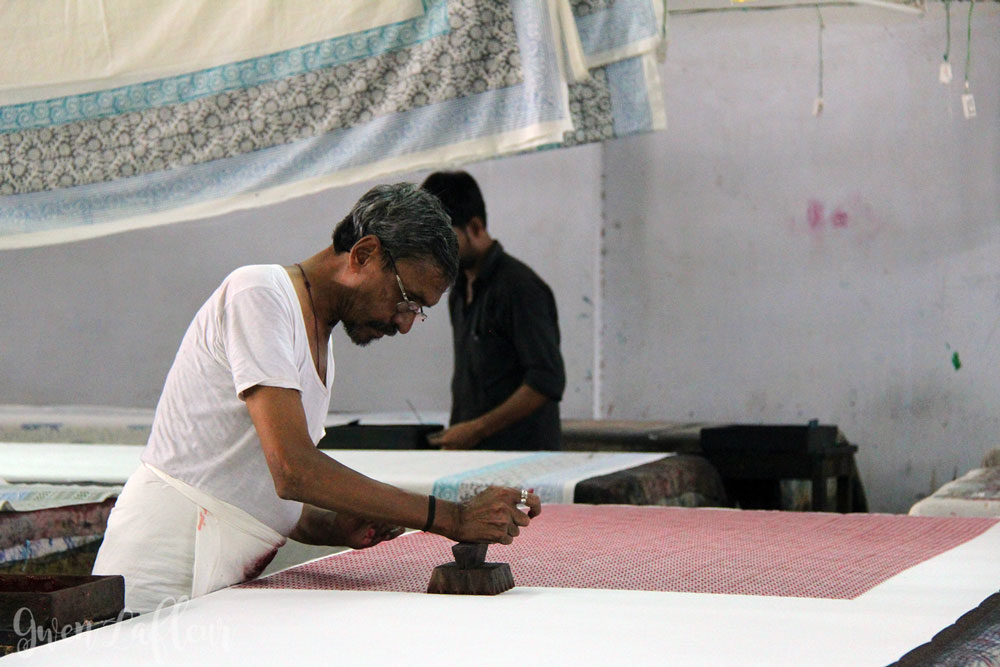
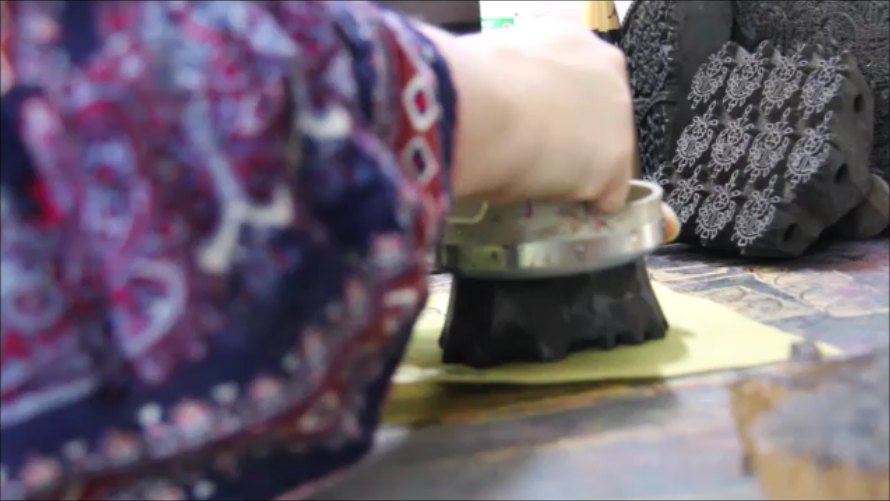
Here you can see a few types of block printing that I observed in India. The first was was a demo of Dabu block printing; it's similar to Batik, only they use mud as the resist instead of wax and coat it with sawdust while it's drying. At another workshop in Jaipur, we observed and then got a chance to participate in more traditional block printing on fabric. (The gentleman in the photo appears in my video below.)
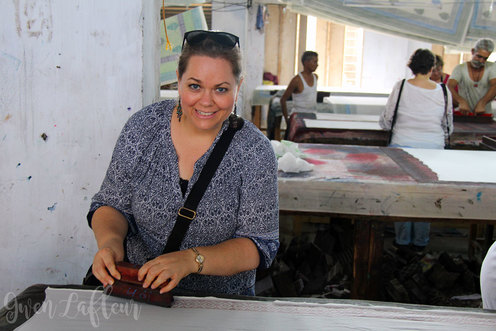
And here I am, printing a border on my fabric (the final product was pretty nice, if I say so myself! And the owner of the workshop asked me if I was an experienced printer... I was proud of my meager skills.)
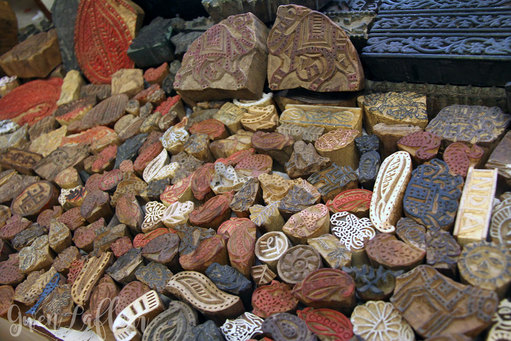
The workshop was filled with inspiration... blocks were piled on shelves
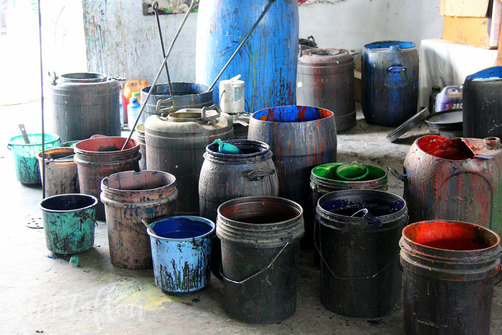
under every table, and vats of ink sat in the sunlight, waiting to be
used...
You could buy blocks from the street vendors! I had one follow me with
some gorgeous border blocks and I was able to negotiate a crazy good
price for them... between that and the workshops, I came home with a
lovely selection to add to my collection.
With that introduction, on to the tips and tricks!
I put together a video which includes a clip that I took in one of those workshops along with my tips for printing surfaces, choosing and applying paint, printing, and cleaning your blocks. I'm also showing the two main types of woodblocks that I use in my own work, and then below I've broken out the highlights in writing with a few photos in case you want a refresher or just want to skim instead of watching the video (it's about 18 minutes long.)
I put together a video which includes a clip that I took in one of those workshops along with my tips for printing surfaces, choosing and applying paint, printing, and cleaning your blocks. I'm also showing the two main types of woodblocks that I use in my own work, and then below I've broken out the highlights in writing with a few photos in case you want a refresher or just want to skim instead of watching the video (it's about 18 minutes long.)
1. Printing Surfaces
|
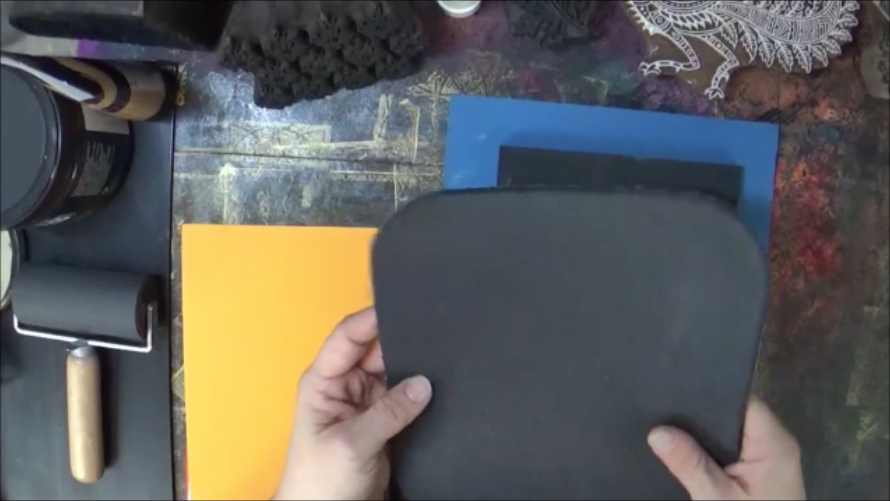
You need something with some give under your paper or fabric while printing; traditional rubber stamps are usually mounted on some kind of cushion, but blocks also need that "give" in the surface in order to get a good impression, especially since these are all hand-carved and the surfaces may not be completely even. A few options:
|
2. Paints, Papers, & Tools
|
First up, paint. Generally speaking, ink (like you use for rubber stamping) doesn't work - it dries too quickly (although after a conversation on Facebook, I do want to experiment a bit with some types of pigment ink, just to see if I could heat emboss one of these images.) The "ink" they use in India is like a very thin paint, and they have shallow open boxes with thick pads in them that soak up the paint from below and they use it like a stamp pad, refilling it when it starts to get low. While that's practical in a professional printing workshop, it's hard to find a way to store and maintain that sort of thing at home, so I just stick with paint, a palette, and a brayer.
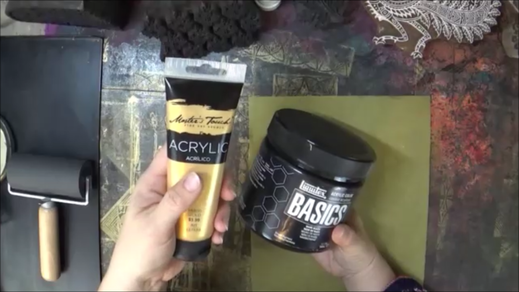
I use acrylic paint - student grade is fine for this... I save my Golden and other professional acrylic paints for other applications, especially because you can go through a fair amount of paint in a printing session and it could get expensive fast if you're using the good stuff. |
|
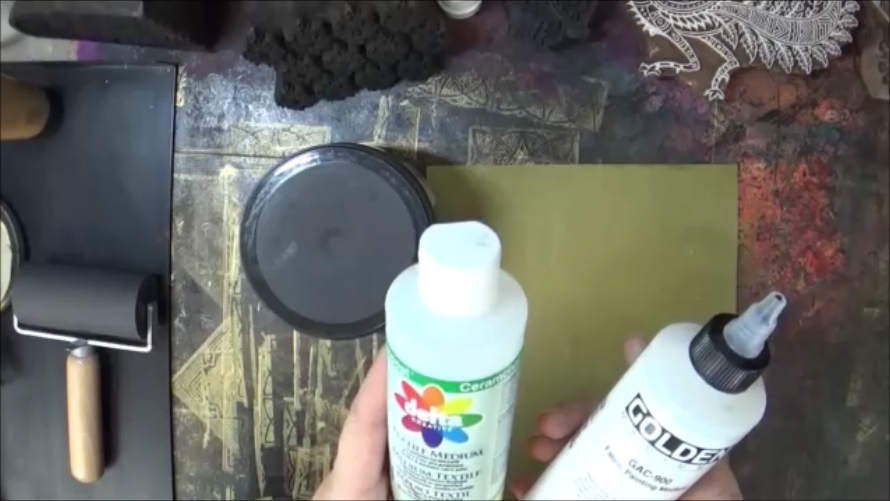
I use a fabric or textile medium as my additive. You could use something like the Golden GAC-900, but again, I tend to save the expensive stuff and use the craft product here. The other one I've got in the video is from Delta, and you can find it in the aisle with the craft paints. It works just fine, and it will save you a lot of money.
Of course, you can use other extenders, but this lets me print on both fabric and paper without having to change mediums. (You can print on fabric with another medium, but if you want it to be washable, you'll need to make sure you're using a fabric medium and then heat set it later.) |
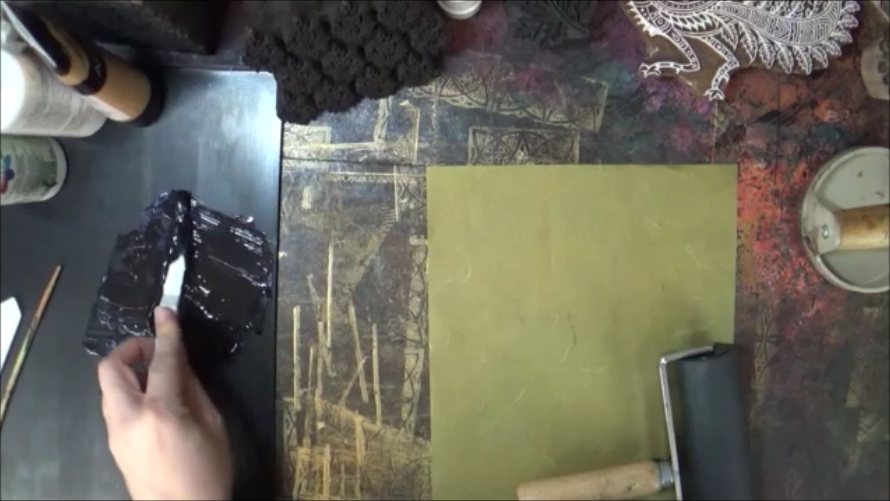
I just put the paint out on my palette (I use a metal inking plate - the one I have is made by Jack Richeson and I like it because it has a lip that goes over the edge of the table to help anchor it.) I add in my medium and mix it up with a palette knife. In the video I said that it's thinner than heavy body acrylic but not as thin as fluid acrylic, but that's personal preference. The ink in the workshop in India was quite thin, and I've used some other paints that were thin and those worked great too. You can also premix your paint and medium and store it in an empty bottle - I do this sometimes as well.
A few other thoughts on paint and ink...
Printing ink like Speedball works great. But, it's generally water soluble so if you're going to use your papers for collage, it smears. A lot. (Take it from someone who knows!)
There's a brand of printing ink called Akua that works really well and prints beautifully, but it has some drawbacks that make it so that I, personally, prefer not to use it. It's made from an oil (it smells like tung oil to me, and I don't care for the scent,) and it's messy to clean up... it gets under your fingernails like nobody's business and good luck getting it back off. The other thing is that it dries through absorption, so if you print on thinner paper or print multiple colors on top of each other if there's not enough paper to absorb all of the ink, it will never dry. (But, you can leave it out on your metal inking plate and walk away for a few hours - or even days - and you're golden when you come back!)
Also, Golden OPEN acrylics work great - I thin those with the OPEN medium as well. They print beautifully and the open time means they don't dry before you can print, but they're very expensive and because they're meant to have that really long open time like oil paints, your prints can take up to several days to completely dry. I don't know about you, but I sure don't have time for that!
|
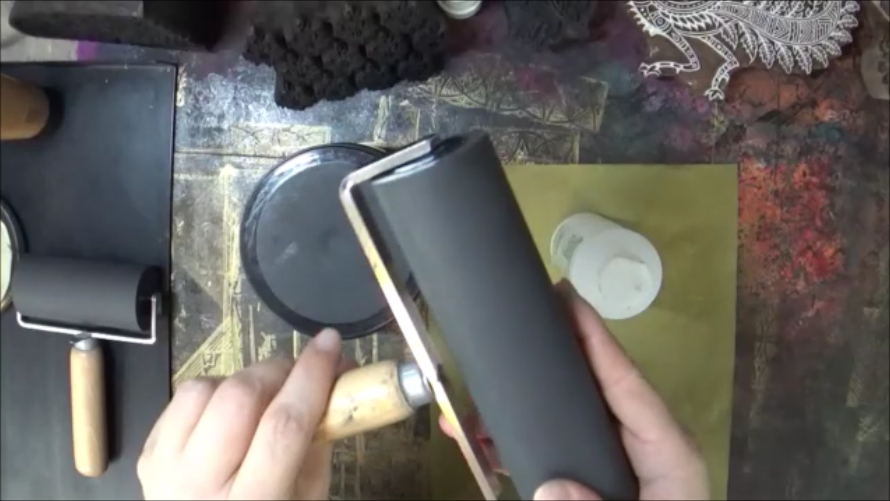
To apply paint to the blocks, I use a brayer - soft rubber brayers tend to work best, especially with the hand-carved and slightly uneven surface of the blocks. If possible, it's nice to use a brayer that's about the same size as your block or a bit larger - this helps to keep lines from the edge of the brayer from showing up in your print. The one I used here is my favorite - it's a 6" Japanese brayer, but you can definitely get more budget-friendly brayers from Amazon or your local art or craft supply store. (I said in the video that I thought the name of the place I get them from was MacPhersons, but it's actually McClains - close!)
|
|
Finally, choosing your substrate...
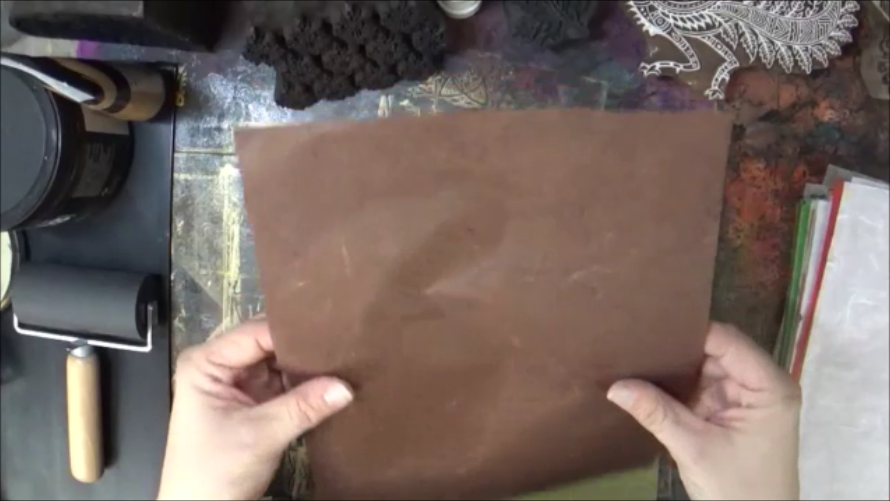
Woodblocks are designed for printing on fabric, so obviously fabric is going to work perfectly. I usually just use cotton, muslin, or even something like a duck cloth or canvas and they've all worked great for me. But paper is where it gets tricky and I have a lot of people tell me that printing doesn't work. Half the time (probably more than that!) it's because of the paper they're printing on. I'll just say this, cardstock has never worked well for me. The combination of thick and stiff means that it's pretty much the antithesis of fabric and that means that it doesn't mold to the block when you're printing, even with the right surface underneath. Try and find paper that has a lot of the same qualities as fabric. For me, that means something very flexible and fibrous - my go-to papers are rice and mulberry, but I've also used printmaking paper like BFK Rives with a lot of success. It's thick, but has the other qualities you need. As I shared in the video, you can also spritz your thicker and / or stiffer papers with water and then blot them with a towel to help make them more flexible. There are limits to how well this works - really stiff papers still don't tend to work most of the time, but it does help. |
3. Printing
|
Wow... that's a lot of build-up before getting to the main event, right? But the printing doesn't work if you don't have the right surface, paint, and paper, so I wanted to get as much information out there as possible.
To actually start printing you'll want to ink up your brayer, but make sure you don't get it too gloppy or you'll get gloppy prints (probably helpful to watch the video for this part.) I put my block face up on the table or in my hand and apply the paint, making sure to get good coverage. You'll want to make at least one or two test prints on scrap paper (I use deli paper) because you generally need to prime your block the first time you use it in a printing session before you get consistently good prints... the first few usually have gaps and faint spots. (Plus, those test prints usually end up being good collage fodder as well.) |
|
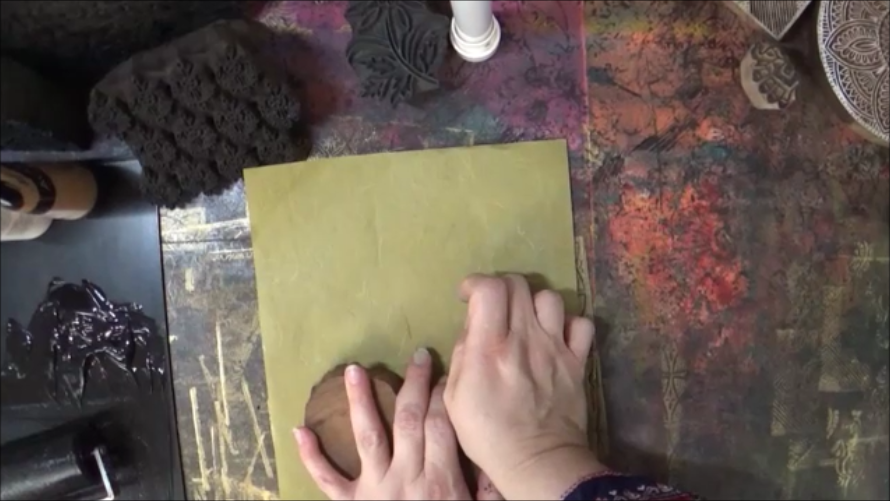
To print, carefully place the block where you want it, press down with both hands - even pressure, and make sure that you press all areas of the block. I do this standing - it gives the best leverage. (And as I mention in the video, I've had sore abs the next day after printing for a few hours straight!)
If you want to see how they do it in India - which is painful to watch AND do yourself, make sure to check my clip in the video. It does work, though! |
|
I also mentioned that you can use a baren - I usually only do this with my smaller blocks... it helps to distribute even pressure on the block so that you get a complete print without having an uneven application of paint. (If you want to do this on larger blocks, you can make or get a press - there are lots of different types and sizes available.)
|
4. Clean-Up
|
The last question I get is whether to clean your blocks and, if so, how to do it.
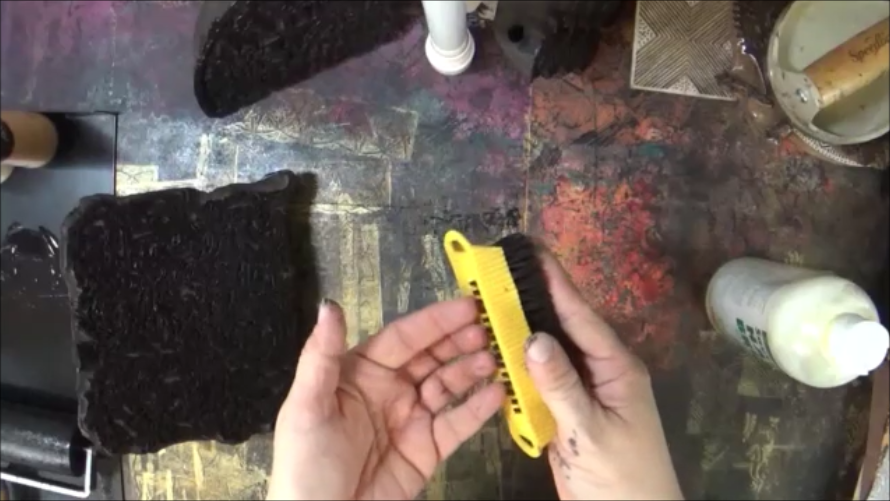
Yes - I clean them. I try to clean them as quickly as possible after use so that the paint doesn't dry in the nooks and crannies of the design. To clean the blocks I use water and a bristle brush called a mechanic's nail brush so it's fairly gentle. Of course, this also has the benefit of doubling as a way to clean your hands - mine always get covered in paint! This particular type of brush has a line of bristles on the back that's meant to get under your nails. Very handy! |
|
In addition, I sometimes use a gentle soap - I like Savvy Soap which I also get from McClains - it smells nice too! They say it has a "citrus scent," but it actually smells more like cinnamon to me. Either way. Again, this is good for both the blocks and your hands. (Avoid harsh soaps or anything with alcohol, which will dry out the wood.)
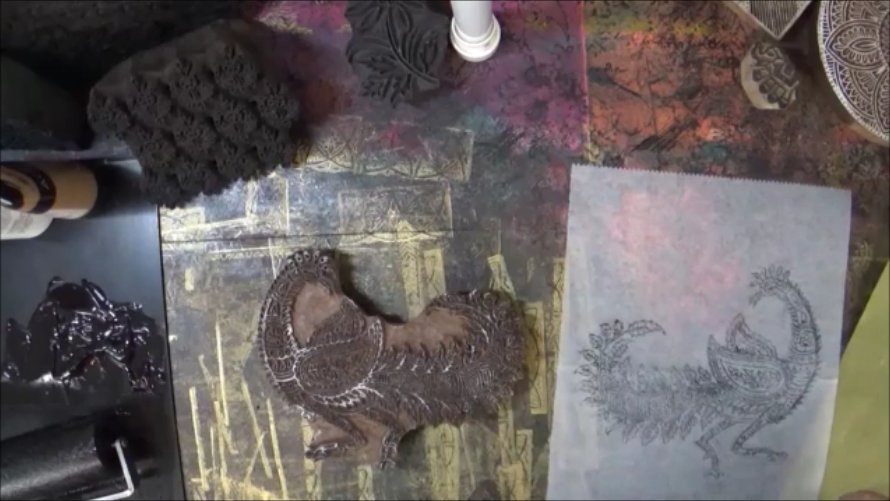
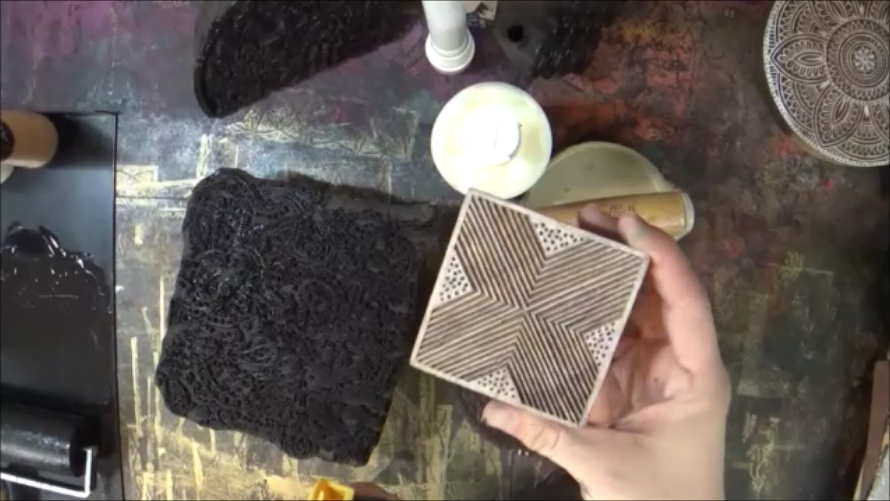
If you use the blocks that have the white stain to show the design, usually the white is still there after you clean them. It depends on what the maker used as the stain when the block was created - some will rub off, but most of mine come back - the block in this photo has been used and cleaned a few times and still looks great. |
Whew! That's a lot of information, but hopefully it helps! Good luck, and have fun!
|
|
You might be interested in...

