In September 2017 the Artist Tribe and I participated in a little blog hop where we each shared projects using my stencils and / or items from my shop. For my post, I'm sharing how I used my stencils and shop goodies to make a set of ATCs (Artist Trading Cards.)
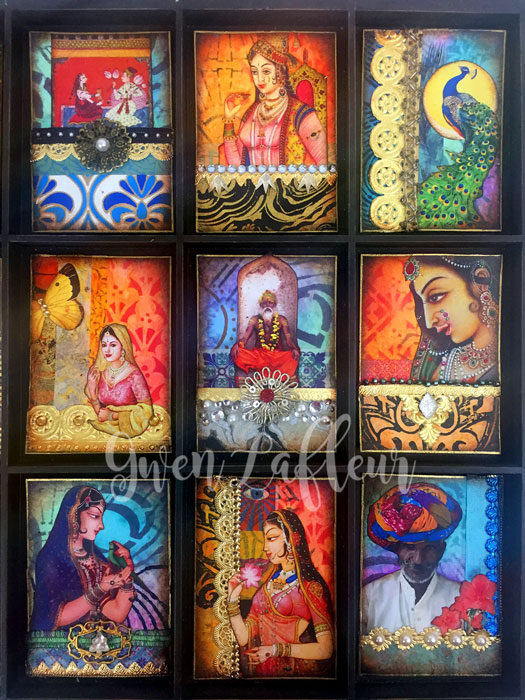
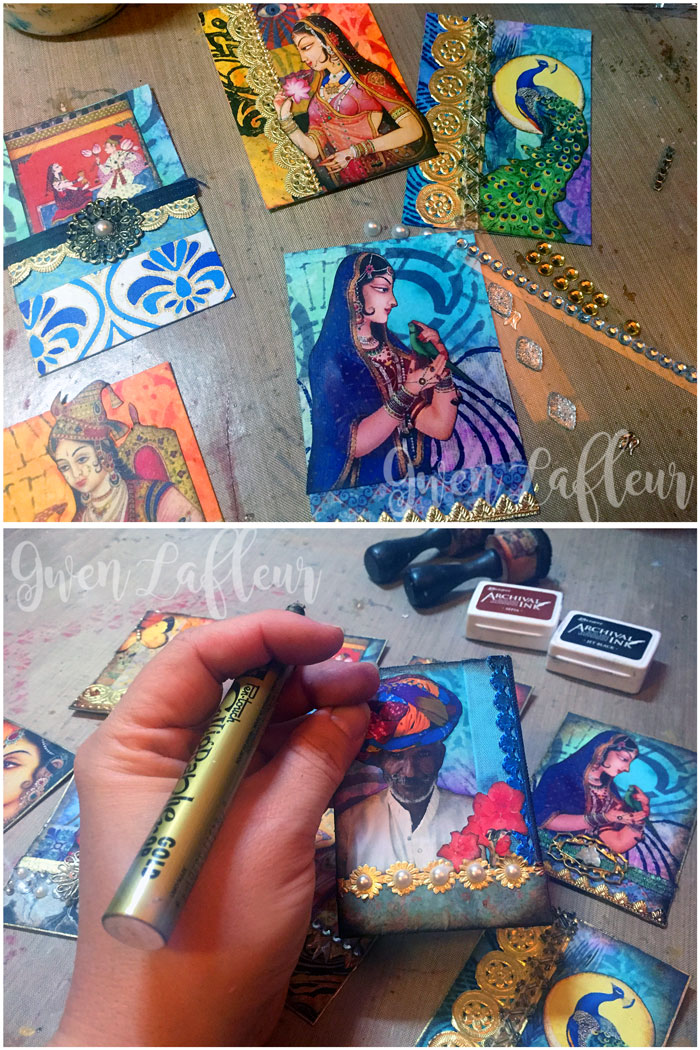
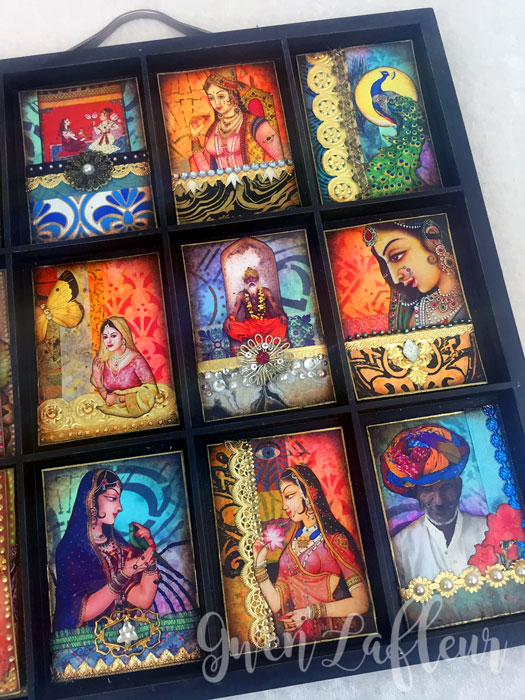
Here are the cards - believe it or not, I made all of these in one sitting... it just took a few hours (which for me is pretty fast!)
Here are the cards - believe it or not, I made all of these in one sitting... it just took a few hours (which for me is pretty fast!)
Ready to see how I made them?
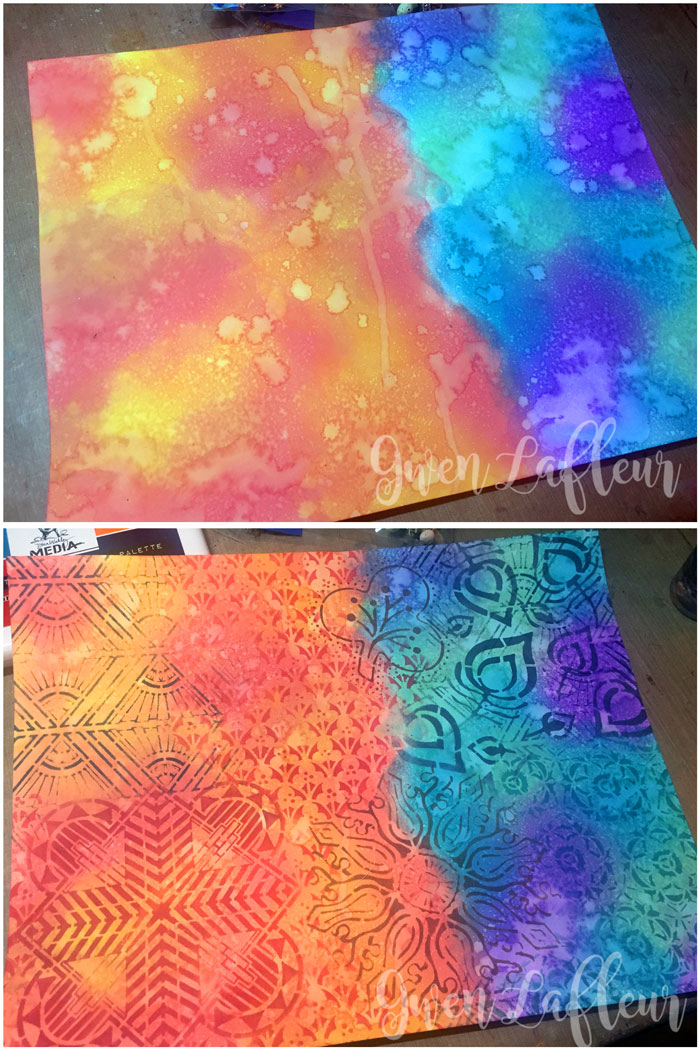
I started with an 11"x14" sheet of heavy weight paper, then I blended some Distress Oxide Inks onto the surface, spritzed with water, and dried it. I wanted to do two different colorways so that I would have some variety in the backgrounds for my cards so I did each half of the paper in different colors, contrasting warm and cool palettes.
I started with an 11"x14" sheet of heavy weight paper, then I blended some Distress Oxide Inks onto the surface, spritzed with water, and dried it. I wanted to do two different colorways so that I would have some variety in the backgrounds for my cards so I did each half of the paper in different colors, contrasting warm and cool palettes.
Next, I pulled out my stencils and started adding designs all over the background without much rhyme or reason. Here, I used two designs from my Art Deco stencil collection: Art Deco Sunburst Background, Art Deco Sun Medallion, then the Decorative Medallion stencil and Decorative 6-Petal Flower Screen. From my Ornamental stencil collection I used the Ornamental Peacock Feathers stencil, Ornamental Floral Screen, and Ornamental Embroidery. I stenciled all of those with Archival Inks - I wanted the slightly more soft and transparent look of inks for this, plus they give a nice, crisp image and no drying time.
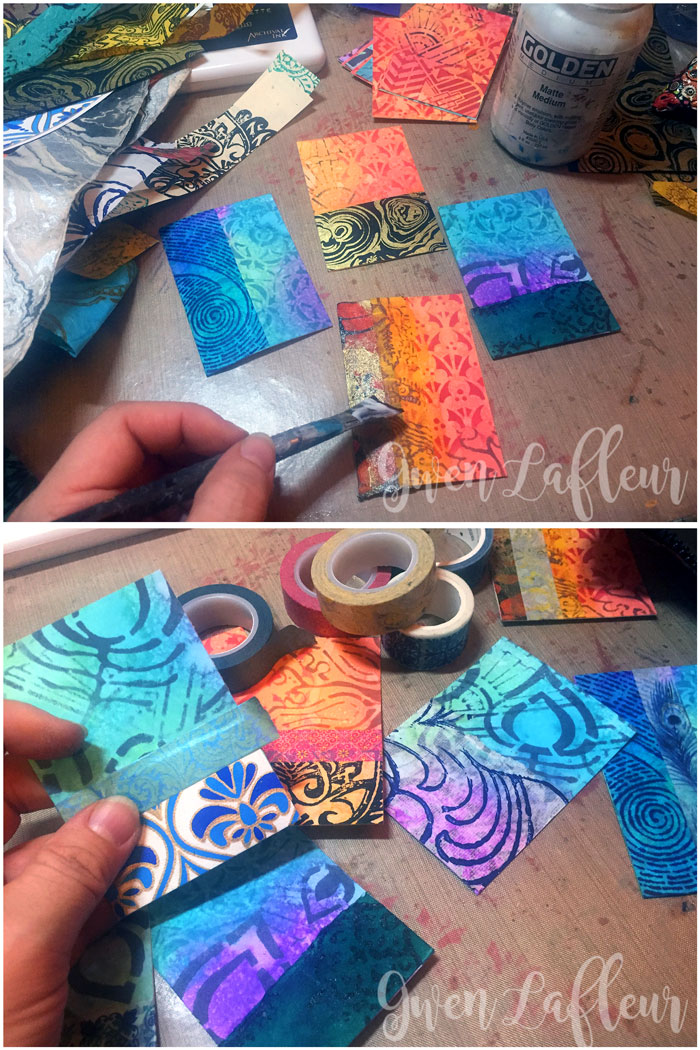
With that done, I cut the sheet down into 2-1/2"x3-1/2" cards, then took paper scraps and adhered them along the bottom or side with matte medium.
With that done, I cut the sheet down into 2-1/2"x3-1/2" cards, then took paper scraps and adhered them along the bottom or side with matte medium.
To bring more pattern and variety to the cards I took different washi tapes and added those as another layer, sealing them with matte medium.
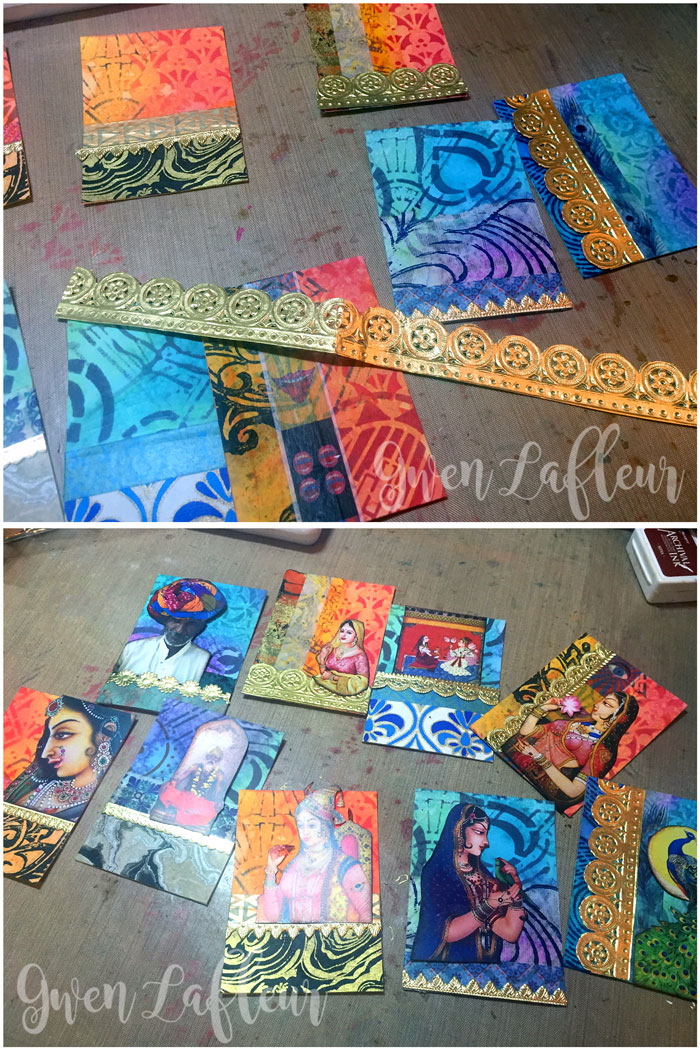
With the matte medium dry, I took some different Dresden trim border designs and added a small section on each card.
With the matte medium dry, I took some different Dresden trim border designs and added a small section on each card.
Next I cut out nine images from the collage sheets (these were provided as part of a kit for a swap group I used to be a member of, but you can find similar designs in my Irresistible India downloadable collage cutouts.) I decided which backgrounds looked best with which images and then adhered them in place with matte medium.
After that it was time for one of my favorite parts - embellishing. For this, I mainly used different trims, jewels, and charms from my stash and glued those in place.
After that it was time for one of my favorite parts - embellishing. For this, I mainly used different trims, jewels, and charms from my stash and glued those in place.
Finally, I used Sepia and Jet Black Archival Inks along the edge of each card and then finished them with a line of gold from a Pen-Touch paint pen.
That's it! The cards themselves are quite easy to make - the key is the background, which adds a lot of complexity and depth without a lot of work. From there you just add a few layers on top, and voilà! Fun and ATCs, all ready to trade.
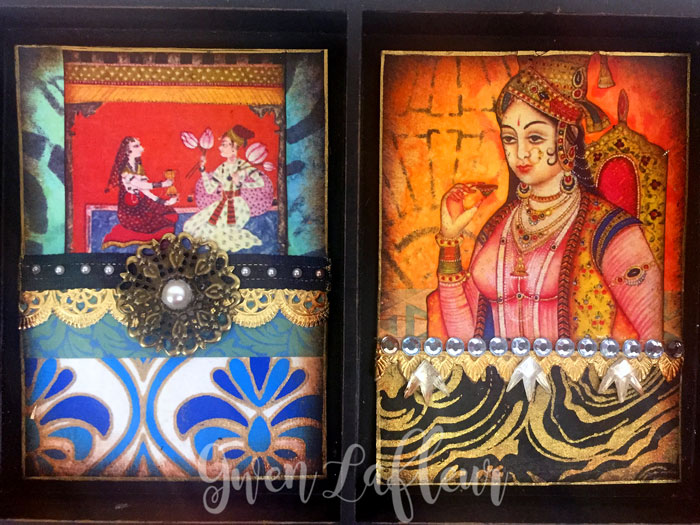
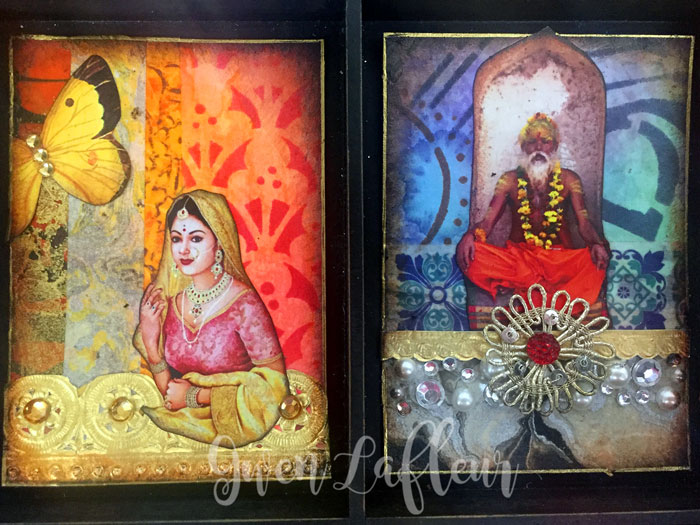
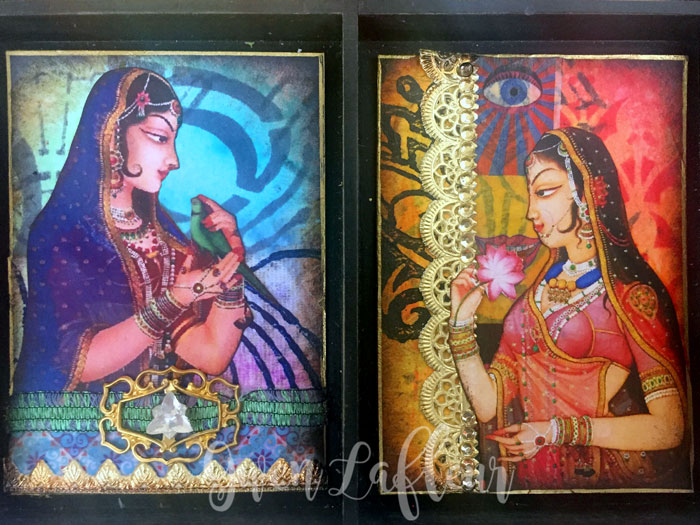
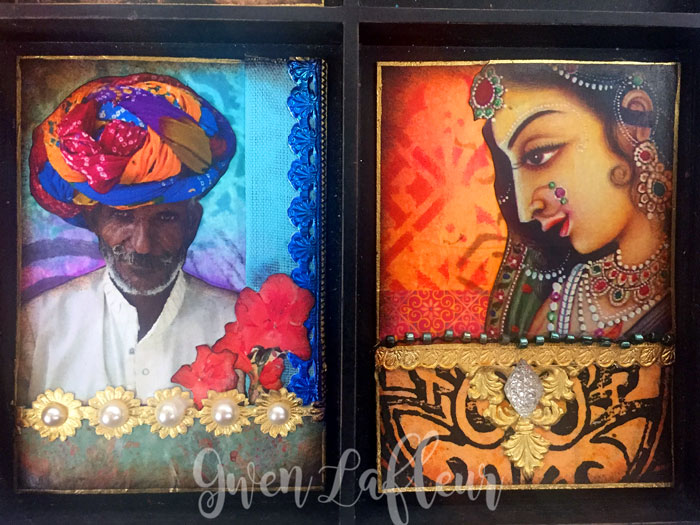
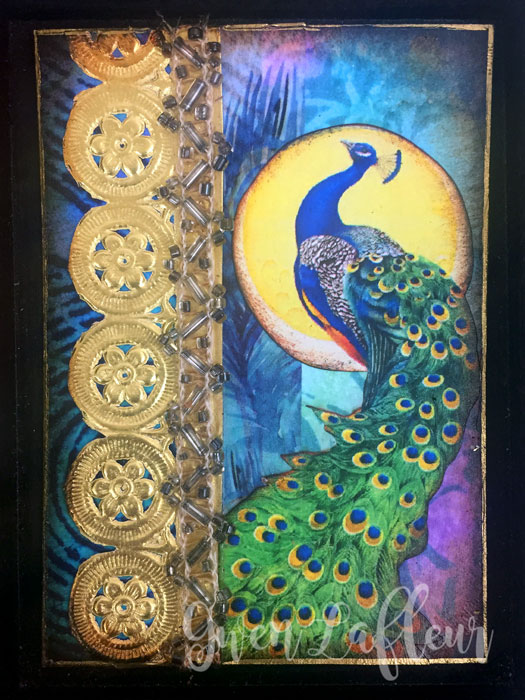
Here are close-ups of each of the cards I made:
That's it! The cards themselves are quite easy to make - the key is the background, which adds a lot of complexity and depth without a lot of work. From there you just add a few layers on top, and voilà! Fun and ATCs, all ready to trade.
Here are close-ups of each of the cards I made:
And of course, one final look at all of them together:
You might also like...

