Whenever I share any of the ATCs that I've made for swaps or giveaways, I'm always asked how I make them. I love to create highly detailed and layered Artist Trading Cards - it's just so much fun to work with those tiny little canvases! I've put together a few different ATC tutorials over the years; this one shows a few different cards being made with some of my own travel photographs.
Most of the time I made my ATCs one at a time and I don't usually know where I'm going to go with them. I'll typically start with an image and then see where it takes me - that was the case here.
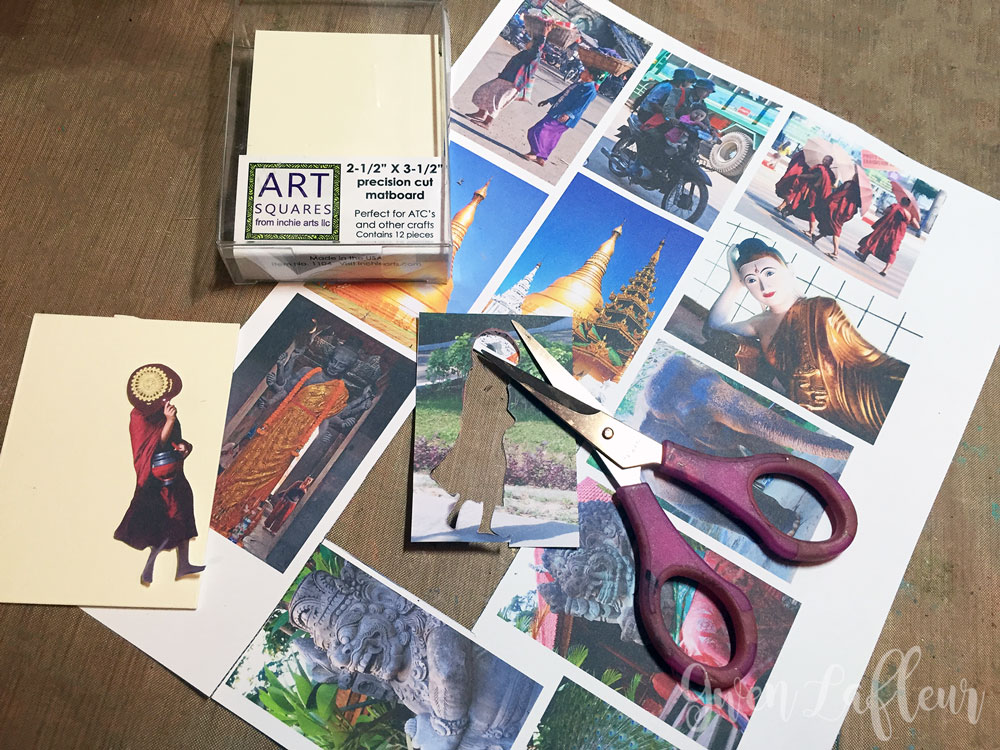
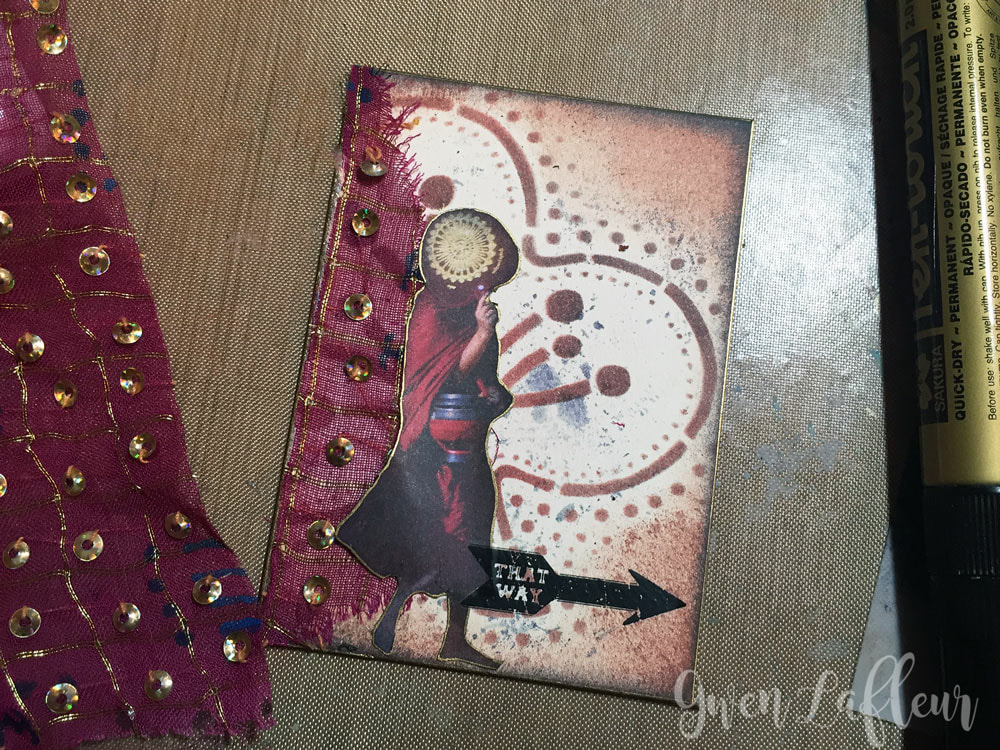
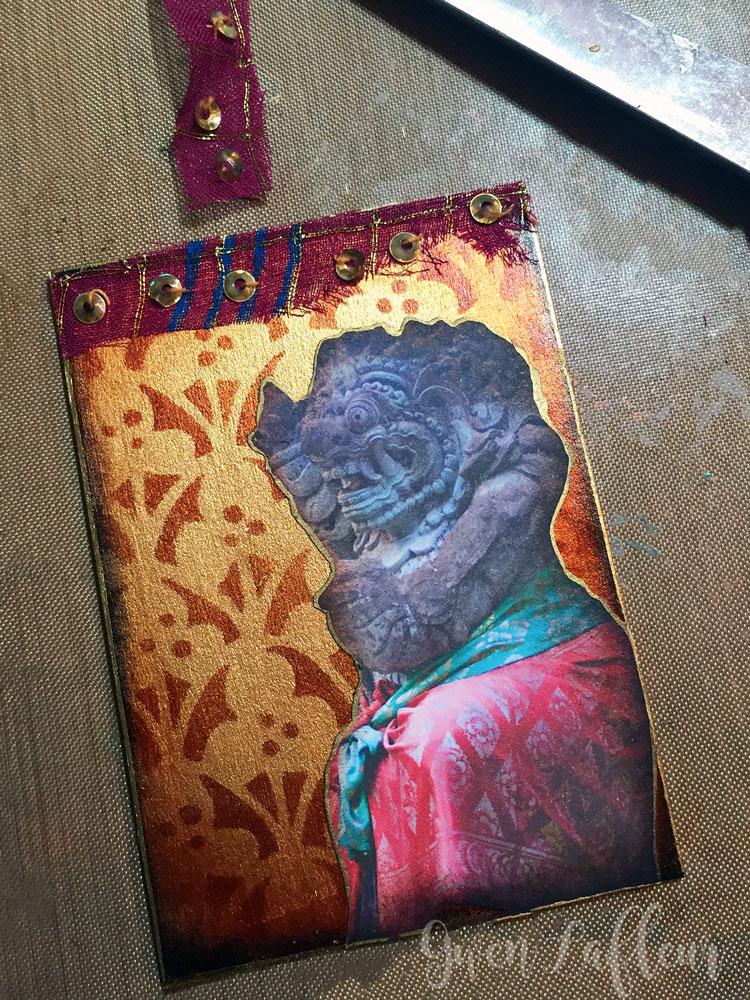
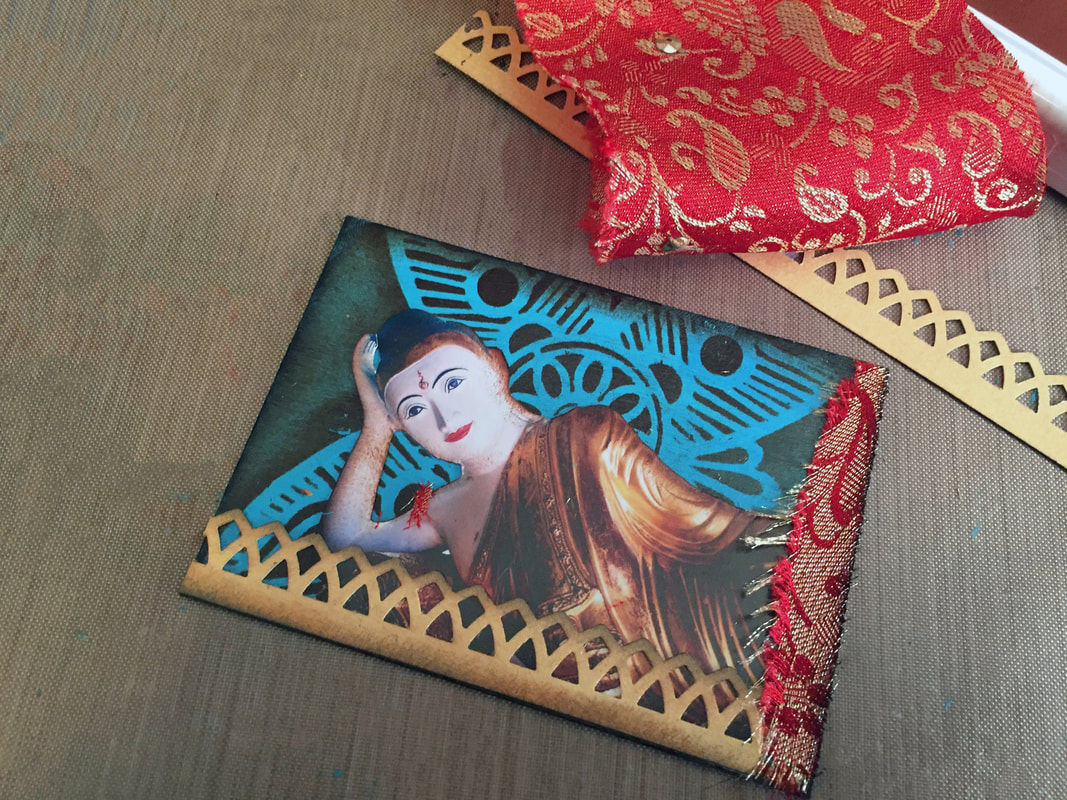
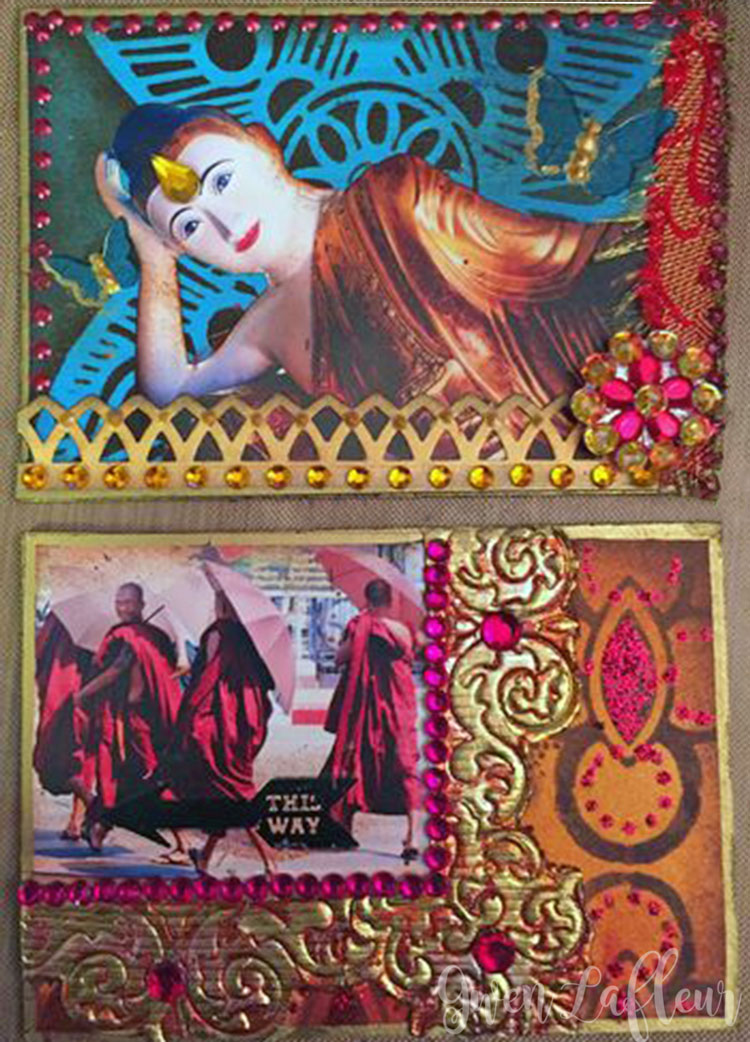
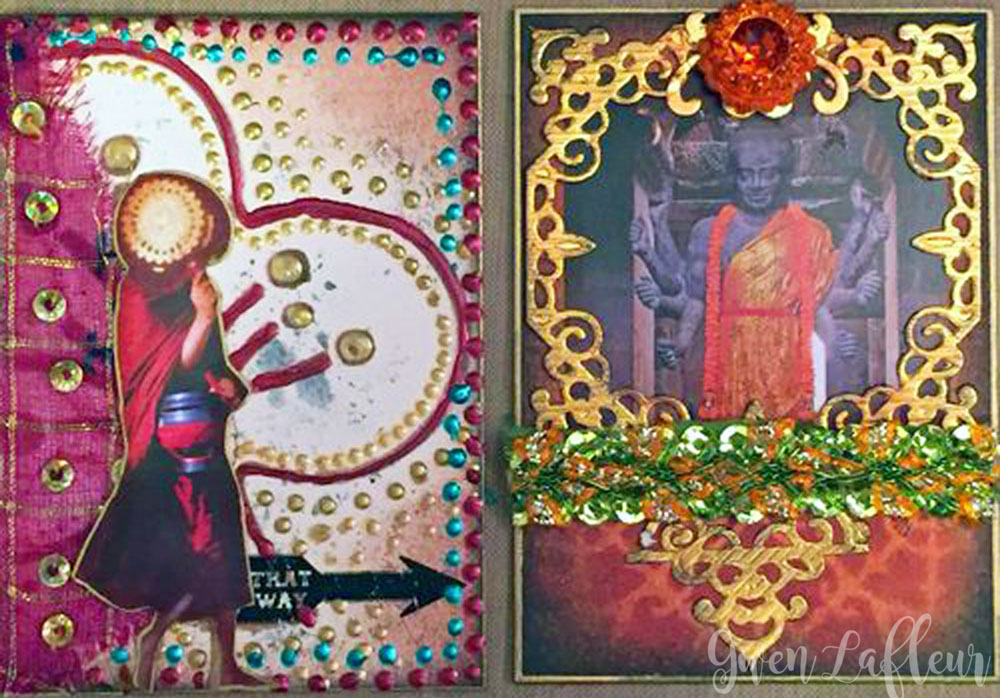
The images used in my tutorial photos are from Myanmar and Bali, including a photo of a large reclining Buddha statue from a temple I visited, as well as a monk walking down the side of the road with his food pot and a fan to block the sun. The statue is from a garden in Bali. I cut the larger photos out of my printed sheet and then fussy cut around the parts that I wanted to use on my cards.
The images used in my tutorial photos are from Myanmar and Bali, including a photo of a large reclining Buddha statue from a temple I visited, as well as a monk walking down the side of the road with his food pot and a fan to block the sun. The statue is from a garden in Bali. I cut the larger photos out of my printed sheet and then fussy cut around the parts that I wanted to use on my cards.
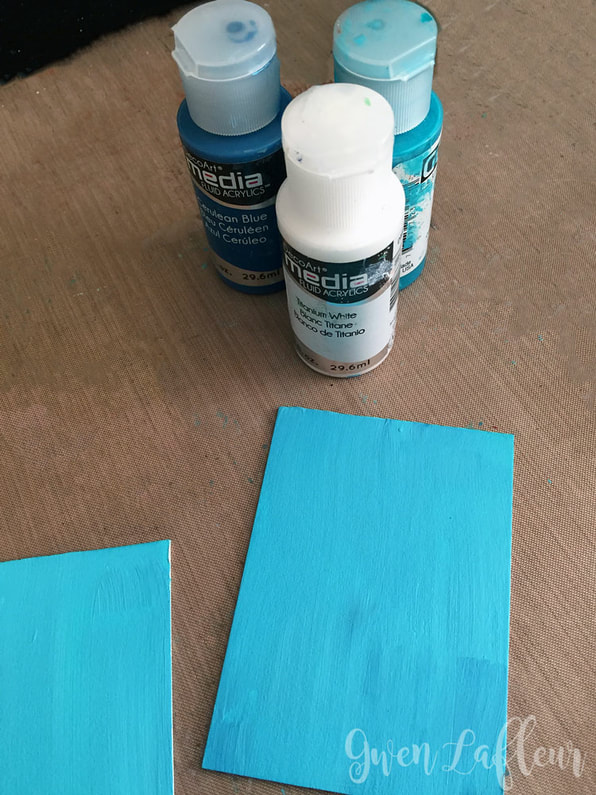
Next I'll either ink or paint the background of the card.
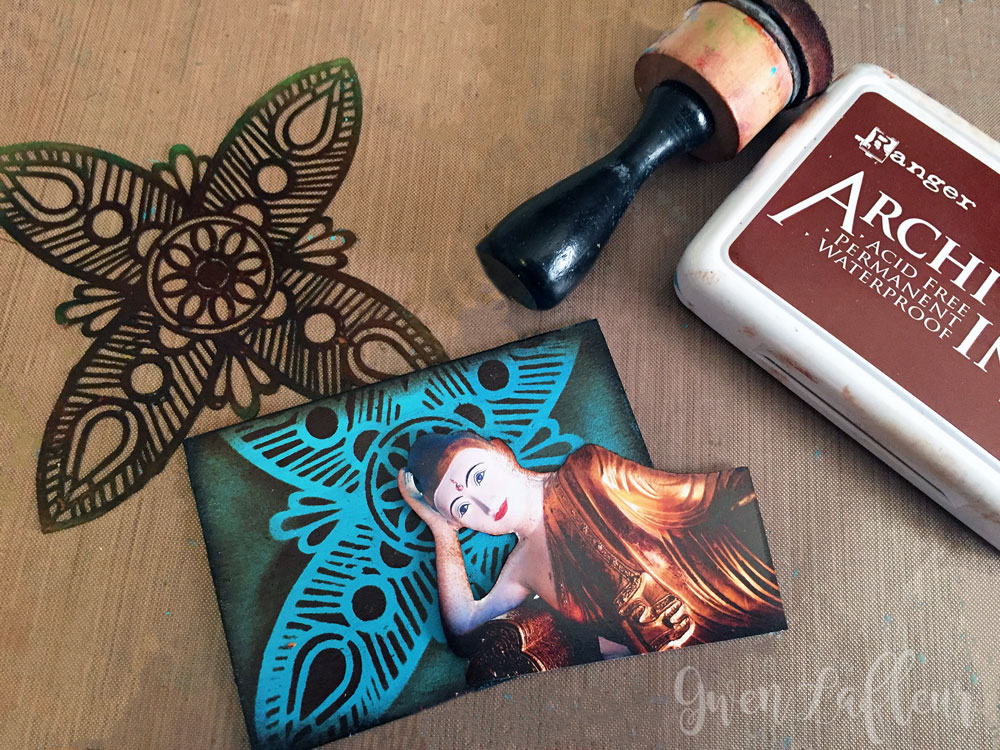
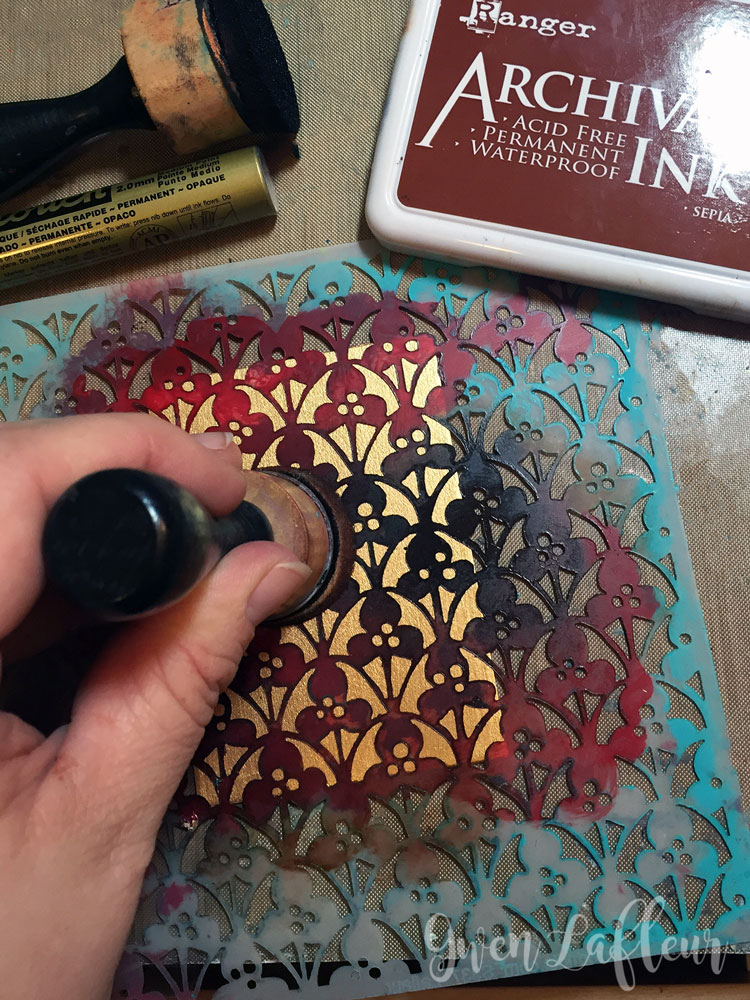
For this batch of cards I stenciled all of the backgrounds. On my Buddha card, I used my Ornamental Petals stencil and on the Monk card I used my Ornamental Embroidery design. The Balinese statue card uses my Ornamental Floral Screen stencil. I also usually add some inking around the edge of the cards at this point to begin to frame them - for these I mainly used Sepia and Black Archival Inks with a mini foam blending tool.
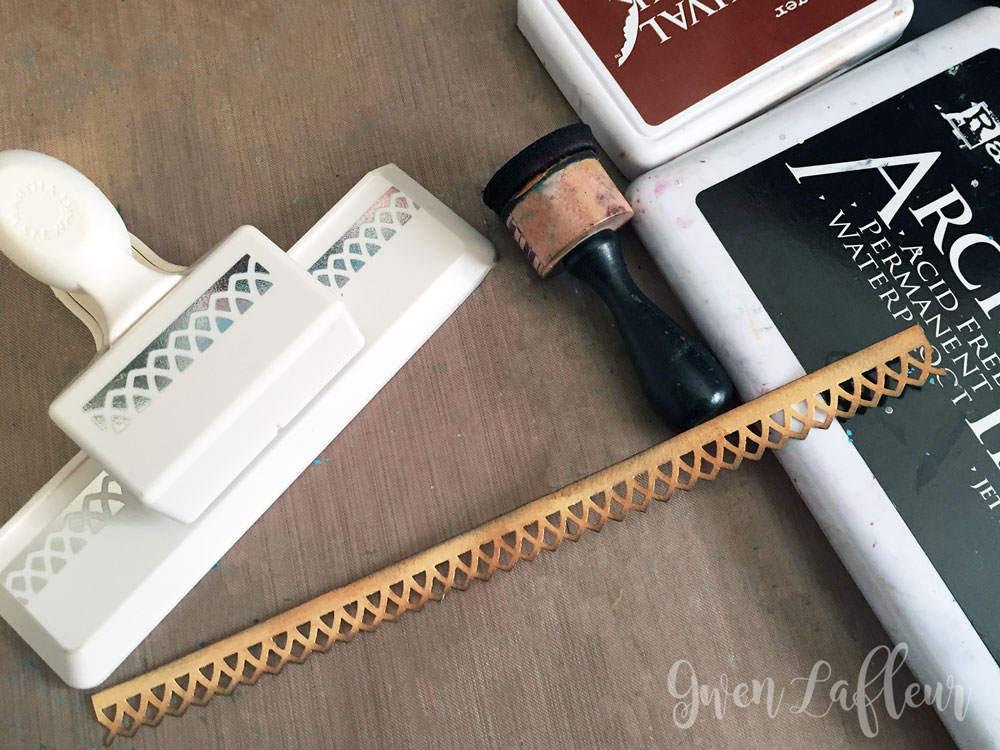
I usually like to add a border element of some kind. For these I mainly used gold cardstock that I'd punched with various border punches and then inked, but you could also use Dresden trim or I'll frequently use washi tape as well.
It's definitely not a secret that I adore embellished fabrics, trims, etc... and I have an ever-growing collection that I like to use in my artwork. I grabbed a piece that fit well with my colors and theme and used some of it here. You could also use ribbon, plain fabric, more washi tape or border stickers... whatever you prefer. I like the raw edges of the fabric contrasted with the sharp edges of the borders and photos - this helps embed the image better into the overall design without leaving visible hard, straight edges.
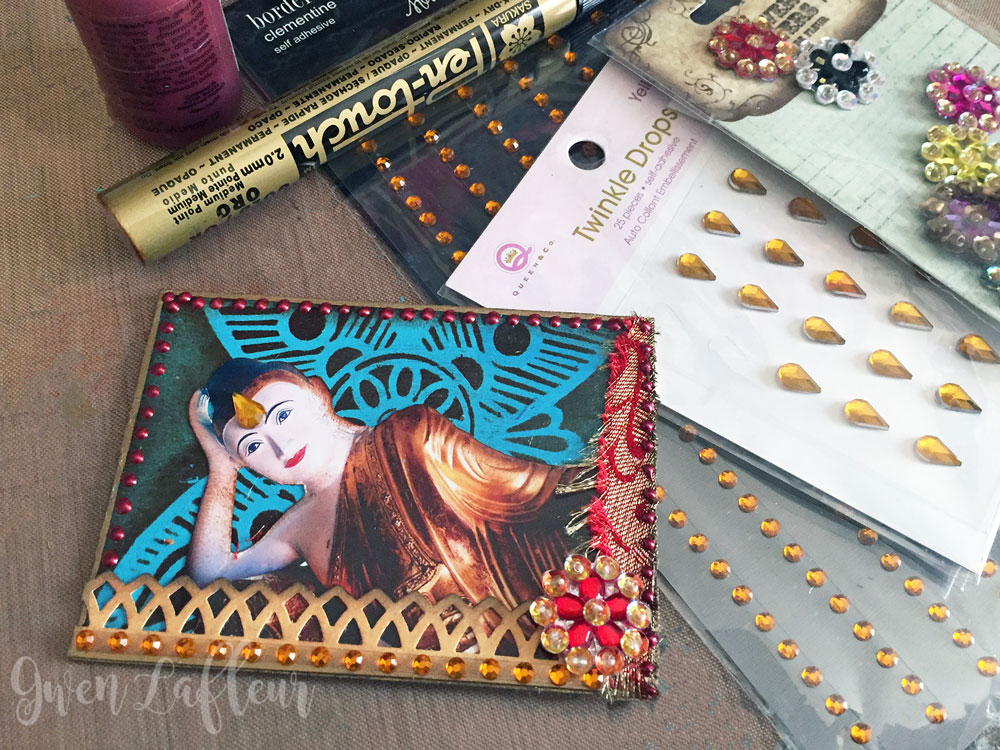
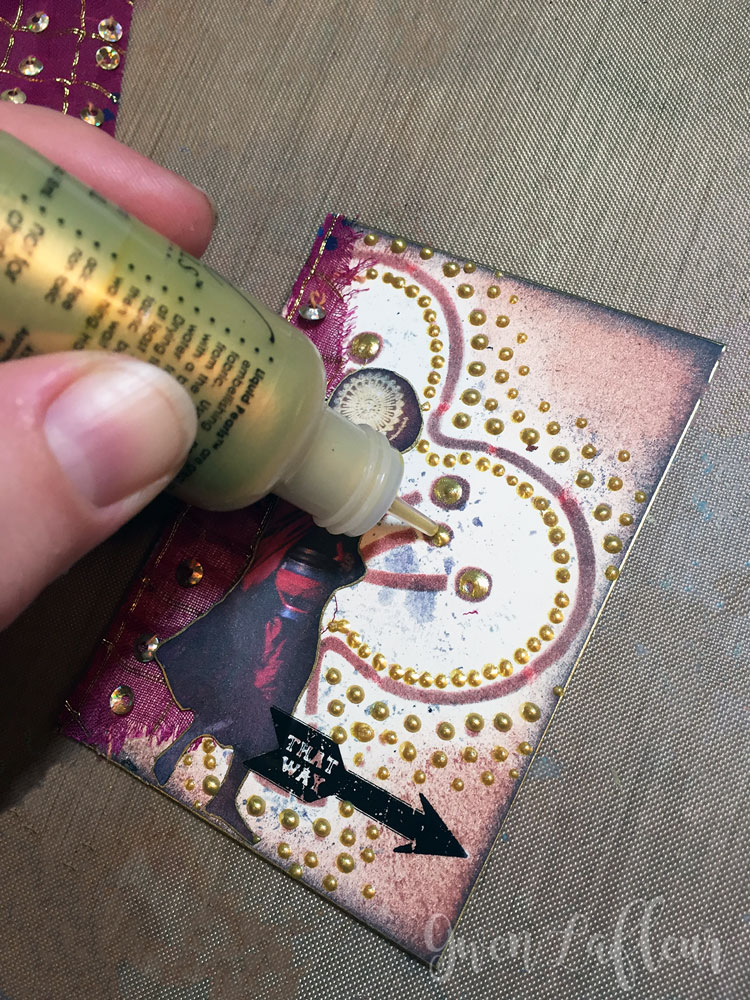
Next it's time to embellish. I use a lot of faux jewels and sari appliques for Asian themes and I also added some dots made with dimensional fabric paint and used a gold paint pen to edge the cards and give a hint of a gilded effect.
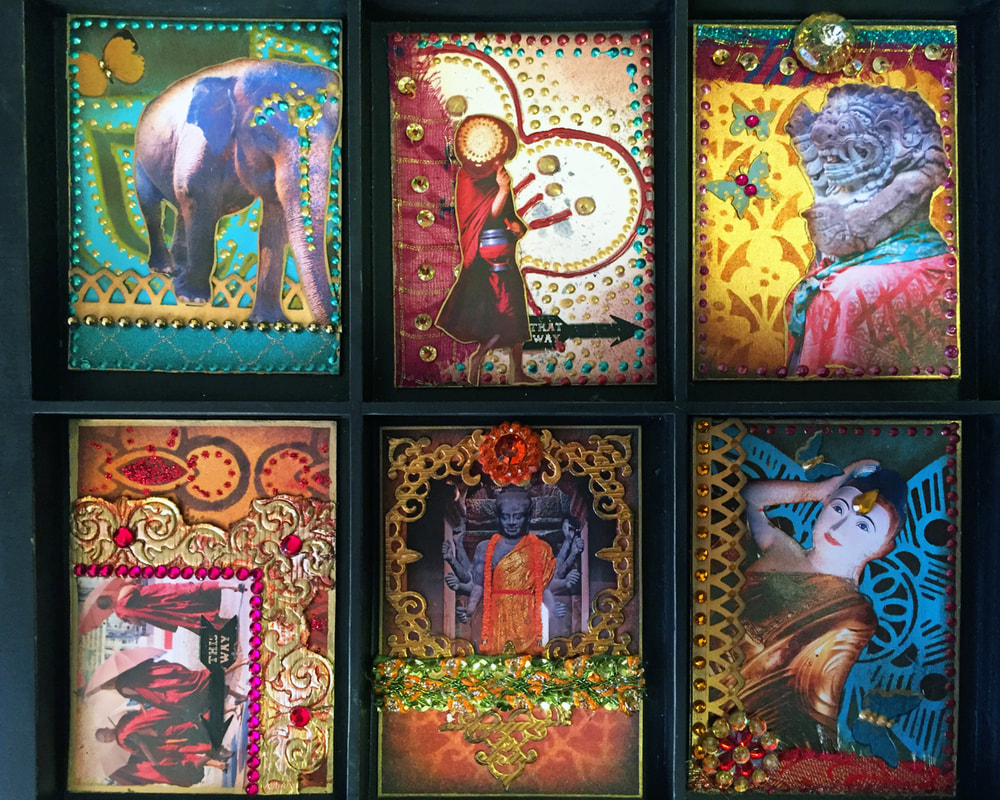
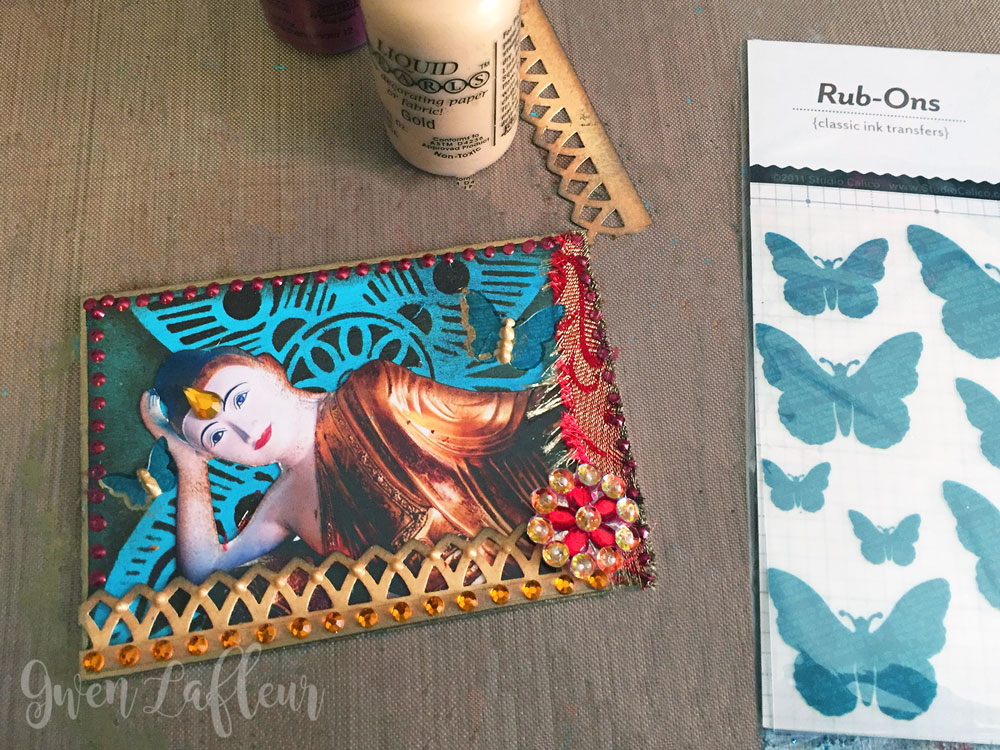
I will also frequently use rubons as final finishing touches. They're great for adding a small image or word and I like them because they can be applied over top of multiple layers and textures. Of course, they do have a tendency to flake off over time so I typically coat them with matte medium to seal them. You can see one example with the butterflies on my Buddha card below, or on the Monk card above I've added an arrow rubon.
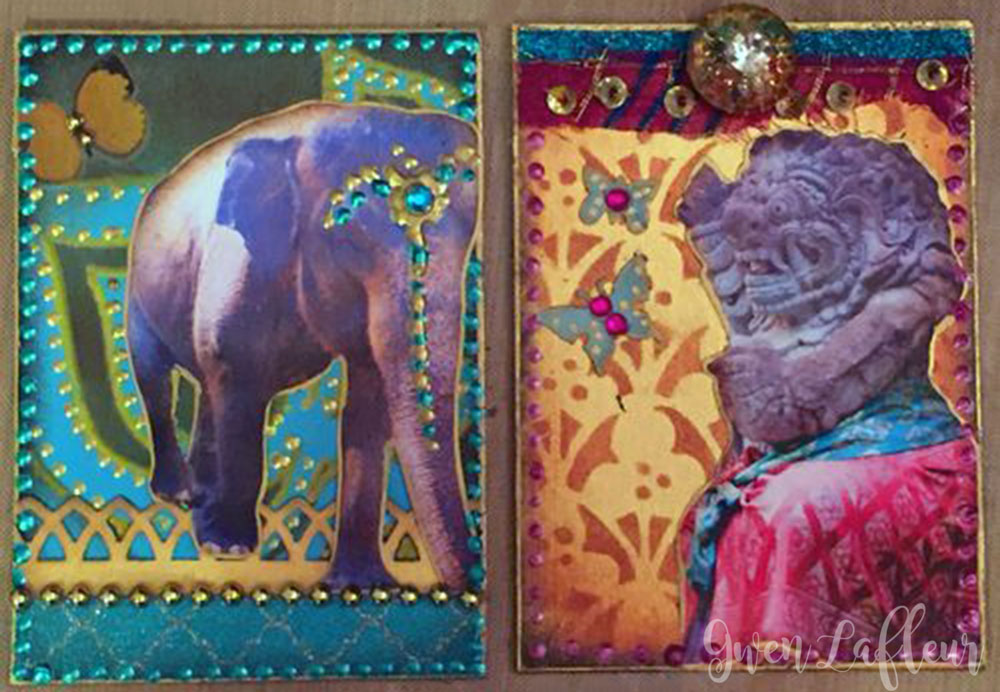
I repeated that same basic process for all six of the ATCs in this batch. You can see close-ups of how they turned out below - click on any of them to see the full image.
You might also like...

