|
*A note about project supplies and COVID-19 - please remember to support our independents, especially now! A partial list of shops with online stores and what they stock for this project is at the bottom of the page.
|
|
I've been a fan of kraft-tex from C&T Publishing since the first time I got a chance to try it for a StencilGirl collaboration in 2017 where I made a stenciled and embroidered Traveler's Notebook-style book. So when C&T Publishing contacted me to see if I would be interested in doing a few projects as a kraft-tex Ambassador, I was excited to be able to jump on board.
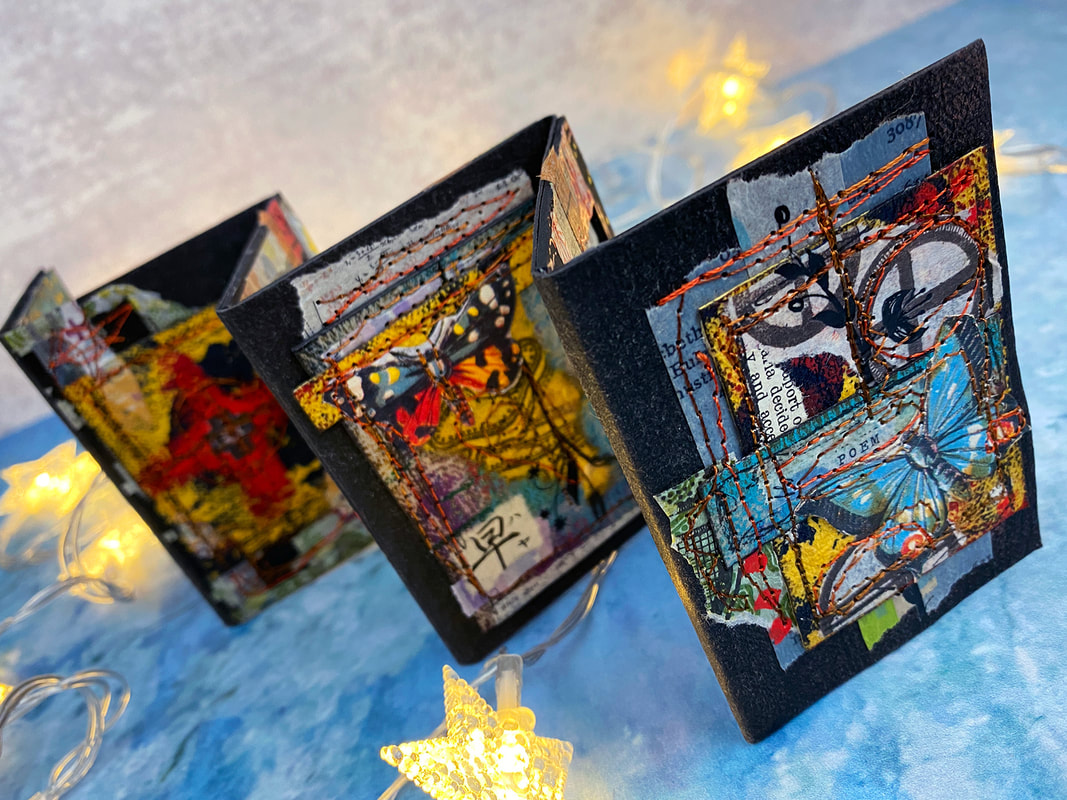
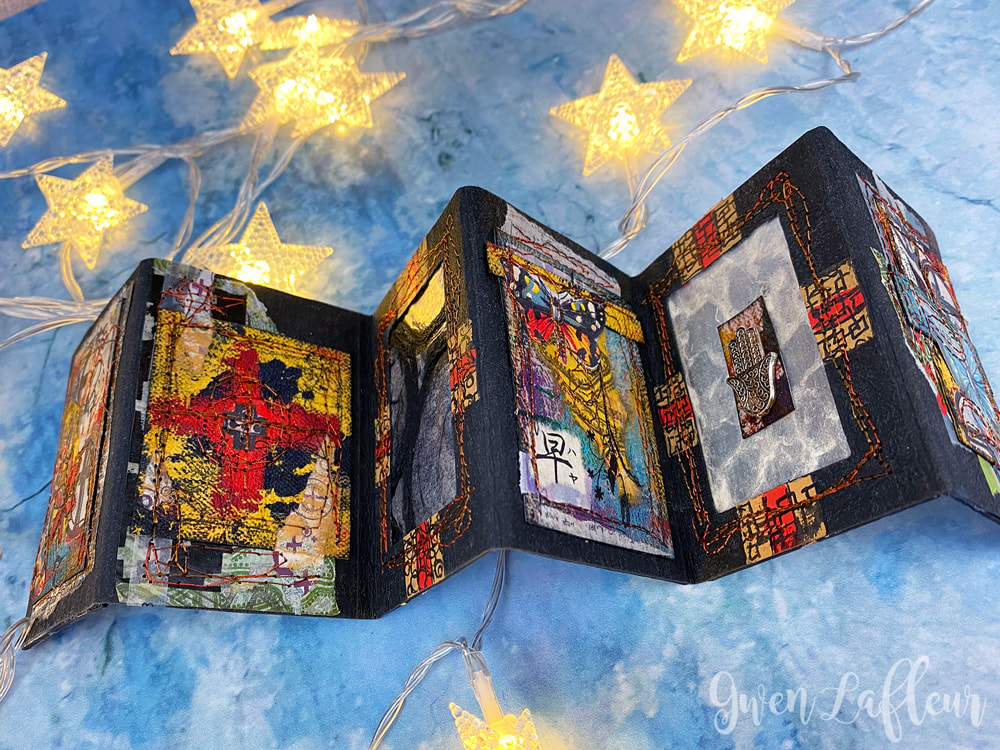
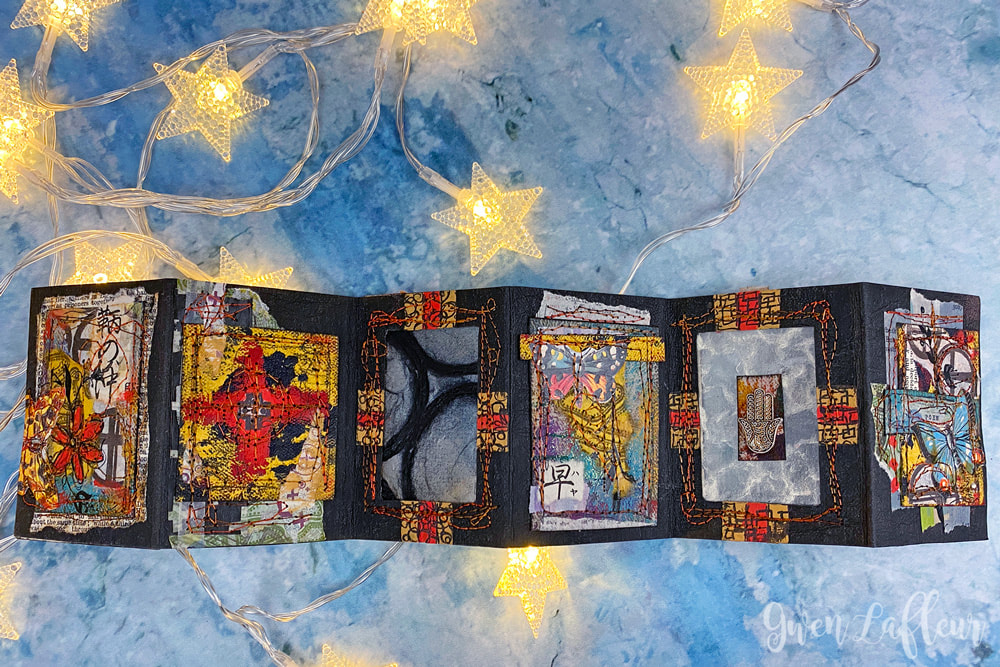
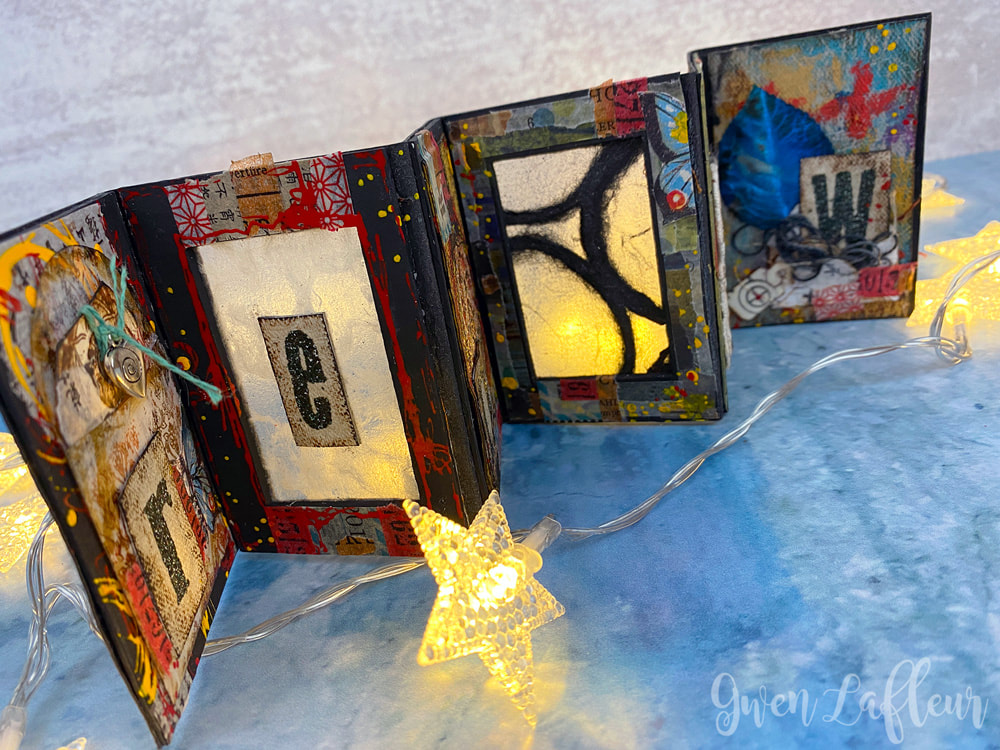
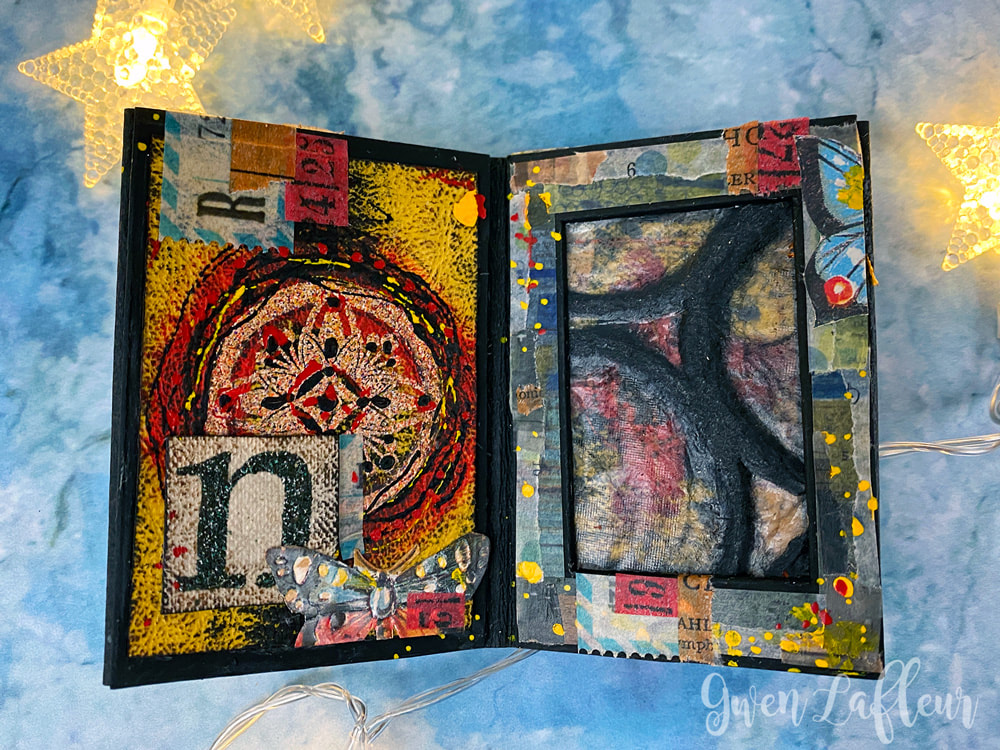
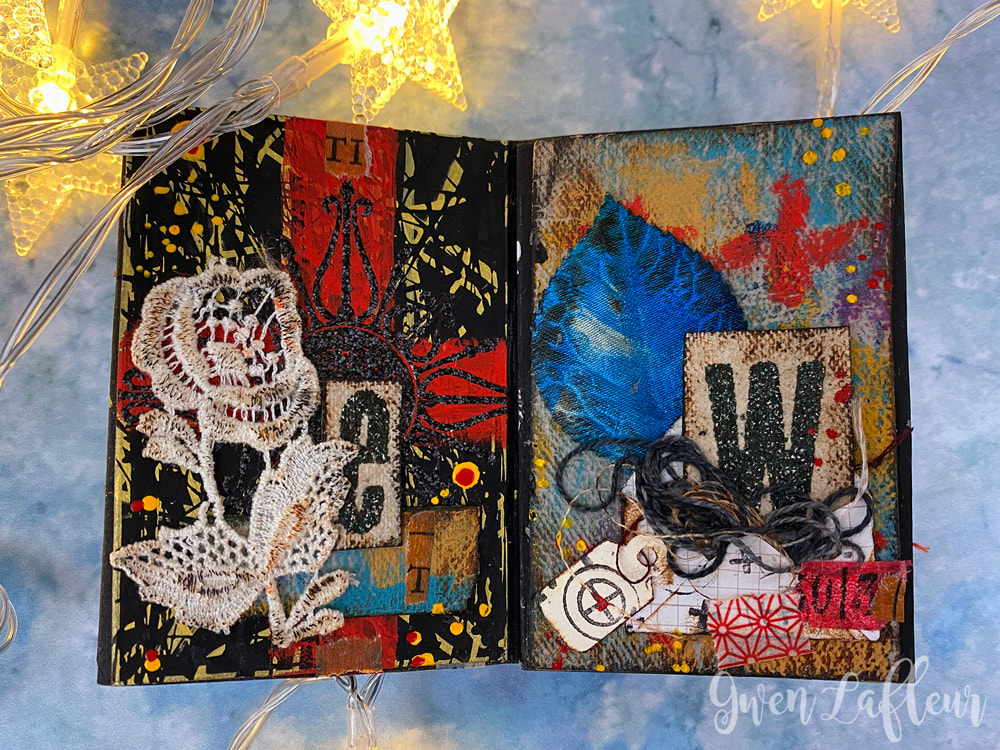
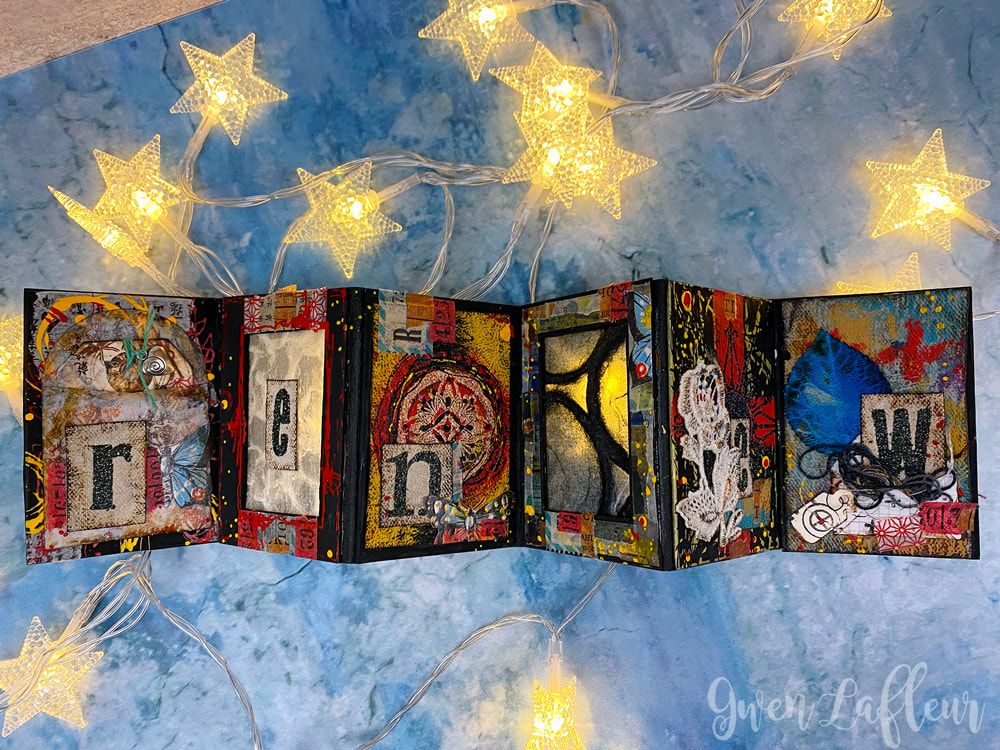
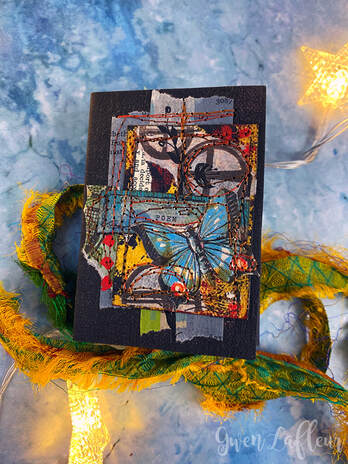
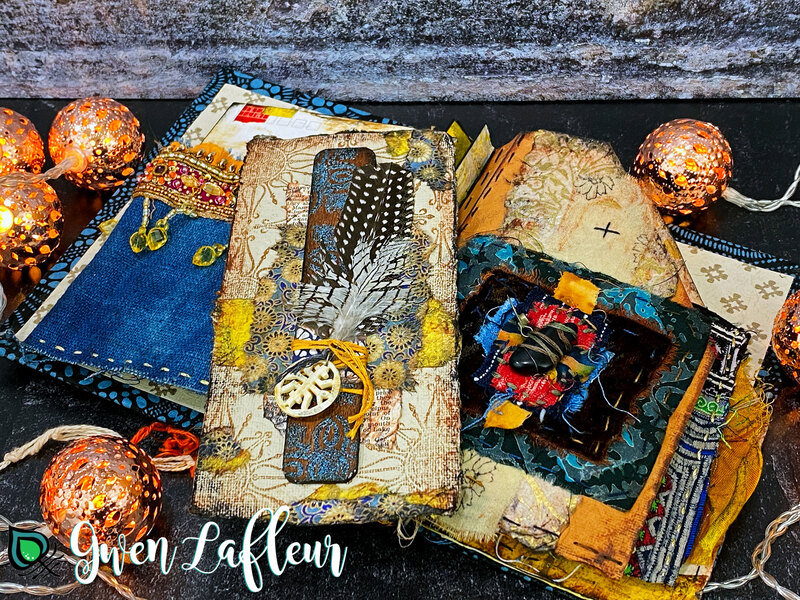
Kraft-tex is a fantastic material that's technically paper, but it feels and acts a lot like leather. You can wash it, sew it... even turn it into a purse! They sent me a few rolls that I could use to play and create some project tutorials to share. (And while they did provide product for me to use, all projects and opinions are my own.) For my first tutorial, I decided to use kraft-tex in a few ways to create this mini accordion art journal. It's the basis of the book itself, I used painted, stamped, and embossed pieces in the collages, and I free-motion stitched on it as well. Ready to jump in and see how to make your own version? |
|
Step 1: Main Album Strip & Illustration Board Pieces
|
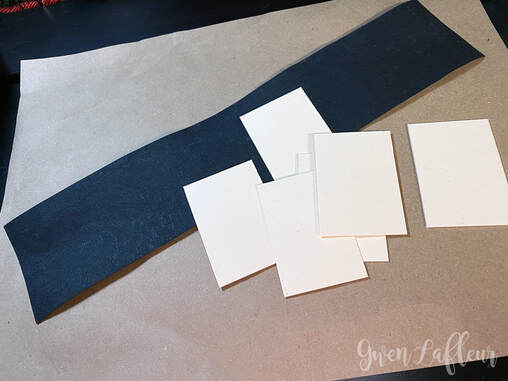
To start, I knew I wanted to make this a mini - something that was small enough to fit in my hand and where I could span the entire length of the accordion album with a single piece of kraft-tex. (When you buy them in rolls, the sheet is 18.5" x 28.5" which gives you a lot of room to work under that criteria.)
I decided to go with trading card sized pages - 2.5" x 3.5," so I cut pieces of illustration board to size (you could also use mat board, chipboard, or even a thick paper like 140lb watercolor paper.) Next I cut a piece of black pre-washed kraft-tex to 3.5" tall by 16.25" long. This gave me six panels or pages with enough space in between for the pages to fold and lay on top of each other. Note that you'll want to make sure you use an even number so that both your front and back covers will open and close like a regular book when the journal is folded. |
Steps 2-3: Line Up Spacing & Cut Page Windows
|
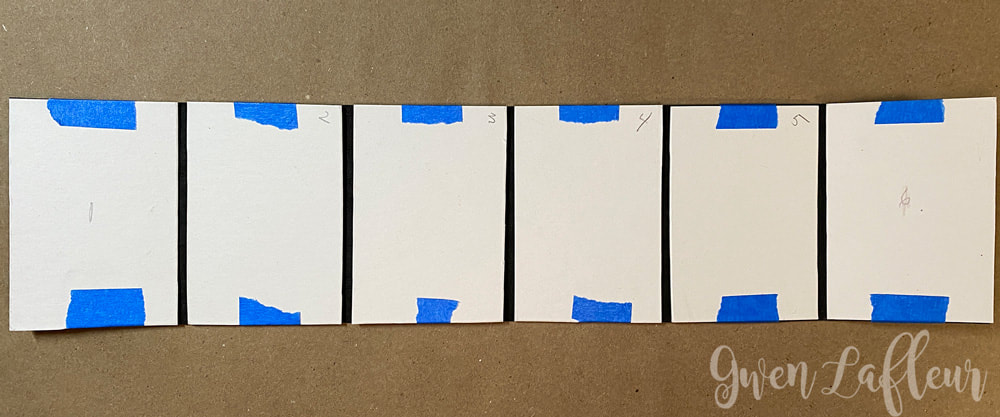
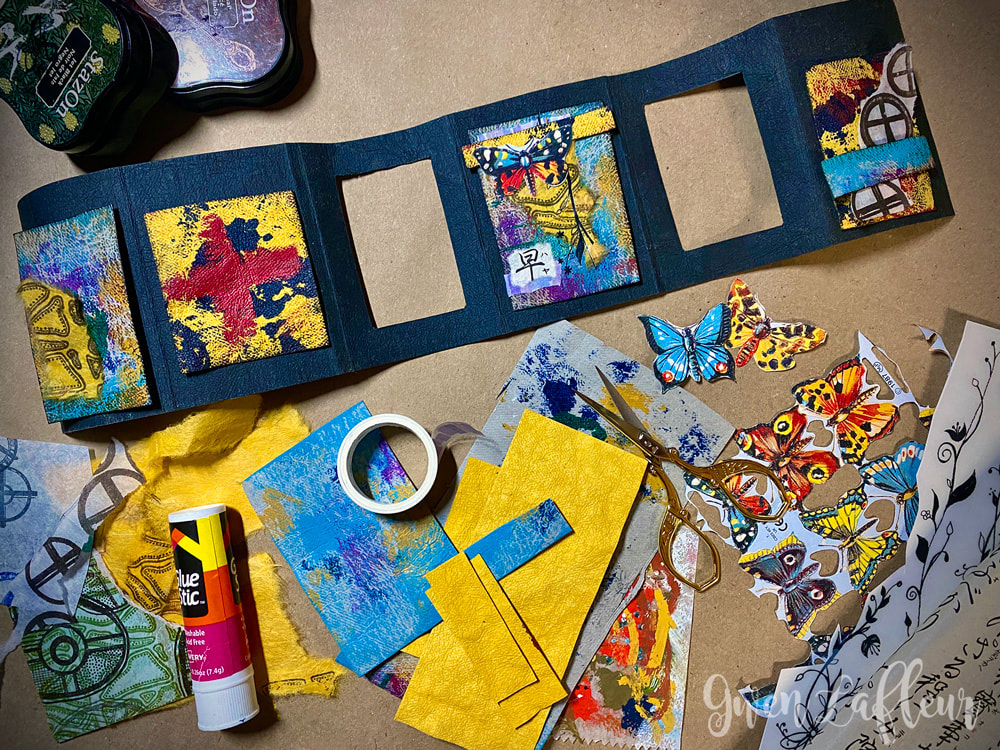
Once the pieces were cut, I began the process of planning how it would come together... I adhered each of the pieces of illustration board to my strip of black kraft-tex using painter's tape. I used a scrap of illustration board to make sure each piece was spaced apart at ~2x the thickness of the board. Because I was going to separate the panels from the kraft-tex so that I could work on them individually, I numbered each of them with a pencil so I could put them back in order later.
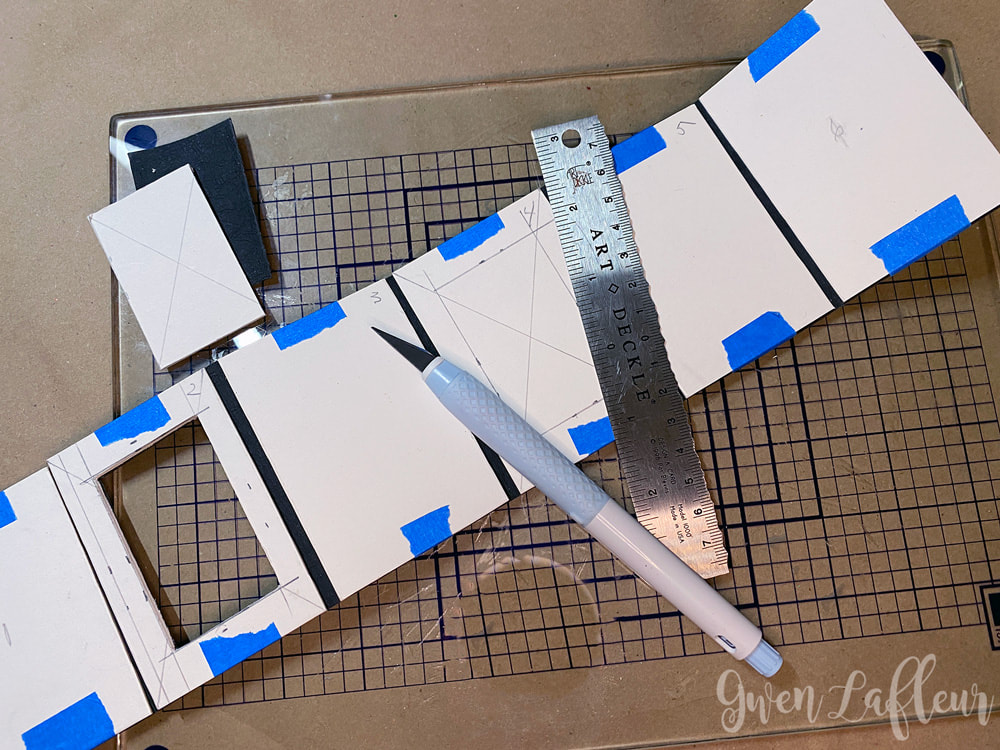
As you can see in step 3, the numbering is important so that once the windows are cut you can easily match them back up again with the correct opening. (Of course, including windows is totally optional.)
To make windows in a few of the panels, I drew an "X" from corner to corner, then measured in about 3/8" from each side and drew a line, noting that the points where the lines crossed the "X" would become the boundaries for the frame that would be left. I used a sharp razor tool and a metal ruler to cut the opening. (Here I've used a Cricut TrueControl knife, which is by far my favorite, but any X-Acto type knife should work.) *Tip: Don't try and cut all the way through the first time... firm but gentle pressure for multiple cuts will be easier and limit the chance of cutting yourself. I also use a glass mat - I find that it works better for X-Acto cutting. |
Step 4: Collage the Outside Sections
|
With the window openings cut, I took the illustration boards off and set them aside while I worked on what would become the outside and covers of the book. (Keep in mind that the far right side will become the front cover, the left will be the back.)
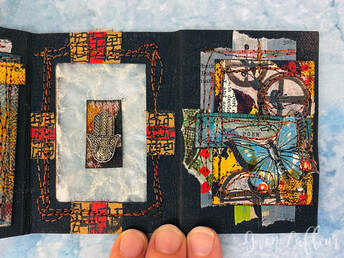
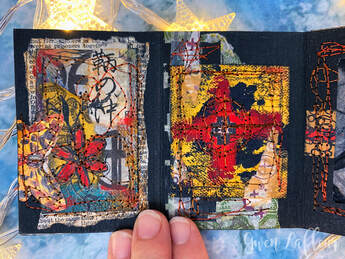
I took scraps of pre-washed kraft-tex in Denim and Saffron as well as a bit of pre-washed Stone kraft-tex, some of which had paint from previous projects, and used those pieces as the basis for mini collages to go on the non-window pages. I then layered on scraps of papers stamped with my PaperArtsy rubber stamp designs, pieces of foreign text, English Scrap butterflies, washi tape, rubons, and a few other bits and bobs. I just used a glue stick to adhere the pieces in place. My preference is Avery, but use whatever you like. I avoided wet glues since I was going to finish the outside covers with sewing and didn't want anything that would gunk up my needle or sewing machine. |
Step 5: Add the Windows
|
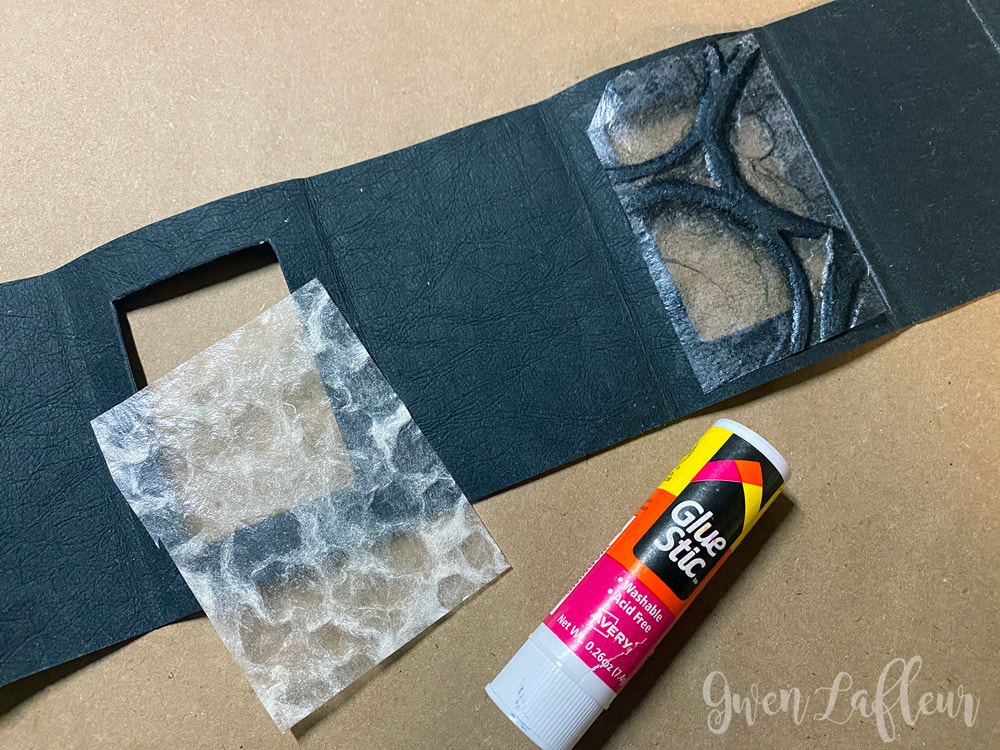
Next I added the windows to the backside of my strip of black kraft-tex so that it would be in place before I covered this side with the illustration board panels.
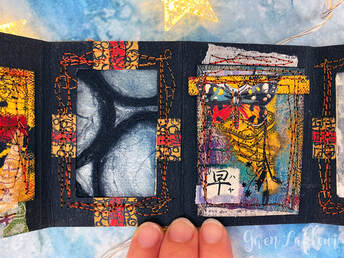
For the windows, I took pieces of thin decorative mulberry or rice papers that I treated with my Faux Resin Paper process (which can be seen in my article from the December 2018 issue of Cloth Paper Scissors magazine.) The papers I've used here are a Thai Mulberry Beehive paper as well as a Kumogarashi washi paper from Japan. However, you can use any very thin mulberry or washi for this, as well as transparencies, glassine paper, or lace papers. I cut the pieces slightly larger than the opening and then used my glue stick around the edges to tack it into place. I knew I was going to sew over it, but if you don't want to sew, just use your favorite glue. |
Steps 6 - 7: Add Paint and Stitching
|
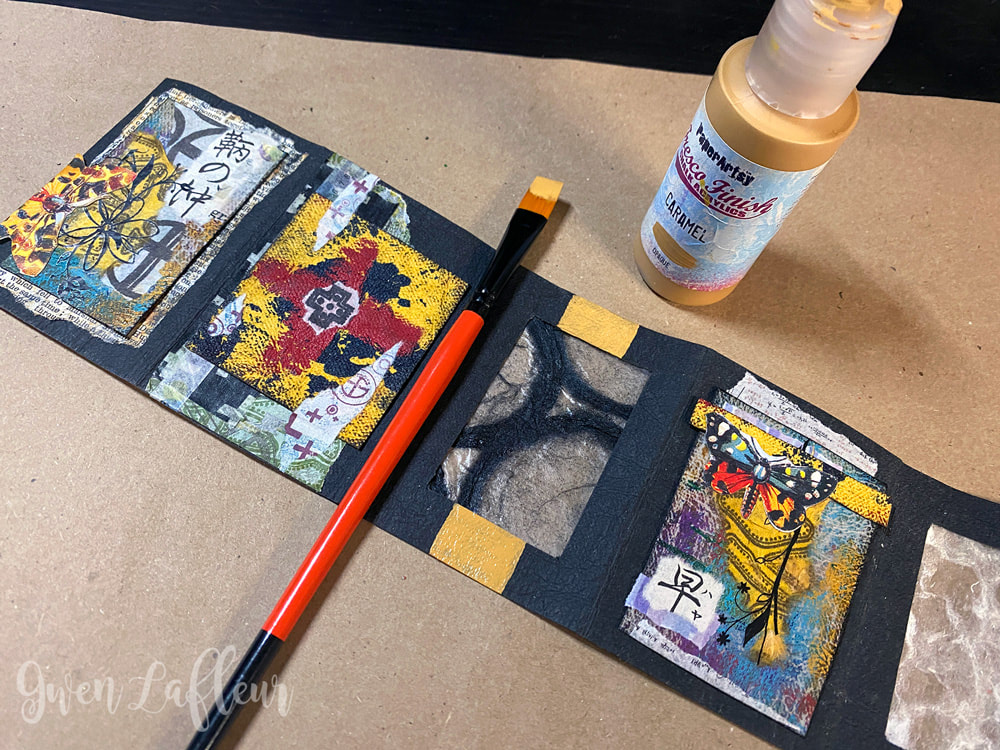
I wanted to include a bit of color and pattern around the windows so I added some paint using PaperArtsy Fresco Chalk Acrylic Paints and then drew marks and shapes over top of the dried paint with a black pen.
|
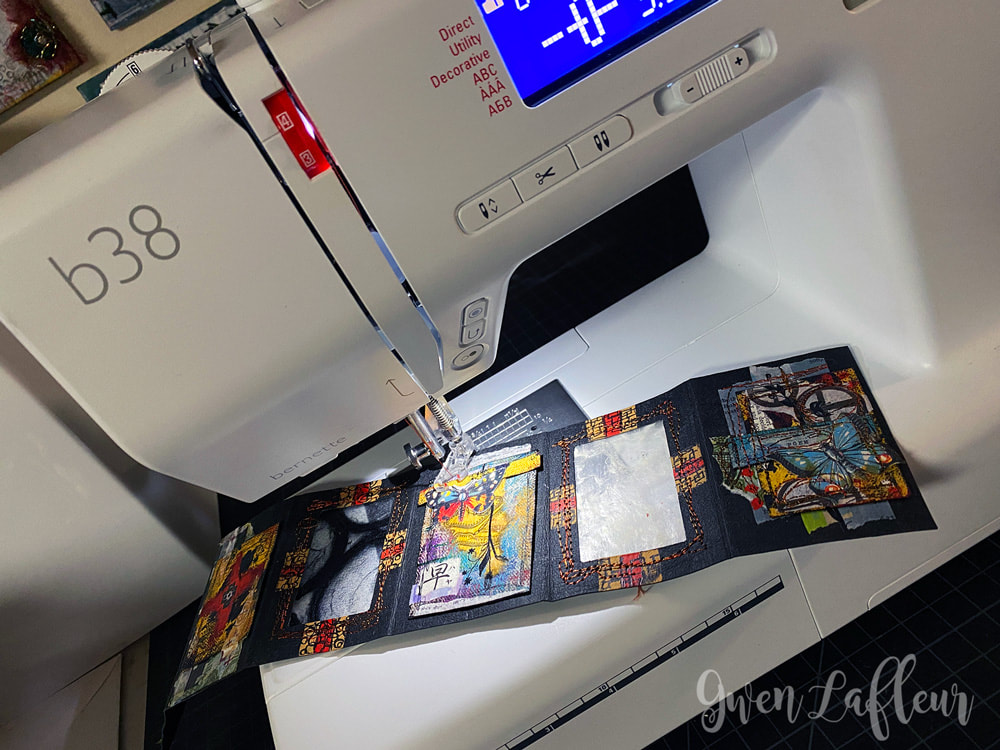
For the final touches on the outside of the journal I used the free motion foot on my sewing machine and stitched random lines and marks on the pages and around the windows. You could also hand stitch, or use a pen or other mark making methods if you don't want to sew.
|
Step 1: Gesso Illustration Boards & Adhere
|
With the outside of the journal complete, I flipped it over, making sure to keep it right side up. (You can see where I marked an arrow on the back indicating the direction.)
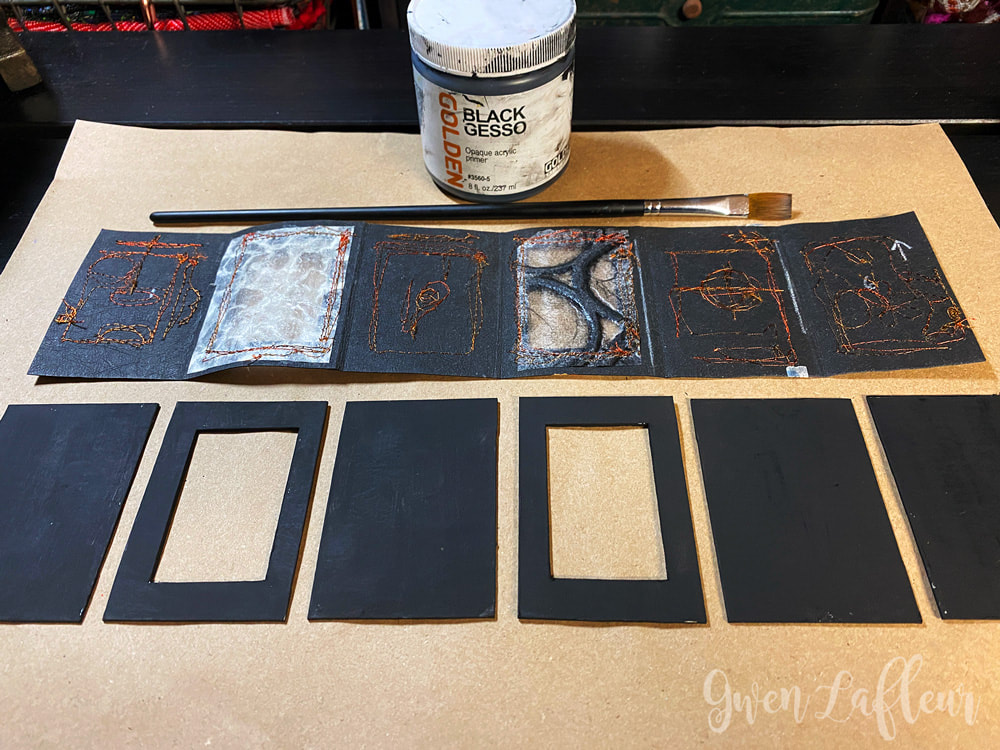
To prepare the illustration boards, I coated them with black gesso (make sure to get the sides, since those will be visible,) and then adhered them into their positions on the black kraft-tex background with a strong liquid glue such as Sobo Glue. To make sure everything dried flat, I put a stack of books over top to weight it down until the glue was completely dry. |
Step 2: Stamp & Heat Emboss Title
|
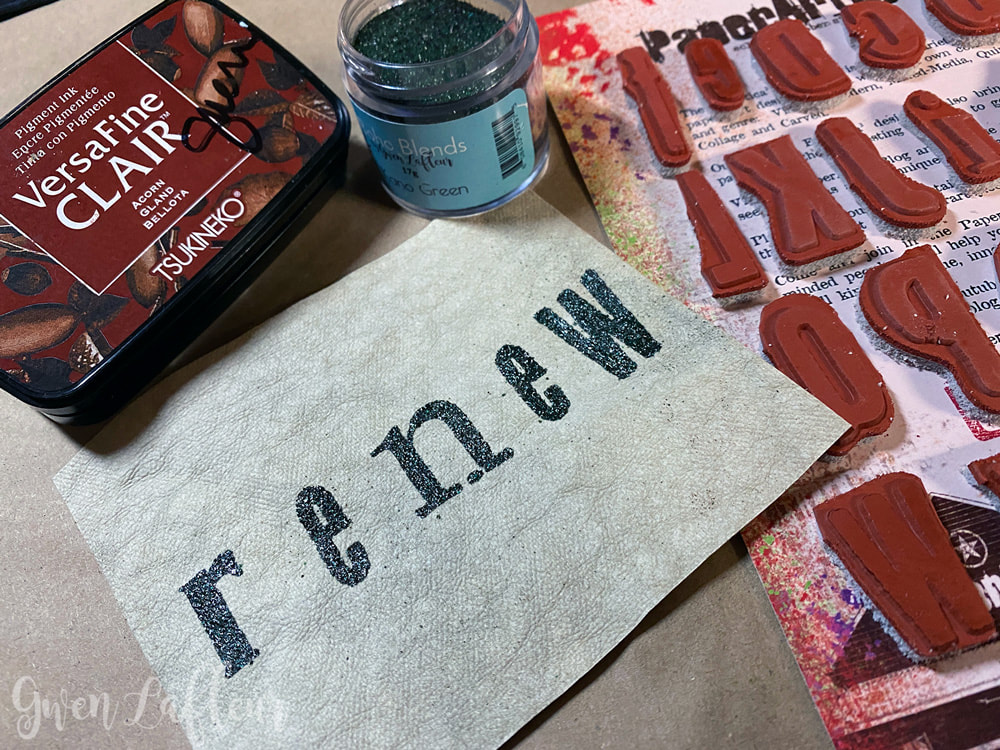
While the adhesive on the panels was drying, I took one of my favorite alphabet stamp sets from PaperArtsy and stamped out the word "renew" on a piece of natural pre-washed kraft-tex. I used a brown pigment ink, but you can use any color pigment ink or a clear embossing pad like VersaMark.
While the ink was wet, I heat embossed it by sprinkling on some of my Boho Blends embossing powder (I used Kano Green here,) shaking the excess off and pouring it back into the jar, and then used a heat tool to melt the powder. I made sure to space the letters a little bit apart from each other and then cut them out individually after the melted embossing powder had cooled. |
Step 3: Collage & Embellish Inside Pages
|
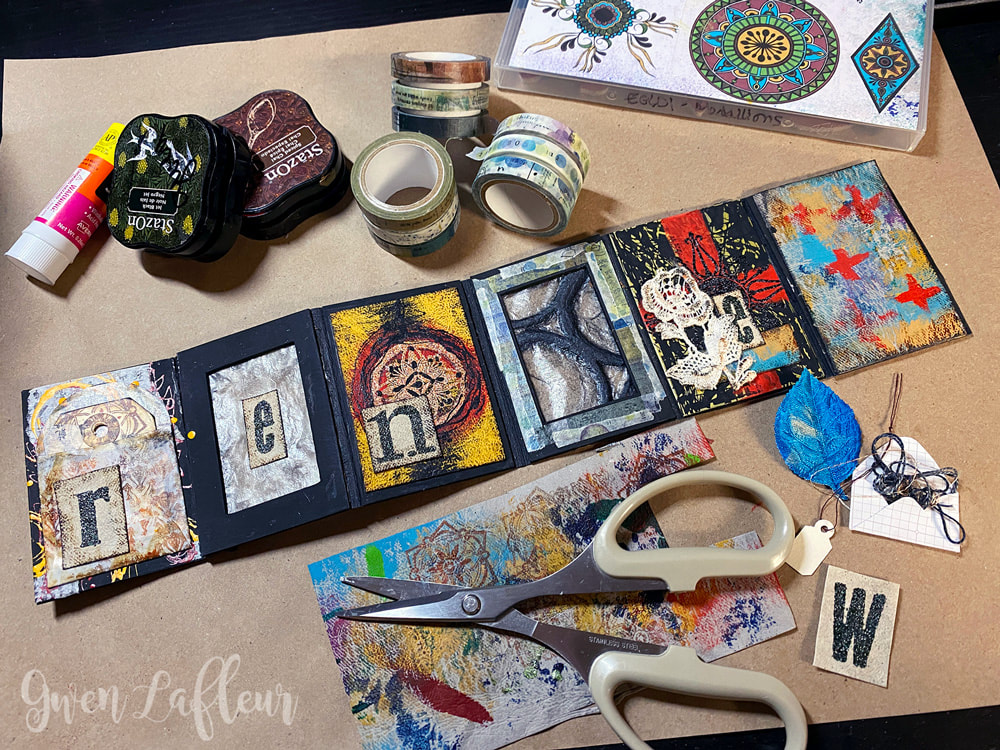
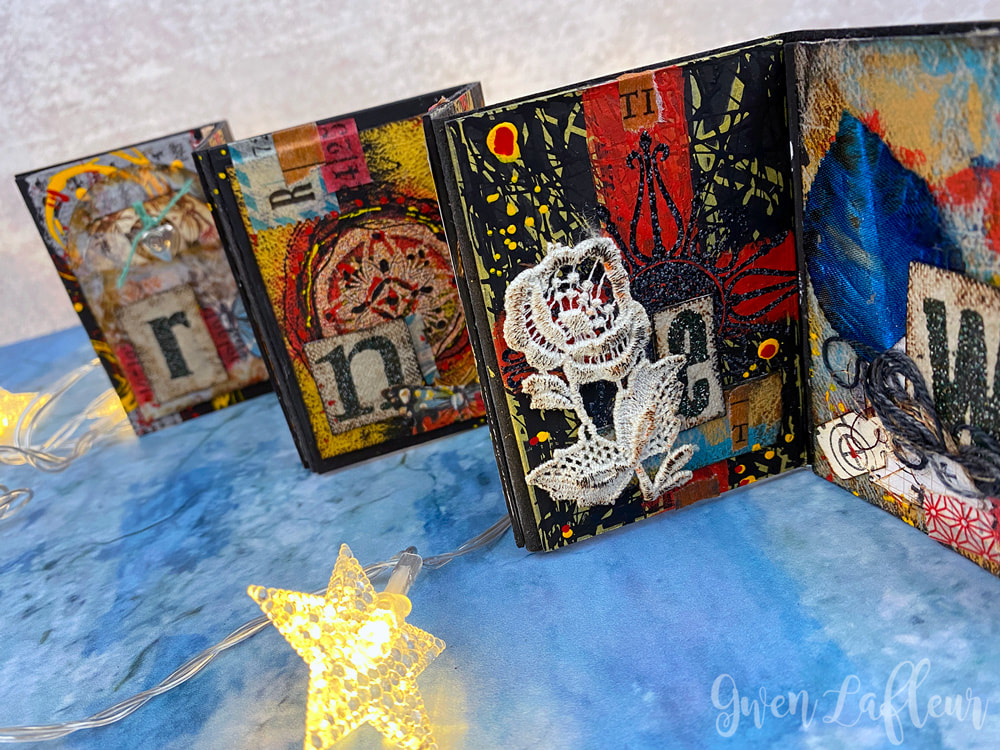
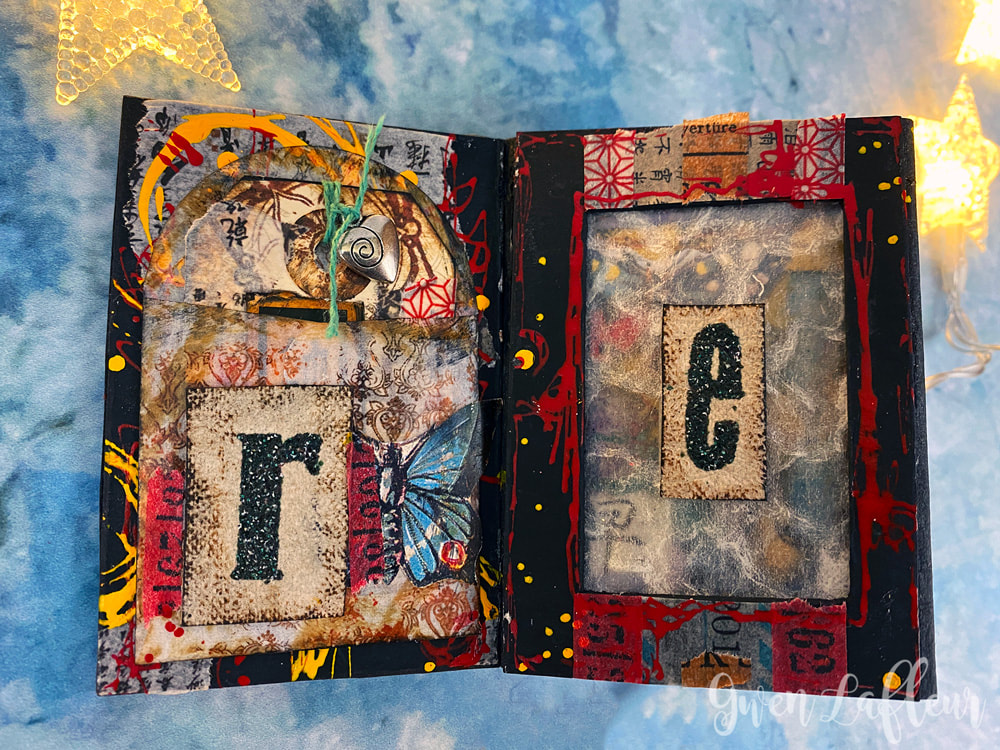
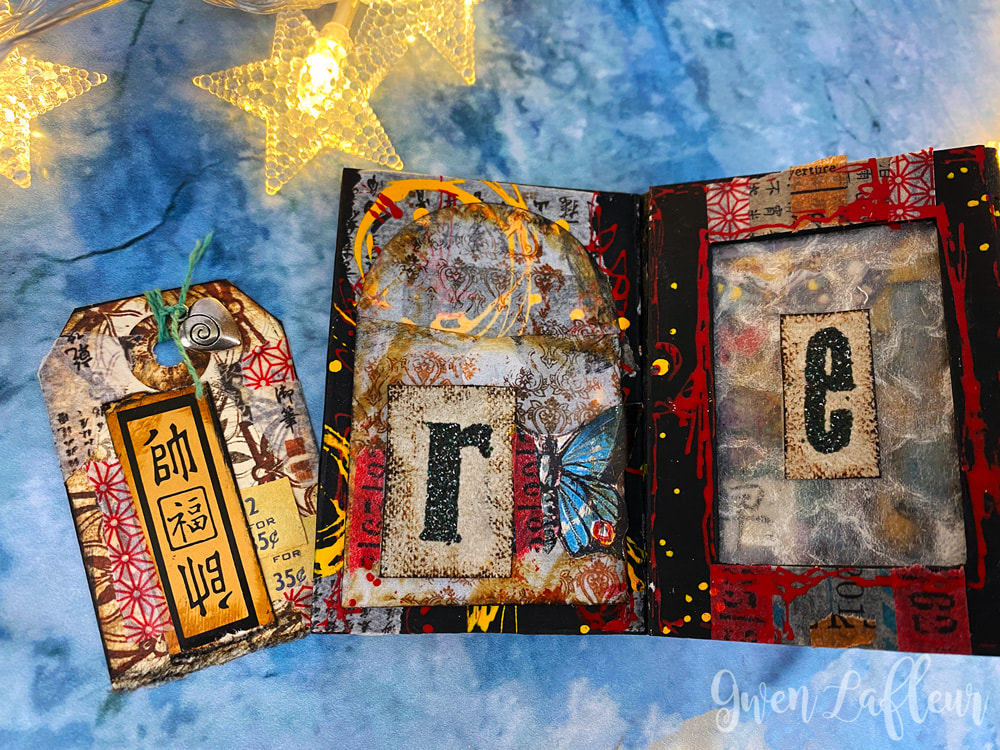
Once the glue adhering the gessoed panels to the kraft-tex background was fully dry, I took out more of the same collage elements I'd used on the outside along with the heat embossed letters for the title of my journal and added in a few additional elements like envelopes, tags, and appliques and started to assemble mini collages for the inside.
On these pages, you can see where I used some of my PaperArtsy medallion stamps and Boho Blends embossing powders to add embossed images into some of the collages. I also used Holbein Acrylic Ink in FineLine applicators to add some painted marks and scribbles. Finally, I took some StazOn ink in brown and black and used that to edge the letters of my title as well as the collages themselves, then adhered all of it onto the pages. I also used some washi tape to add borders around the windows. I continued to embellish until I felt that each page was complete. |
|
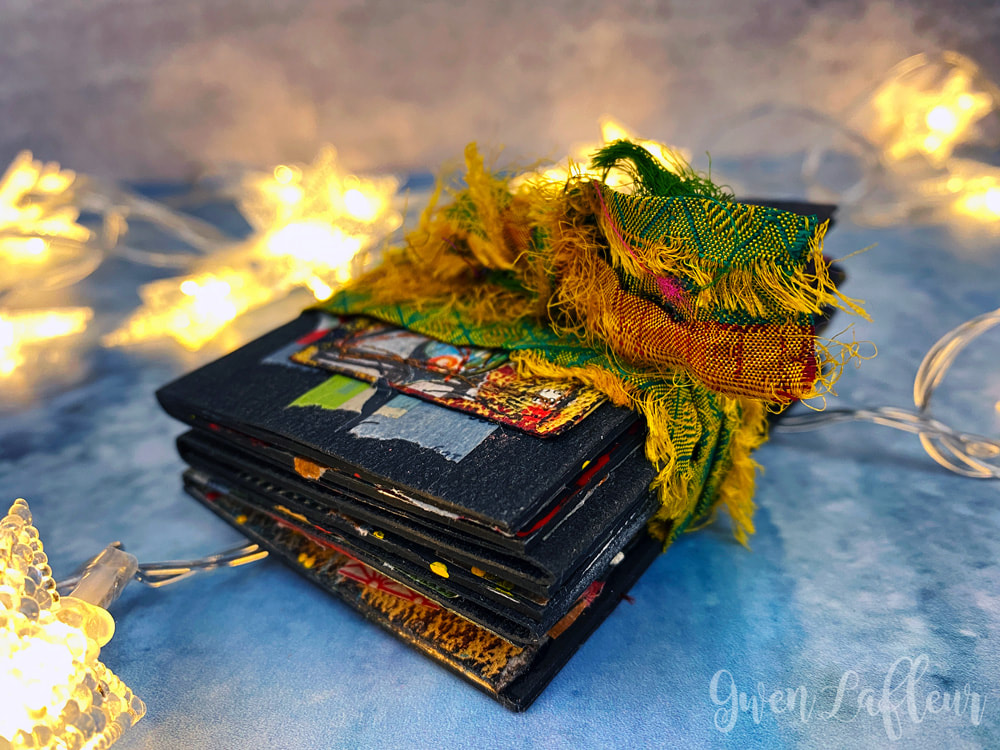
To complete my kraft-tex mini accordion art journal, I folded the book and left it in that position on a flat surface with books on top to help train the kraft-tex to hold the folded positions. To finish, I took a scrap of sari yarn to wrap around and tie the book when it's not open.
If you use a different color of kraft-tex for the background, you may also want to edge each of the pages with brown and black ink to frame them. And with that, I had a completed mini art journal. Perfect to tuck into a basket or display on a shelf in my studio or give as a gift. I hope you enjoyed the tutorial - feel free to ask questions, leave comments, or share your own versions of this project in the section below. |
While I have linked to my own shop, DickBlick.com, and a few other places in this tutorial, please please please consider your local independents for supplies, or look at the online stores for those same independents. With COVID-19 effecting how much we may be going out in public, the businesses with storefronts (especially those with no online store,) are hit hardest. Three of the shops where I teach in person also have online stores that carry most, if not all, of the supplies I show here:
(If you're an independent shop with a website that carries some or all of the supplies I used here, please let me know so I can add you to this list.)
- Papercraft Clubhouse (Westbrook, CT) - you can shop online or call and get help from Tracie and her staff. They have my PaperArtsy stamps, my embossing powders, my stencils, kraft-tex, adhesives, washi tape, PaperArtsy Fresco Chalk Acrylic Paint, specialty papers, and many more options.
- Everything Scrapbook & Stamps (Lake Worth, FL) - Michelle carries Holbein Acrylic Ink (and her shop is where I discovered them,) as well as the amazing Holbein Acryla Gouache. She has lots of specialty papers, washi tape, my embossing powders and some of my stencils, and lots of other great stamping and embellishment options.
- Artistic Artifacts (Alexandria, VA) - this is my local store, and Judy carries kraft-tex along with my PaperArtsy stamps and my embossing powders. She also has PaperArtsy paints, other stamps and embellishments, and her shop is also where I got my b38 Bernette sewing machine and the Wonderfil thread that I used in this project. She also has sari yarn and lots of amazing fabric and other unique tools and embellishments.
(If you're an independent shop with a website that carries some or all of the supplies I used here, please let me know so I can add you to this list.)
Affiliate Disclosure: Please note that links from this post to DickBlick.com are affiliate links. If you purchase after clicking one of these links I will receive a small percentage of the total from your order, but it has no effect on the prices you are charged.
Add comments, ask questions, or share your own project...
|
|
You might be interested in...


