It's not much of a secret that I love underwater-themed mixed media projects. I tend to gravitate towards fish in particular, but every now and then I like to throw in a few tentacled sea monsters. For this project, I used stencils, clay, beads, paint, and some watch parts to transform a plain cigar box into a Deep Sea shadowbox.
This was quite a detailed piece and I didn't do a full tutorial, but I did take several photos along the way so that I could share an overview of my process. Hopefully you get a good sense for how you could make something similar in your own studio.
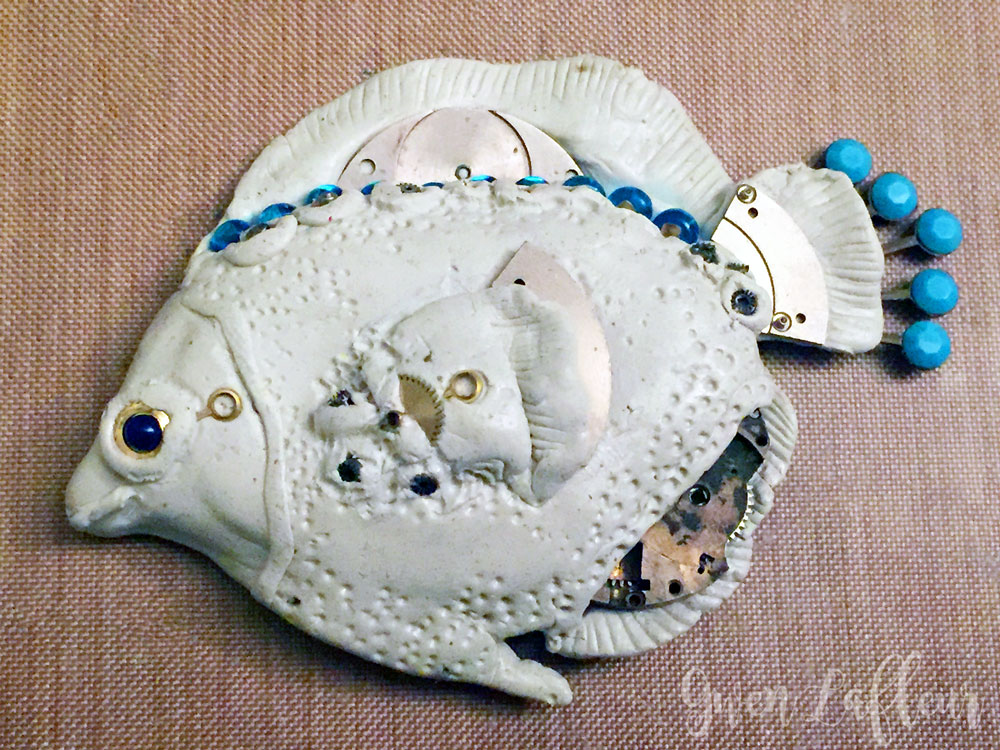
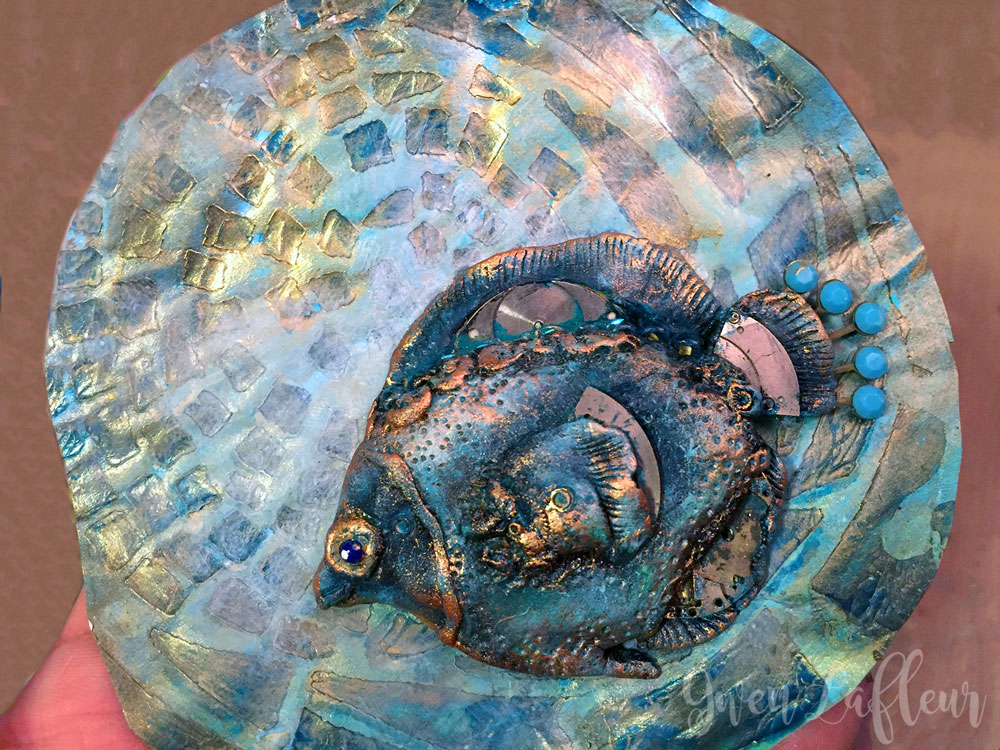
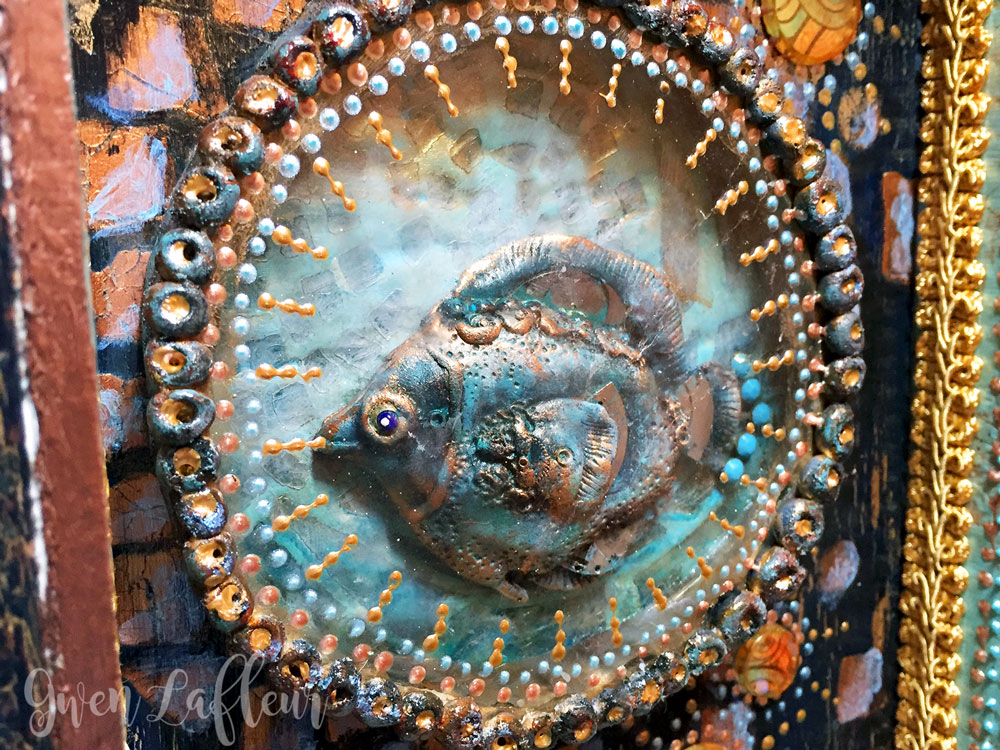
To begin, since I knew right away that I wanted to create some kind of underwater scene, I started by creating my obligatory fish. He's made from Aves Apoxie Clay over a small hand-cut cardboard armature with embedded watch parts, beads, and a vintage Art Deco style jewelry finding in his tail. (You can see my seahorse sculpture tutorial for a better look at how I create this type of armature and then cover it with clay.)
To begin, since I knew right away that I wanted to create some kind of underwater scene, I started by creating my obligatory fish. He's made from Aves Apoxie Clay over a small hand-cut cardboard armature with embedded watch parts, beads, and a vintage Art Deco style jewelry finding in his tail. (You can see my seahorse sculpture tutorial for a better look at how I create this type of armature and then cover it with clay.)
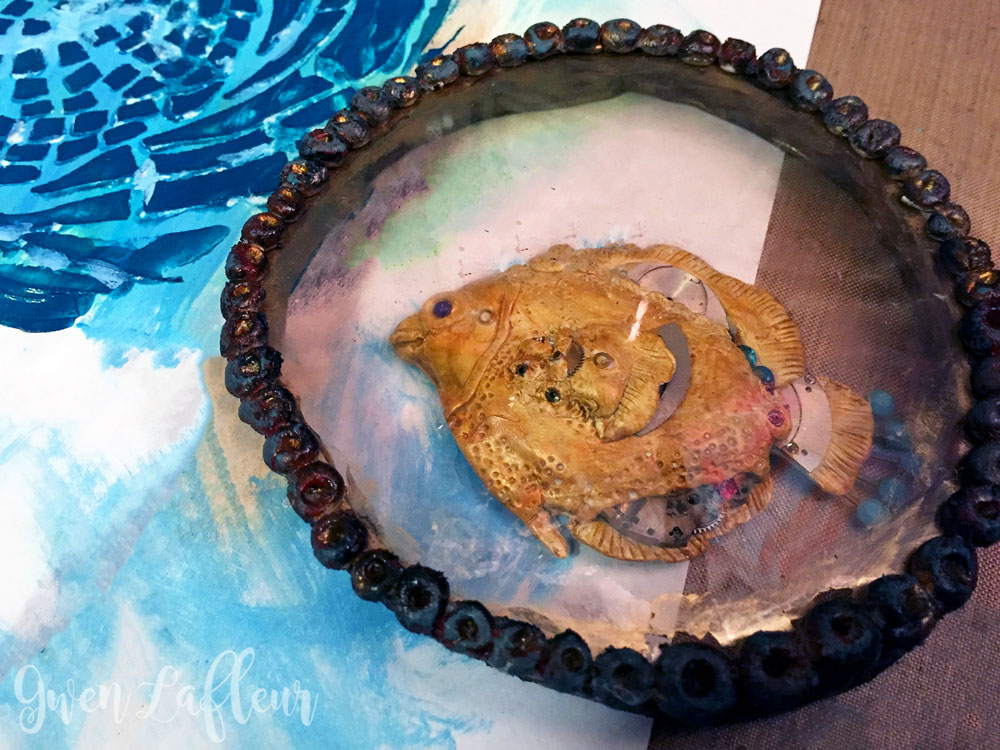
Next I put the base coat of paint on the fish and constructed a "porthole" for him to swim inside of as part of the larger piece.
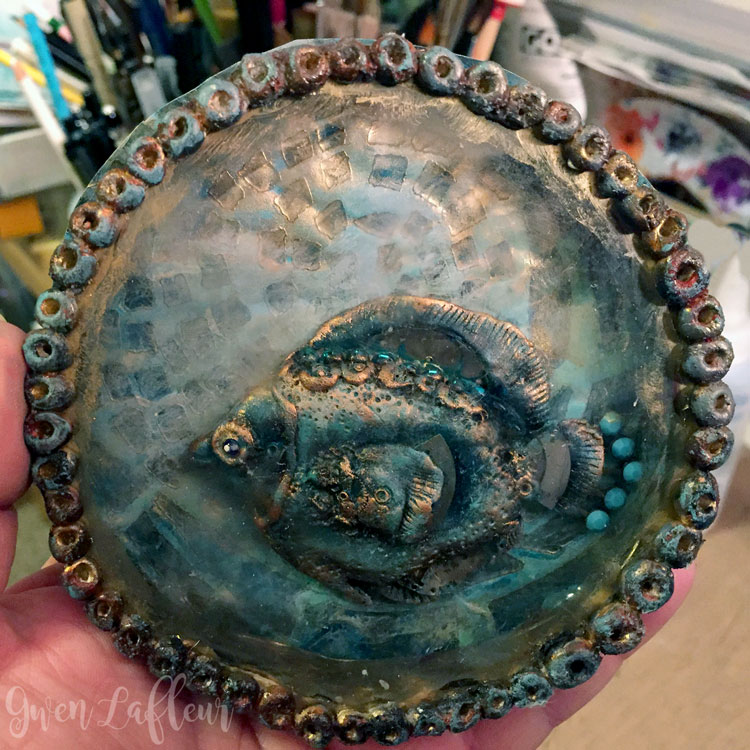
The porthole is also made out of Apoxie Clay, and the "glass" is a sheet of mica. I sized this part so that it would fit perfectly over the 6" x 6" stencil from the Circle Up StencilClub set. I stenciled with some turquoise crackle paste over teal paint to begin making the background for the porthole.
The porthole is also made out of Apoxie Clay, and the "glass" is a sheet of mica. I sized this part so that it would fit perfectly over the 6" x 6" stencil from the Circle Up StencilClub set. I stenciled with some turquoise crackle paste over teal paint to begin making the background for the porthole.
I continued by finishing the painting on the fish sculpture and I also added a few layers of paint and glaze to the background for the porthole.
Once I was happy with the different components I assembled the porthole, adhering the fish to the background and then gluing the background to the base of the clay and mica porthole.
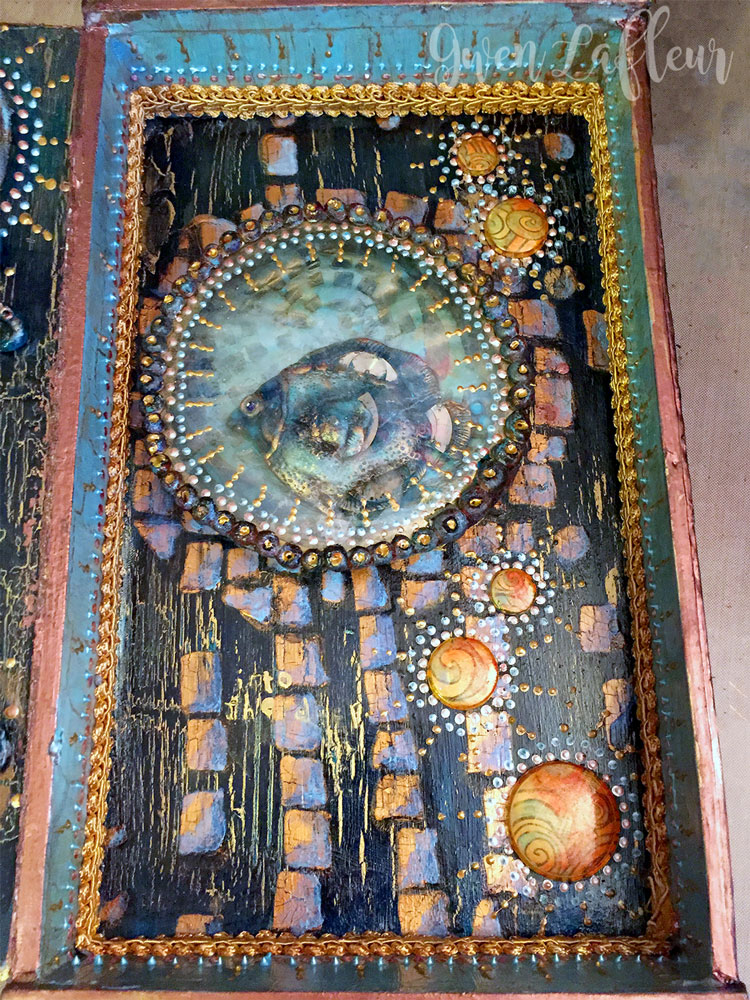
With the porthole complete I moved on to the cigar box. Rather than invite a giant mess by attempting to stencil inside of the box, I measured and cut a sheet of bristol paper that would fit inside and created the background on that.
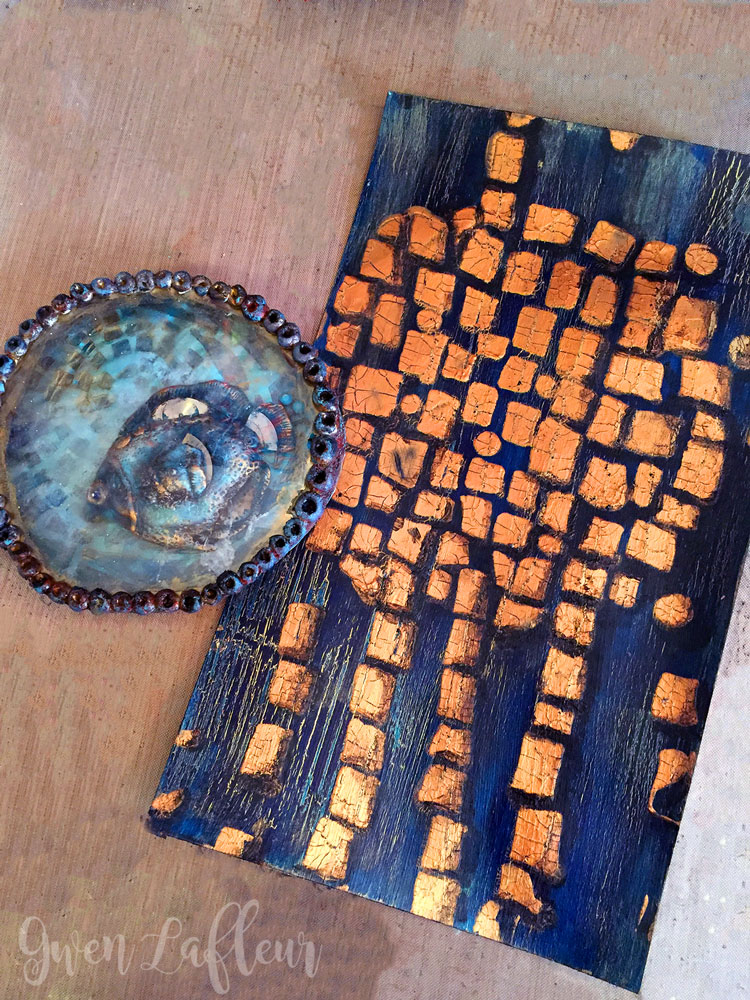
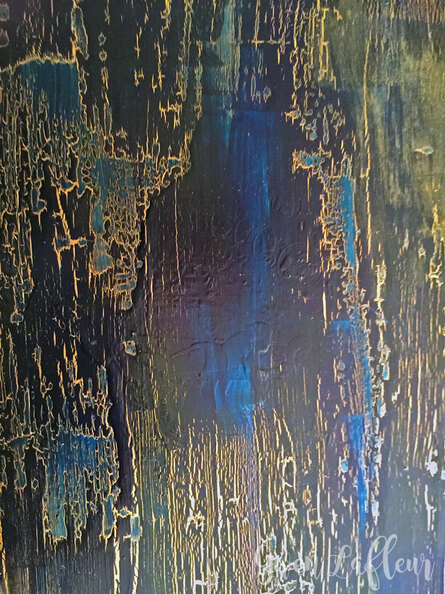
I used more crackle in the background, this time after painting the paper gold, coating the dry paint with a wood grain crackle medium (Deco Art), and then coating the dried crackle medium with shades of turquoise paint. When that was dry I stenciled over top with the 9" x 12" stencil from the Circle Up StencilClub kit using copper crackle paste. To me it felt a bit like abstract sea plants rising up from the ocean floor and ending in the perfect frame for my porthole.
I used more crackle in the background, this time after painting the paper gold, coating the dry paint with a wood grain crackle medium (Deco Art), and then coating the dried crackle medium with shades of turquoise paint. When that was dry I stenciled over top with the 9" x 12" stencil from the Circle Up StencilClub kit using copper crackle paste. To me it felt a bit like abstract sea plants rising up from the ocean floor and ending in the perfect frame for my porthole.
I continued working on the box, painting the outside of the box as well as the inside of the lid using the same process as the background insert, only varying the base color that I put down under the wood grain crackle medium (I used red for the outside of the box and gold on the inside of the lid to match the other background.)
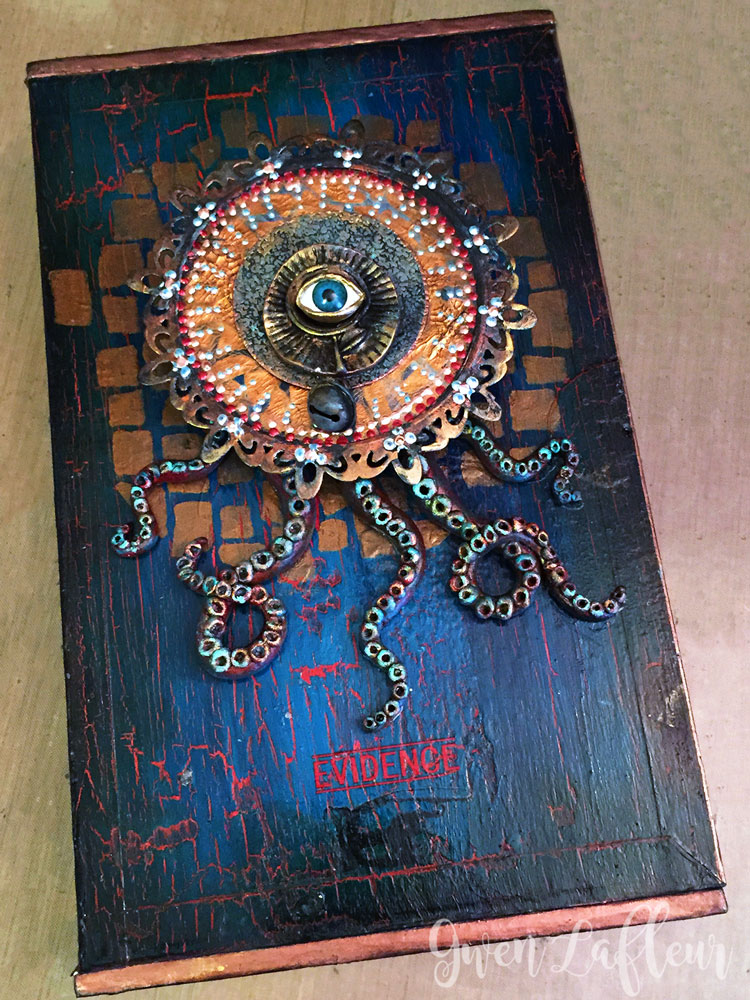
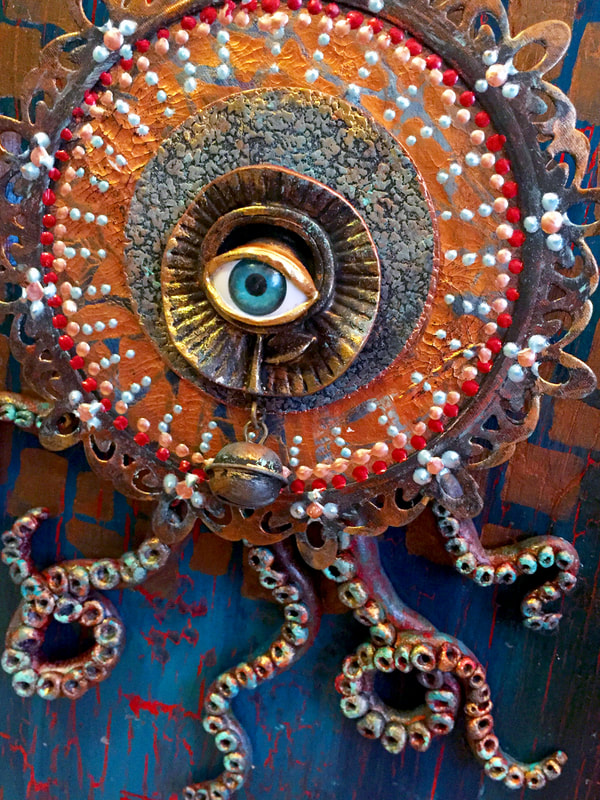
For the outside cover I used the 9" x 12" stencil again as a background pattern under my focal point. I used the 4" x 4" stencil with more crackle paste as part of the foundation for my cycloptic, tentacled monster medallion. I layered a few pieces of painted metal on top of the stenciled circle and capped it off with a resin eye, using more clay to add the eyelids. That was adhered to a decorative circle diecut that I aged with paint to look like rusty metal and then mounted on the lid of the box in the center of the stenciled area.
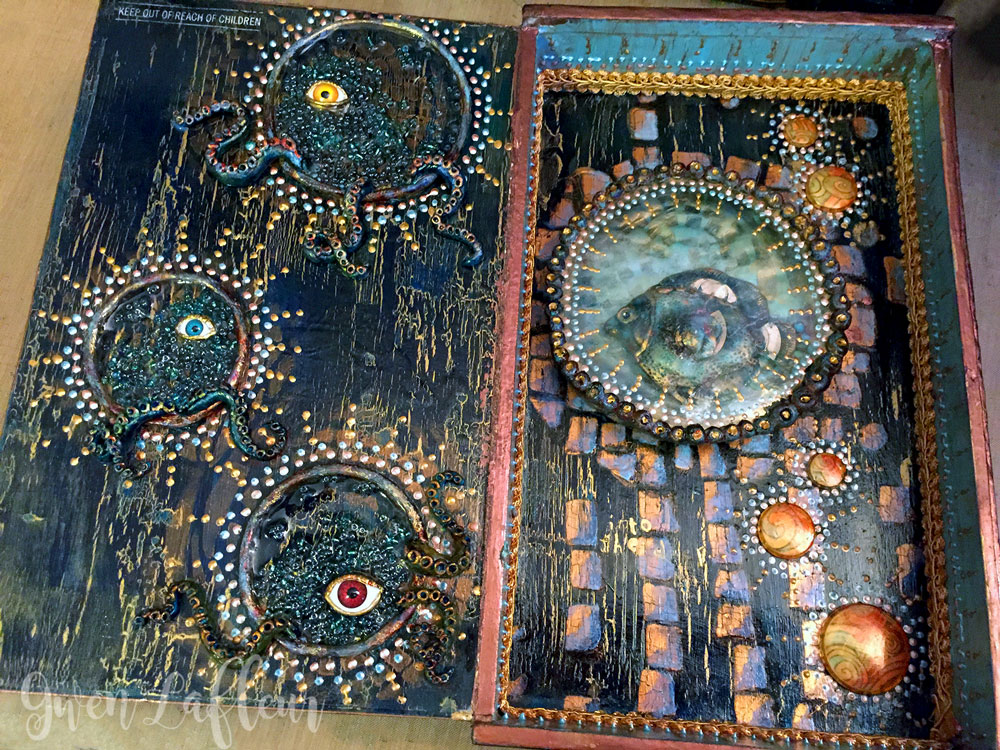
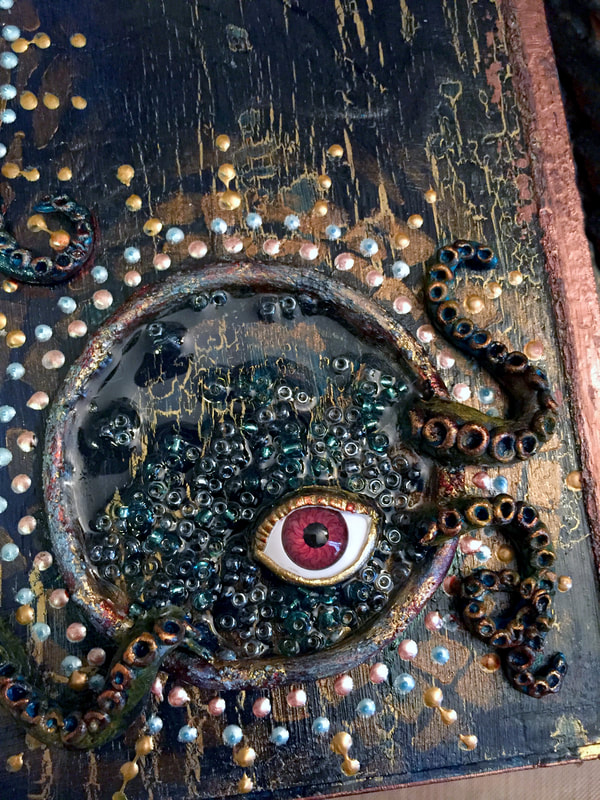
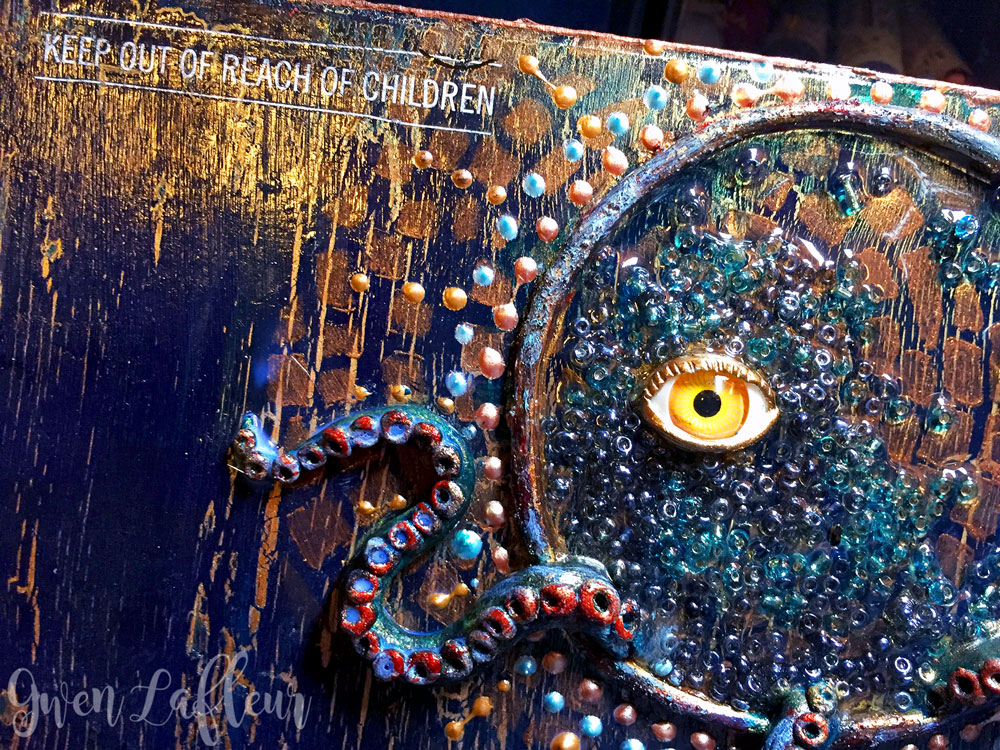
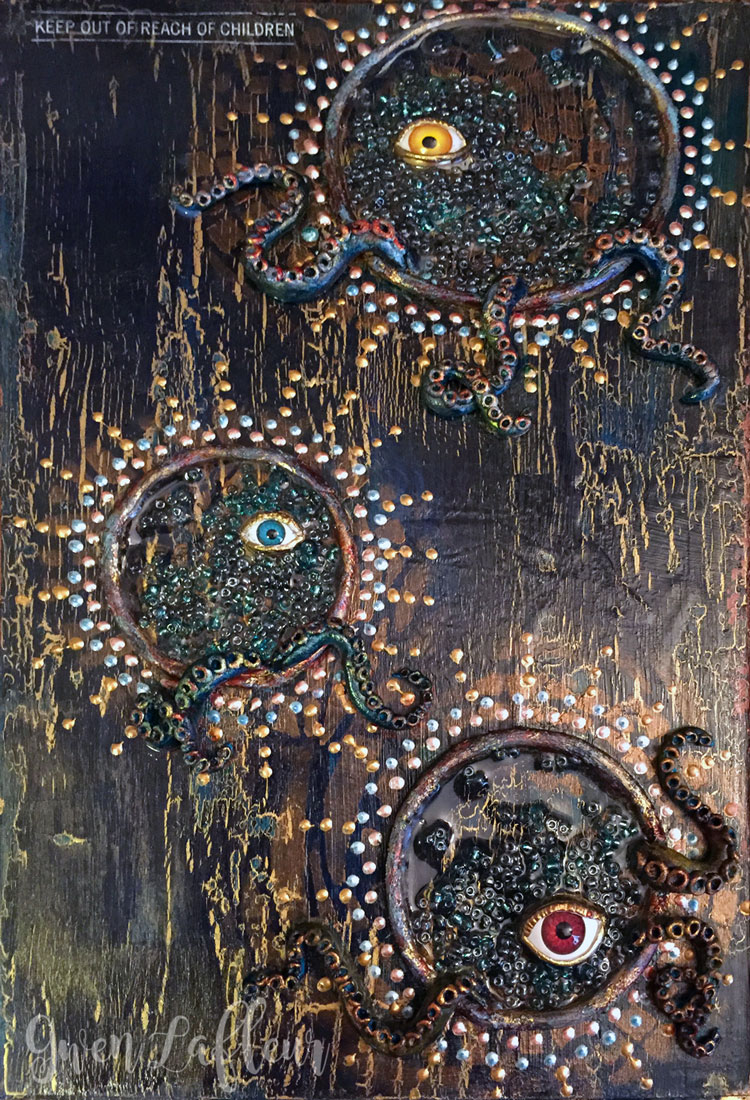
For the inside of the lid I had an idea for some more tentacled sea monsters, this time using beads to suggest the bodies. I stenciled with gold paint in a few areas, then used clay to create circular openings on top. I filled the openings with Diamond Glaze, then carefully added "blobs" of turquoise seed beads to create the bodies with more resin eyes set in the middle. I used Apoxie Clay to create tentacles, painted them, and placed them so that they looked like they were coming out of the openings. That was done while the clay was still workable so that they would glue themselves into place as they cured.
I finished the inside of the lid by adding dots of dimensional fabric paint around the circles. I really like the way that the stenciling helped to ground each of the sea monsters within the composition by connecting them to the edges of the lid.
With a few final touches - some gimp trim, acrylic "bubbles," and a bit more paint, I had a finished piece. I love how the whole thing came out, and I hope you're feeling inspired to go a bit deeper and experiment in your own work as well!
You might also like...

