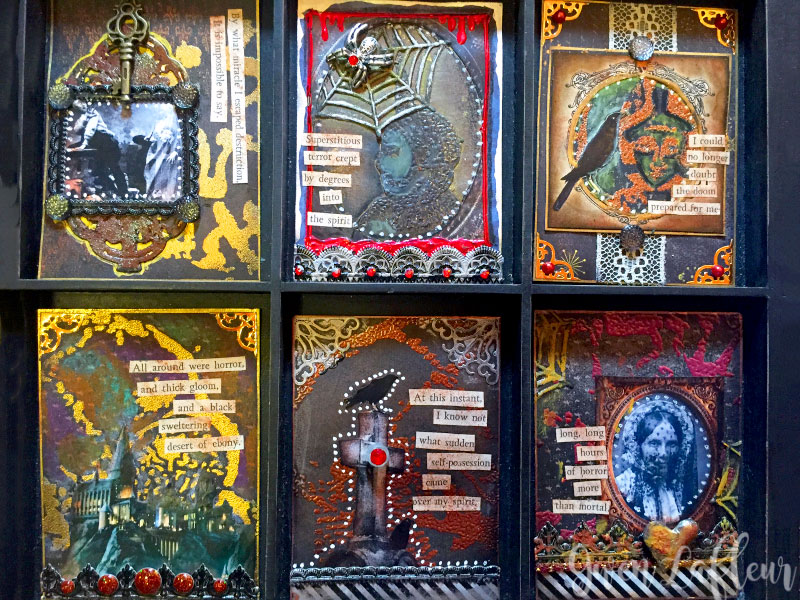
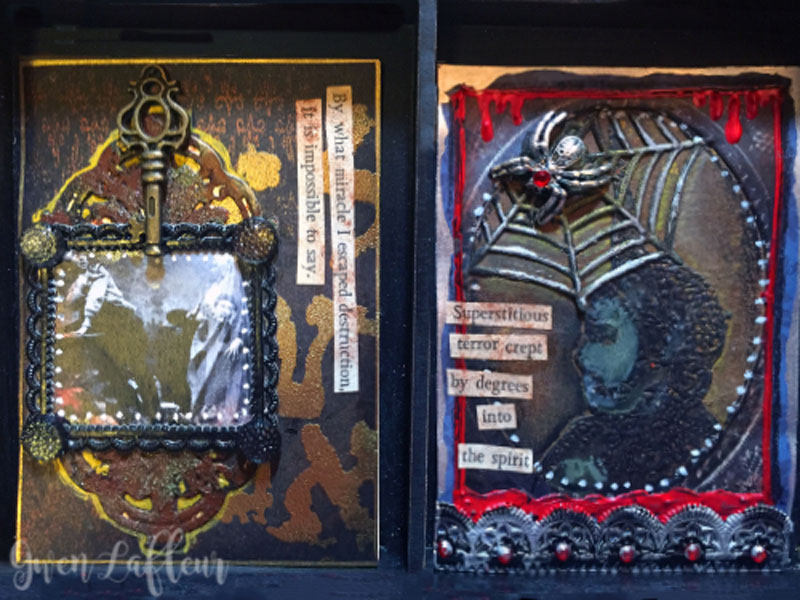
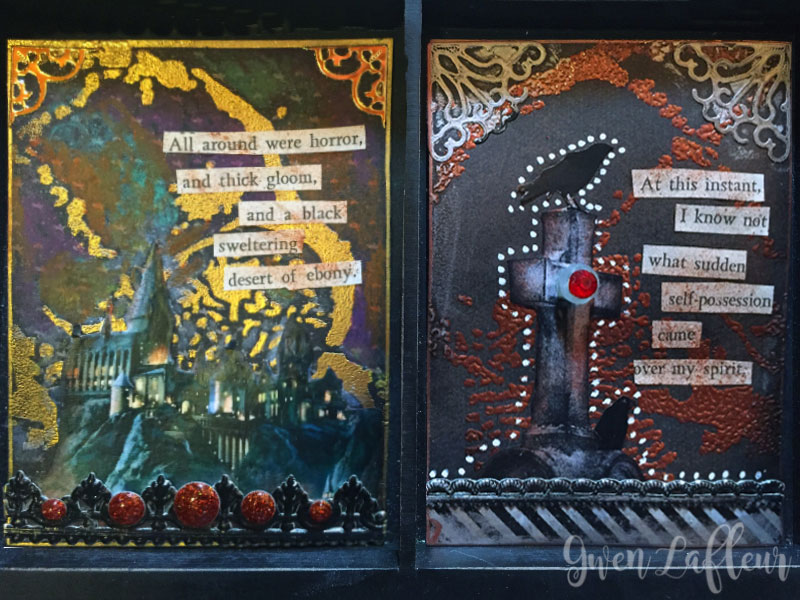
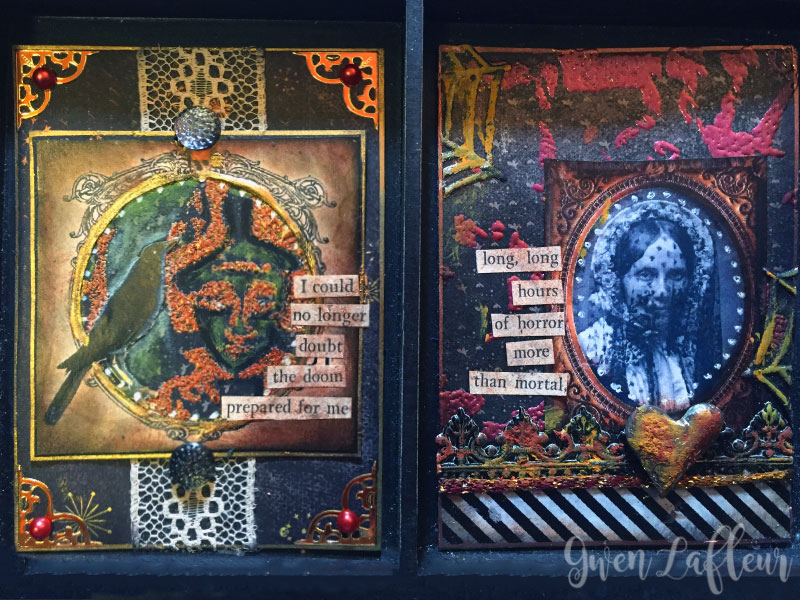
I love to make ATCs (Artist Trading Cards.) It's such a fun way to create something without the pressure of making a large piece of art. For a bit over a year I participated in a group that traded ATCs every other month and for each swap we had a theme and a kit that we used as the jumping-off point for our creations. When the time came for us to do a Halloween swap, part of my kit included a paperback anthology of Edgar Allen Poe's poems and short stories - perfect for the theme! I used that as the basis for the cards I've shared here.
Whenever I post ATCs, I'm frequently asked how I make them as they're always very layered and detailed. For this tutorial I've broken my process down into three basic steps: background, images, and embellishment.
Part 1 - Backgrounds
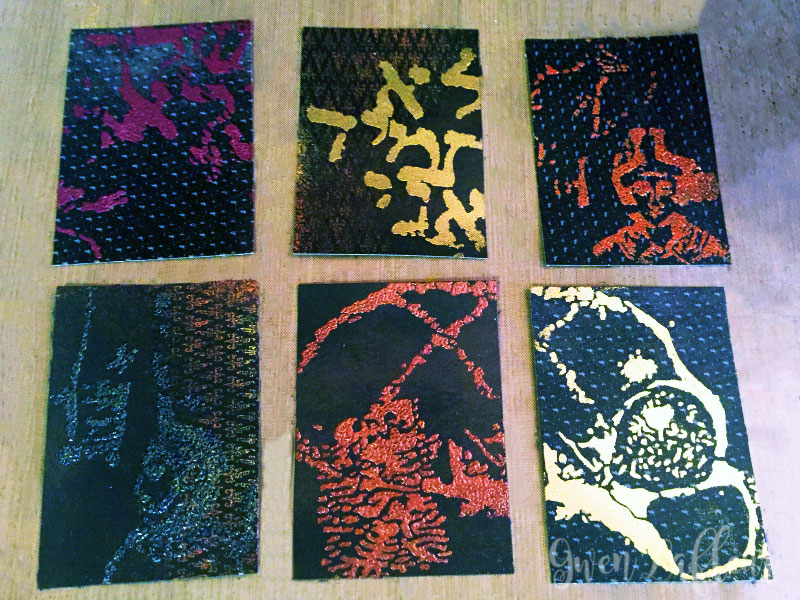
To begin making the backgrounds for this set I cut patterned paper to size (2.5" x 3.5") and then I used a gold pigment ink pad and a foam blending tool to ink through a stencil onto the background. For my Halloween ATCs, I thought the Hats stencil by Orly Avineri was the perfect choice, so I used different pieces of that design for all of them.
I heat embossed the pigment ink, using a different embossing powder on each card to add variety.
I heat embossed the pigment ink, using a different embossing powder on each card to add variety.
Step 2 - Images
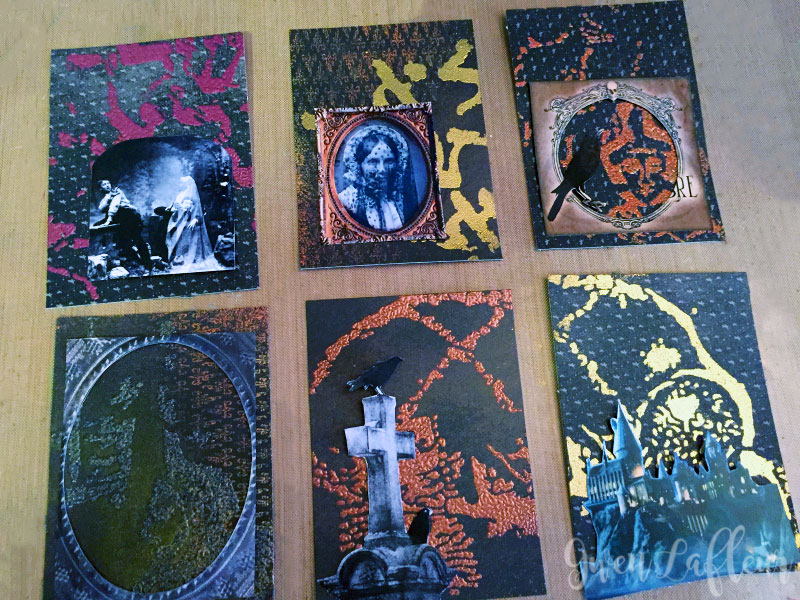
The kits that we received for our ATC swaps always included collage images, so my next step was to go through those collage sheets and pull out the ones that I wanted to use on each card. I cut those out and paired them up with the stenciled image. (I typically fussy cut my images unless it's something I'm going to frame or that's already designed as a rectangle.)
Step 3 - Embellishment
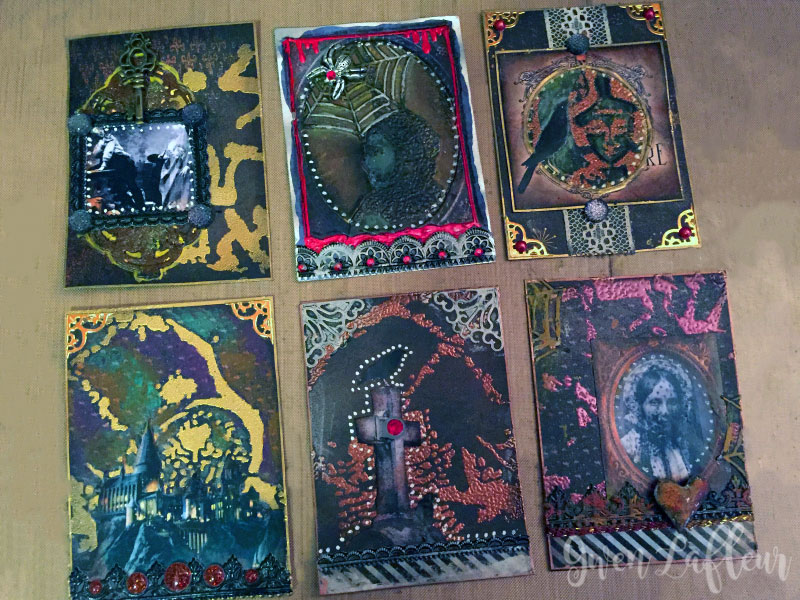
For the final part of the process I added color to some of the images using colored pencils or ink, swapped out a few of the backgrounds, and then added trims and embellishments. I like to add small flat-backed jewels, Dresden trim, bits of lace and ribbon, and metal charms. I'll also frequently add scraps of fabric or use washi tape as a border along one side of a card.
To finish each ATC, I edged with brown and then black permanent ink, then used a gold paint pen to add a gilded effect along the edges of each card.
To finish each ATC, I edged with brown and then black permanent ink, then used a gold paint pen to add a gilded effect along the edges of each card.
Here you can see close-ups of each of the completed ATCs - just click on any of the photos to see it larger.
If you enjoyed this post, you may also be interested in my Indian Summer Themed ATC tutorial.
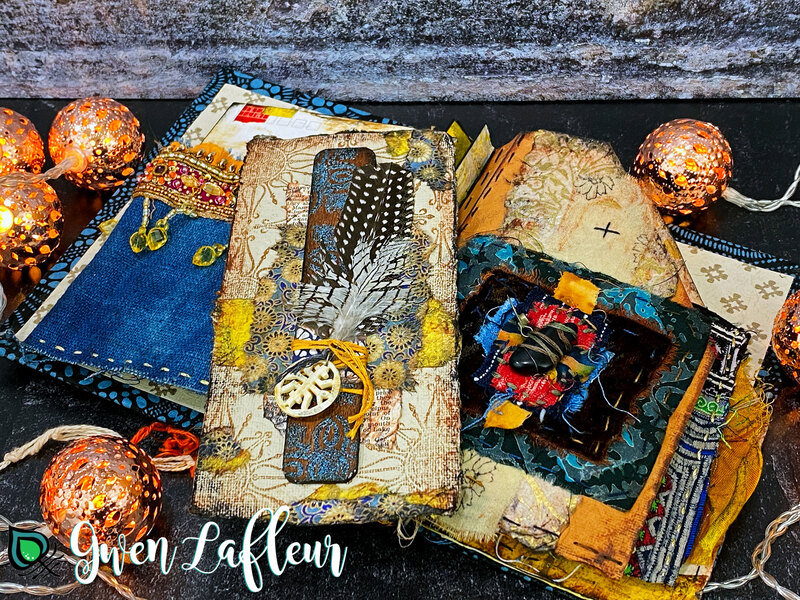
You might also like...

